Who doesn’t love glitter? Well, its a love hate thing because its messy! Ha ha. Glitter mason jars or adding glitter to a frame, a nic nac, burned out candle jar, wood, and so much more is pretty easy.
There are many existing tutorials but, here is my experience with glitter and mason jars! Well, really just glitter, Ive used glitter on many surfaces. Ive done some testing and used a few kinds of glues & glitters…
Are you ready to glitter a jar DIY style? You can use any jar not just a mason jar. Or maybe glitter a frame? Ok, lets get to it!

This post contains affiliate links for Amazon and I make commission if you buy through my links in the next 24 hours. See how I roll.
Im doing this tutorial with Elmers Glue-All. Ive used Modge Podge and spray adhesive, both work. Ive been using the Glue-All though, its a better price over Modge Podge. I buy it by the gallon now!
Love the stuff! I like Modge Podge but, it is more pricey when you just need some ‘basic’ crafty glue.
I’m sure you can use plain ole Elmers or even wood glue.

I wasn’t a fan of the spray adhesive, it never really ‘dries’, it can also come out clumpy, and the over spray… sticky mess it makes! I stick to the brush and glue. I’ll eventually do a post on using the glitter sprays.
Update: Spray Glitter VS Loose Glitter.
I also find using the spray adhesive method the glitter sheds more even with several top coats.
Materials
Jar
Glitter
Paint brush
Newspaper- Sheet of paper
Gloss top coat
Container for glue
Glue: Elmers/Modge Podge
Optional: Spray paint
Ok, spray paint a base coat in your choice of color. This is optional, you can just do it on plain glass. I have a pink jar done, its a ‘dud’ jar I wont use so I’m salvaging it with glitter for this tutorial. Ive tried it with and without painting the jar.
You can do this with acrylic paint but I was not a fan, its just not as smooth as it is over spray paint or plain glass. The glue seemed to drag and bubble on the acrylics. While it worked its just, eh. I used it for my Snowmen mason jars.
With iridescent glitters the base color shows through so you can have some fun with colors doing your glitter jars.
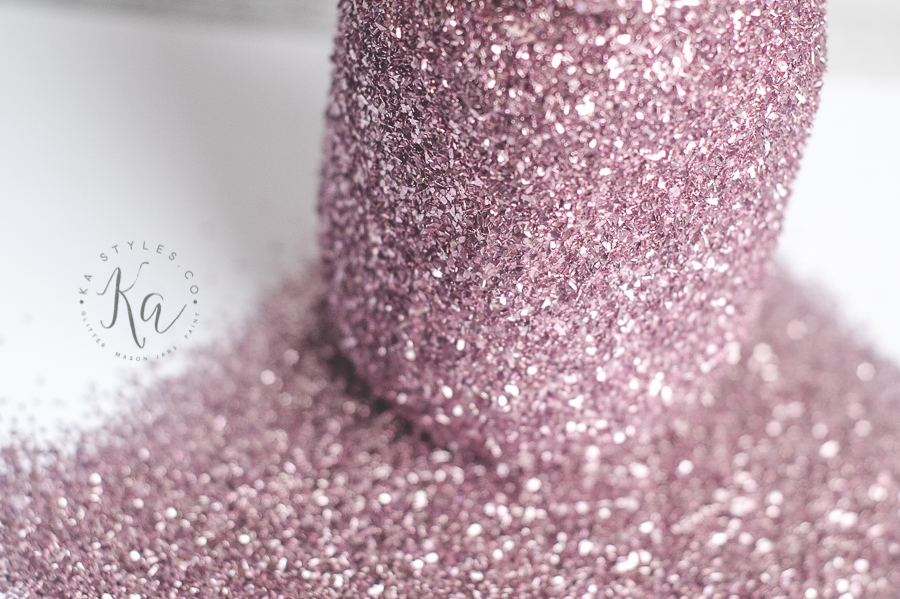
This jar I’m using a dusty rose colored chunky glass glitter. I’m a fan! This chunky glitter and the fine glitter are my favorites.

Ok spread out the newspaper in your work area. For this tutorial I didn’t use it, it just wouldn’t look as pretty for pictures! Ha ha. I usually use newspaper because you know, its gets Everywhere! LOL.
Lay a sheet of paper under your jar on the newspaper. I do this to catch most of the glitter so I can pour it back in the jar. Make a light fold on one end of the paper when you are done and its like a pour spout right back into your glitter container. You can use paper plates/sponge brushes like Life With Lori, she ‘tried it’!
I poured some glue into a 4oz mason jar as shown above. Its easy to use the brush and dip to apply the glue this way.
Grab your brush and paint an even coat of glue on the entire jar. Make sure you get into the crevices of the lettering. Light handed even brush strokes work best. Its okay to be semi thick, just not too thick so its dripping.
You can see the glue coating in the picture below.

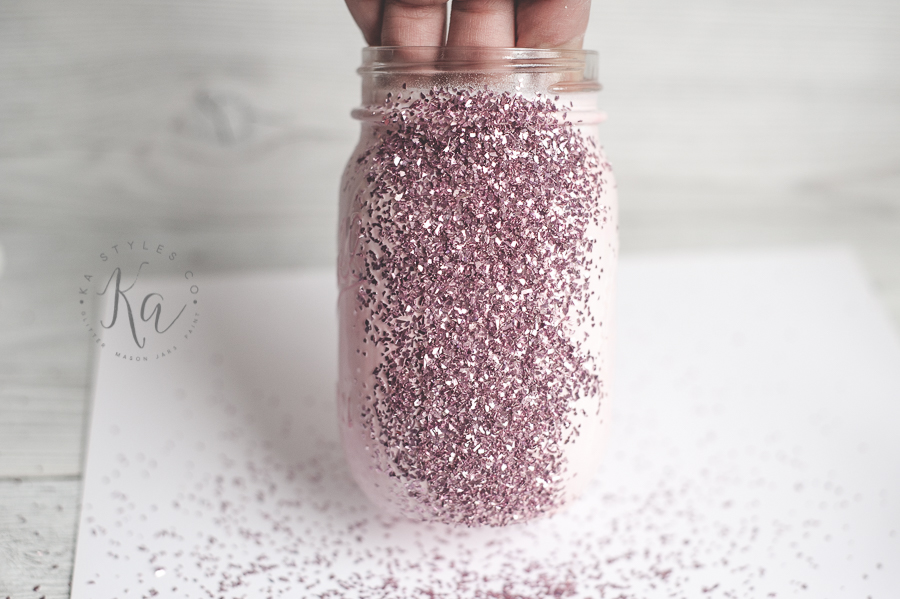
Next pour your glitter on the mason jar. I do back and fourth even sprinkling the best I can, its glitter, its has a mind of its own… Fine glitter, dump a bit heavier to have a nice even coverage.
This chunky glass glitter covered nicely and rather quickly because of its weight and size.
I don’t like the roll method in a container, with some glitter it can create flat spots and that’s A Lot of glitter! LOL.


After you’ve covered the entire jar with glitter, tap the jar on your glitter catch paper a couple times to let some loose excess fall off. Let it dry for at least an hour or two then lightly brush the jar with a paint brush or any brush.
Do this lightly so you don’t take chunks of glitter off with the brush.
This will help minimize shedding removing loose glitter before you top coat. This is fall off from just a few brush strokes. Add back into your glitter jar!

After the glue is dried and you’ve done your shedding brush down, top coat. They have glitter top coat which is just a gloss top coat in a smaller can for more money!
You can use any clear gloss top coat.
I’m personally a fan of Valspar clear gloss or Rust-Oleums clear enamel top coat. Rust-Oleum is stinky and will take longer to dry but, its a real nice hard gloss finish.
I just love Valspar top coats, they have a mist like spray, no caps, and smells better.
Top coat at least three to four times to minimize shedding and give light washing’s. You want to do five or six, go for it, the more coats the less shedding. It will also last for years because of the top coat.
have also used gloss Modge Podge for a top coat, works well and non toxic.
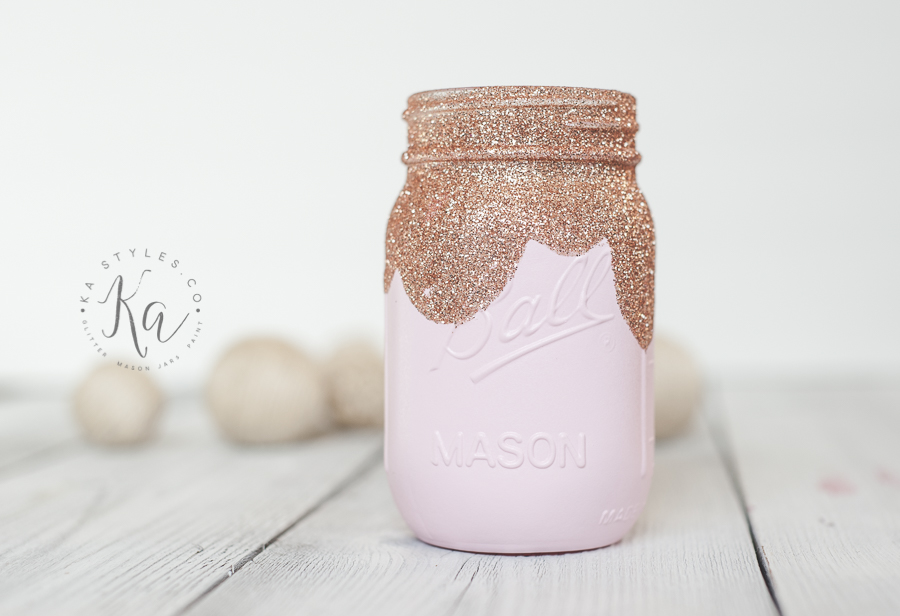
The finished jar. Perfect teen or tween gift. What teen doesn’t like glitter?

Some other glitter jars. Glitter ‘dipped’ style. I just brush panted the top.


How about some gold!

More glitter from my upcycled light bulb ornament.

Some other colors of glitter!

Check out this post on Shutterfly, mason jar ideas! My glitter jars were included. https://www.shutterfly.com/ideas/mason-jar/


Little update. I know many of you find my post from Pinterest. I just want to thank those the use the ‘Tried it’ on Pinterest. Id love for any of you to share your projects!

Are you making glitter mason jars? You can buy glitter almost anywhere. Craft stores, Walmart, dollar stores, even drug stores. I have some of my Amazon affiliate links added too in the post.
What kind of glitter is your favorite?
More Glitter Posts

Follow me around.
Make something with one of my tutorials or something you were inspired by/learned here?
Hashtag it on Instagram, Twitter or Facebook!
Original article and pictures take kastyles.co site
Комментариев нет:
Отправить комментарий