If you're looking for a fun project to do with your littles, or just for yourself, this is one to add to your list. It's a little time consuming because of drying time, but it's super inexpensive (possibly FREE for some who may have all the supplies on hand), really easy to make, and the result is so cute!
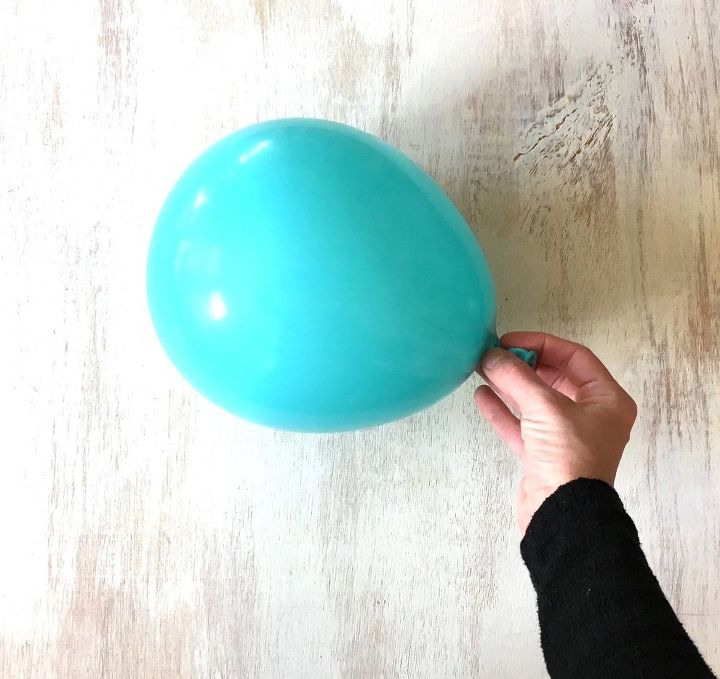
STEP 1: Blow up balloon To start, I blew up a balloon. This proved to be more difficult for me than I had anticipated as I can't remember the last time I blew a balloon--it was pretty comical to witness. Anyway, I blew up a balloon to where it was about medium size--still had some squish to it.

STEP 2: Set up balloon and apply Elmer's glue Next, I grabbed a roll of painter's tape I had on hand to use as a stand for my balloon...
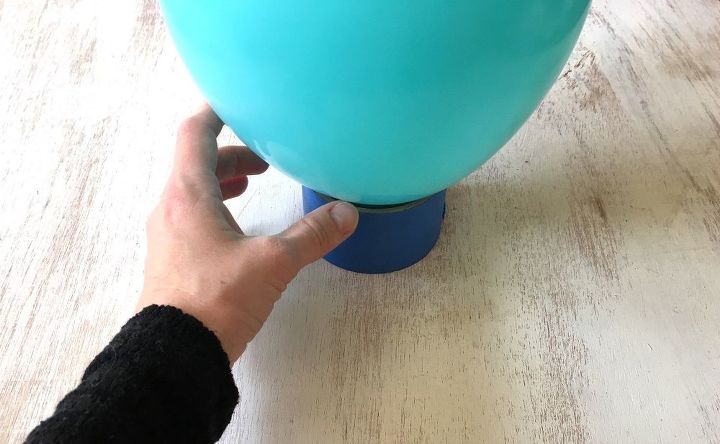
...I tried sitting the balloon as straight up as I could on the roll of tape which ended up being pretty good for a stand.
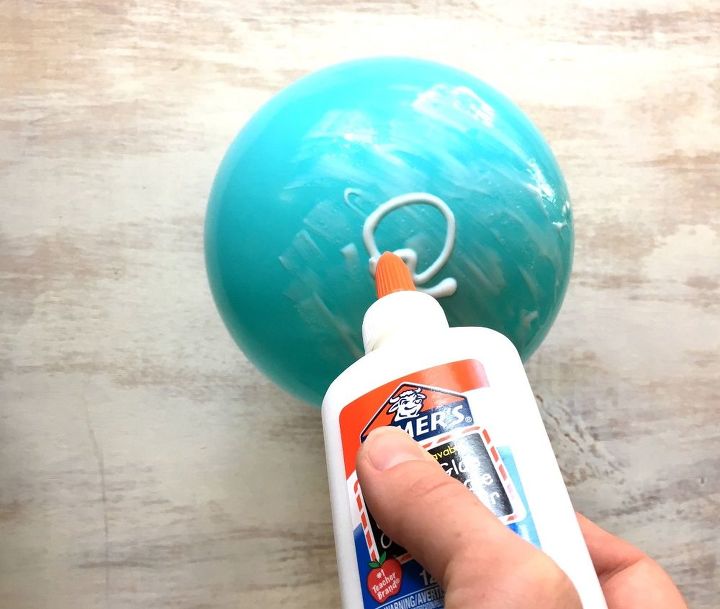
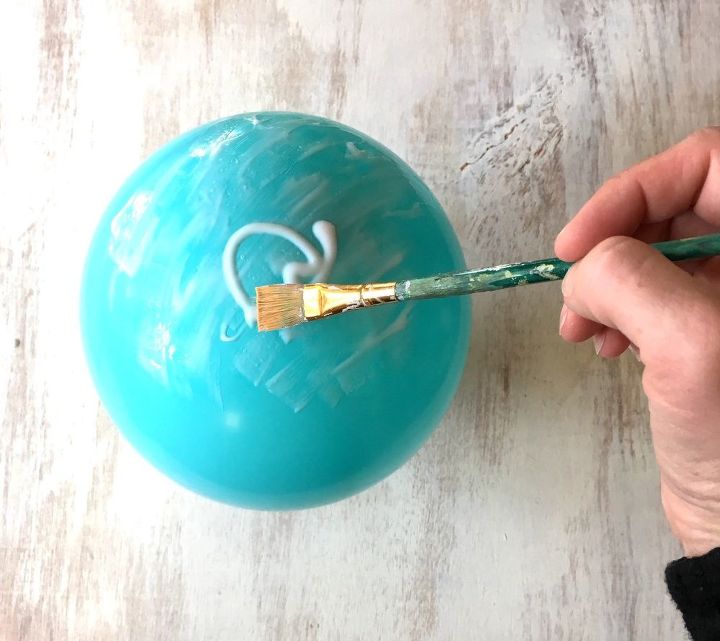
I used a paint brush to spread the glue around and then let it sit for about two hours to fully dry. The Elmer's glue created a coating on the balloon so that the buttons wouldn't slide off while I applying Mod Podge.
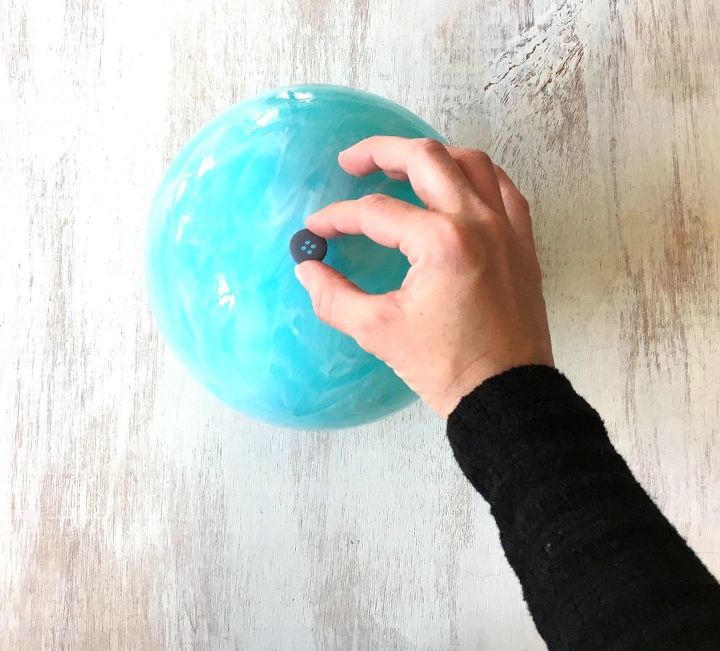
STEP 4: Apply Mod Podge & add buttons Next, I used my [clean] paint brush to apply Mod Podge and started adding my buttons. I chose a slightly larger button to put in the middle of what would be the bottom of my dish in order to help it sit nicely when in use.
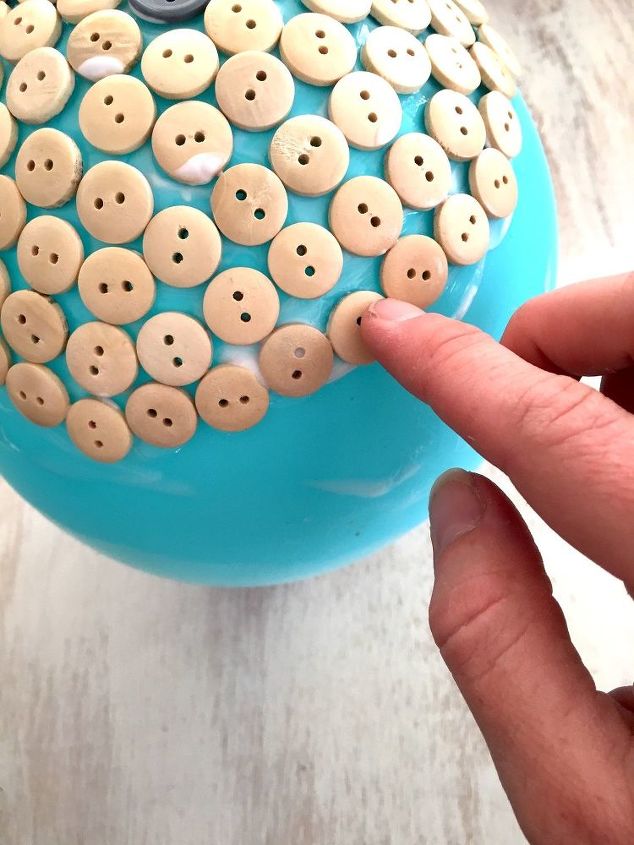
I didn't use much of a pattern except to try and make sure every button touched another. I tried to keep the buttons evenly distributed around the big button in the middle and continued adding buttons until they were all applied to the balloon.
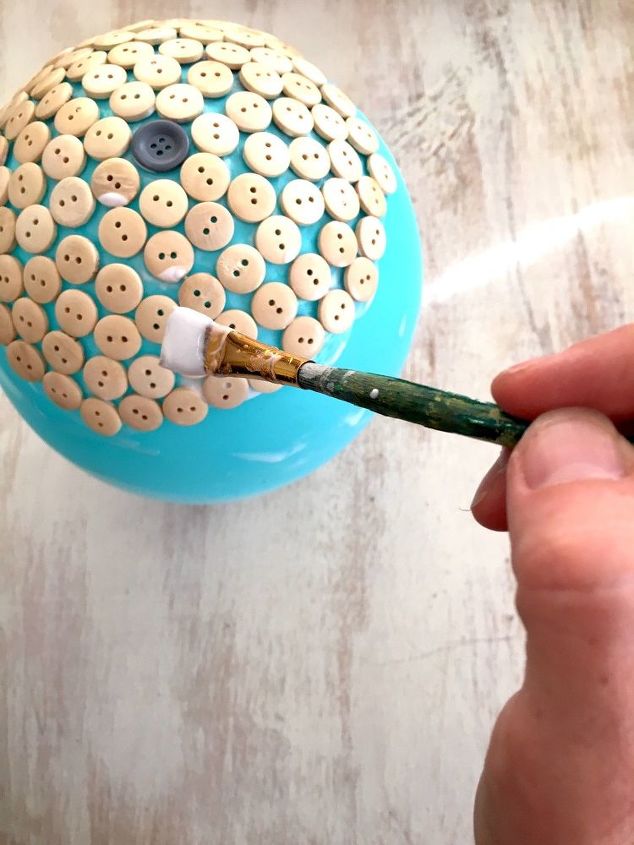
After all of my buttons were adhered to the balloon, I applied 2 more coats of Mod Podge--letting each coat dry fully before applying another.
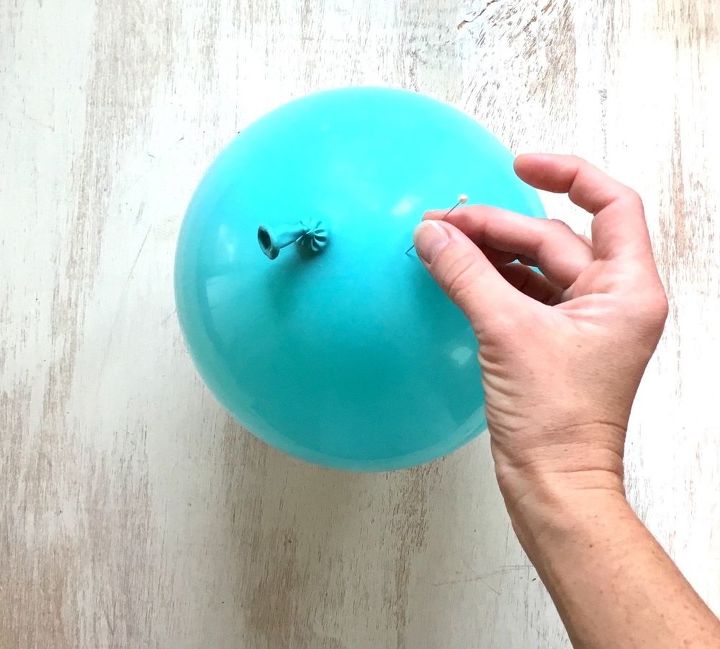
STEP 5: Pop balloon Once the Mod Podge was all dry, I flipped my balloon over so that the dish/bowl was sitting right-side-up on the roll of tape; then, using a straight pin, I popped the balloon.
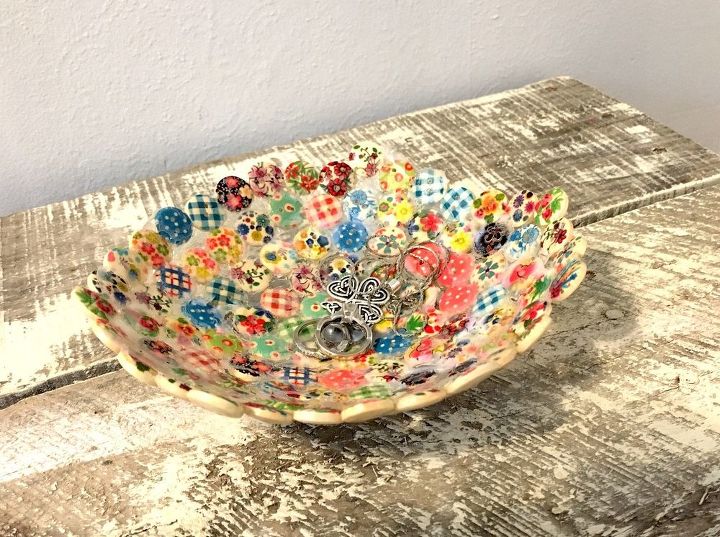
After I popped the balloon, I carefully pulled it out of the dish--it pretty much peeled off on it's own but I had a few spots that I had to pull a little. I was prepared to use scissors to cut off the excess glue on the edges of the dish but I was able to just gently pull it off. I contemplated making this dish with the designs of the buttons being on the outside but I'm glad I went with this way because of how shallow the dish ended up being--you wouldn't have been able to see the pretty designs had I flipped the buttons the other way. Overall, I'm pretty happy with the way this cute little dish turned out--it's perfect for holding my wedding bands and other little things on my nightstand when they're not being worn/used. *The time it took to create this dish was approximately 4-5 hours but that time includes drying time. This is really an easy project!
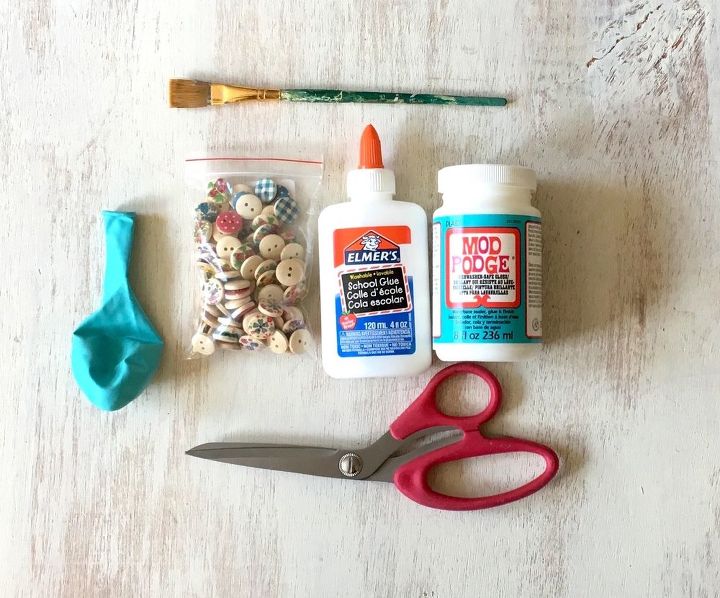
Suggested materials for this project:
Original article and pictures take cdn.hometalk.com site
Комментариев нет:
Отправить комментарий