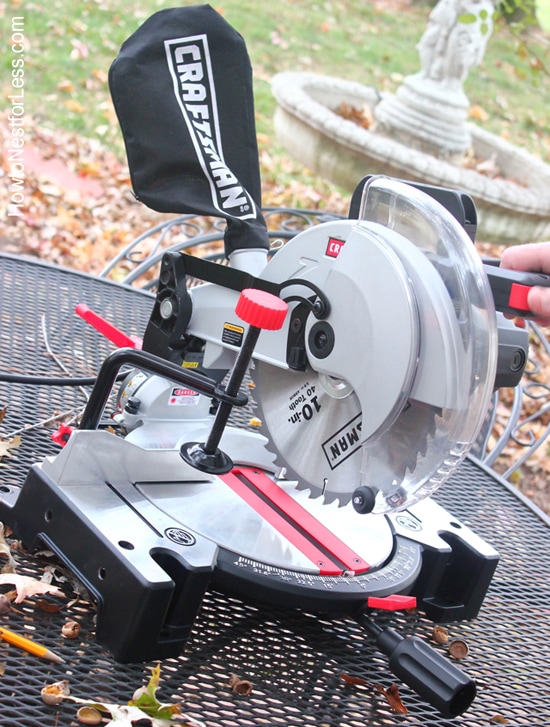
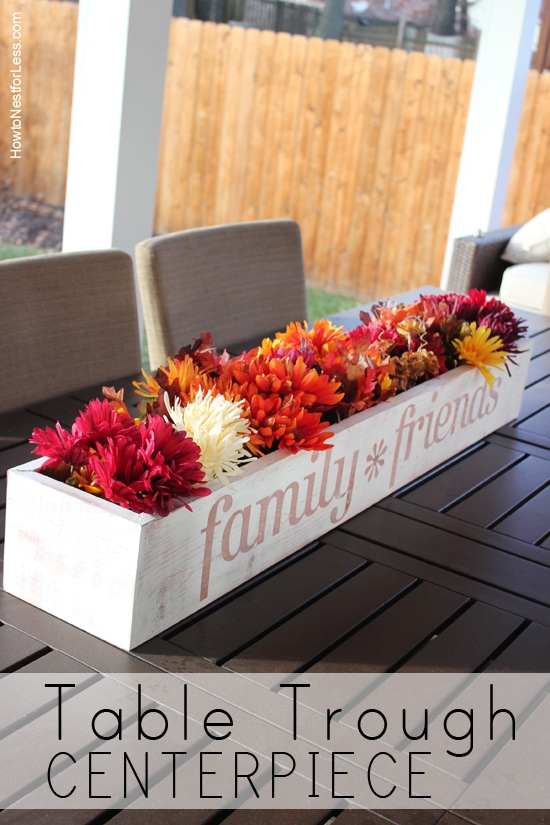
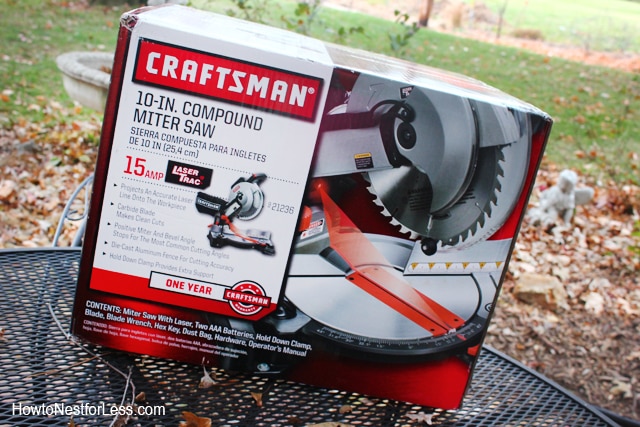
I just got my new Craftsman 10 inch compound miter saw this past weekend and was itching to try my first project with it. So with Thanksgiving just a few short days away, I decided to created a little table trough centerpiece for the occasion… and here’s how I did it.

Here’s what you’ll need:
- 10 inch compound miter saw
- brad nailer
- 3 pieces of 1in x 5.5in x 6ft boards
- stain
- white paint
- vinyl lettering
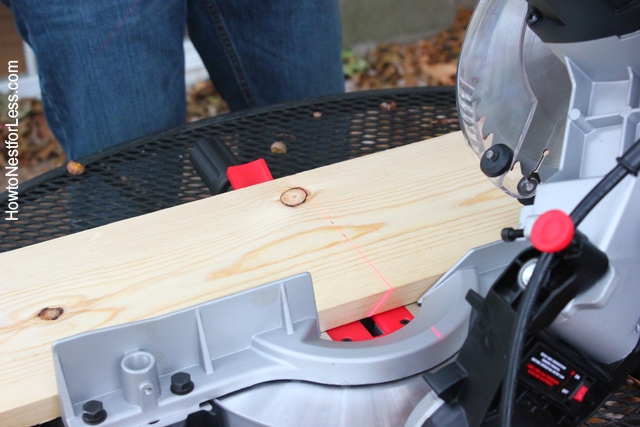
I started by cutting my bottom board into 4 foot length with straight cuts (the Craftsman miter saw makes it easy to see where you’re cutting with the battery operated laser line).
For the two side pieces of the trough I cut the wood into 4 foot lengths with a 45 degree angle cut on both ends (4ft being the short side of the angled edge).
With the leftover wood that I had trimmed off the original boards, I cut two end pieces with both sides mitered at 45 degrees.
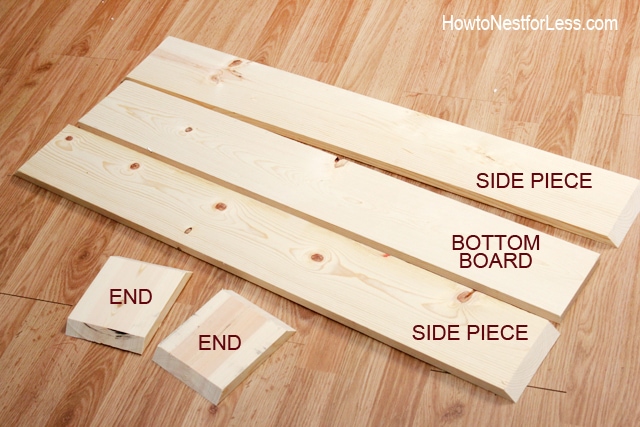
Make sure you double check the measurements for the smaller end pieces so everything fits perfectly together.
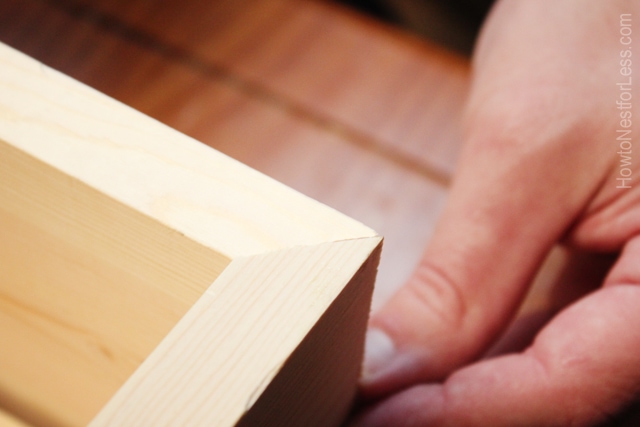
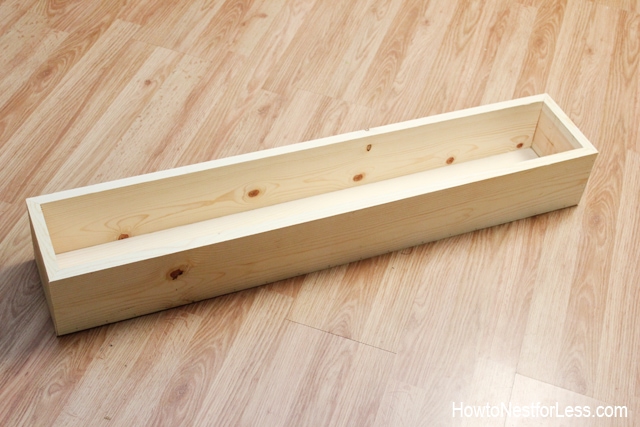
Once you have perfect cuts, start nailing the sides to the main base board (the one with the straight cuts).

And pretty soon, you’ll have something pretty like this…
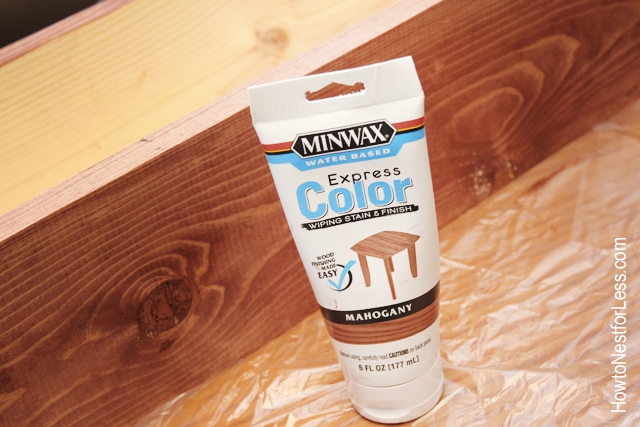
Next I covered all of the outside of the trough with stain. I used this Express Color from Minwax since it’s easy to wipe on and dries almost immediately.
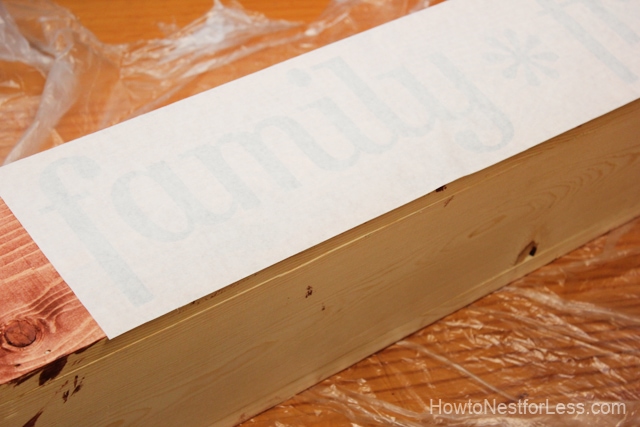
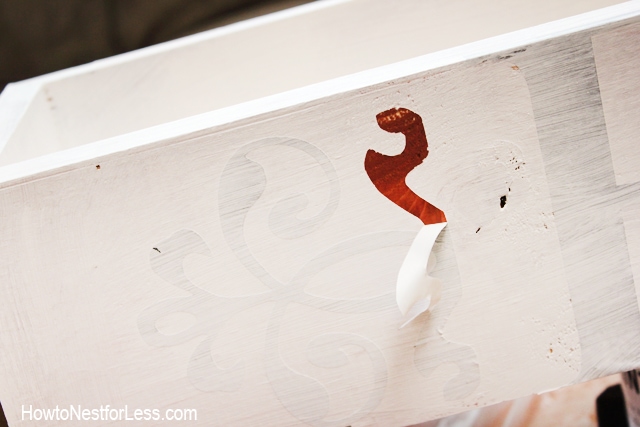
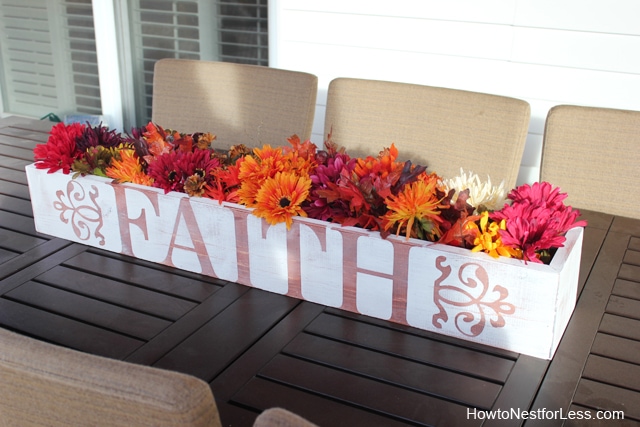
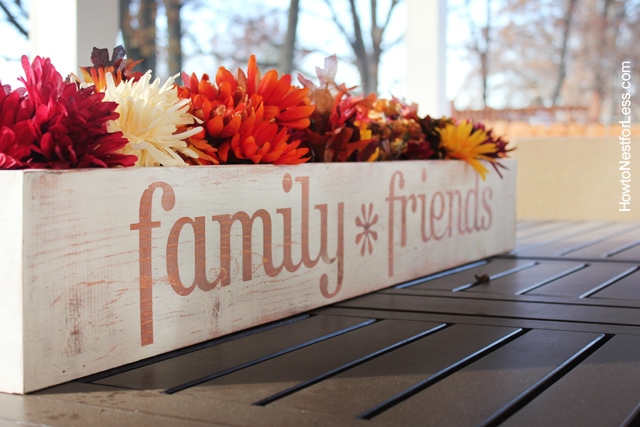
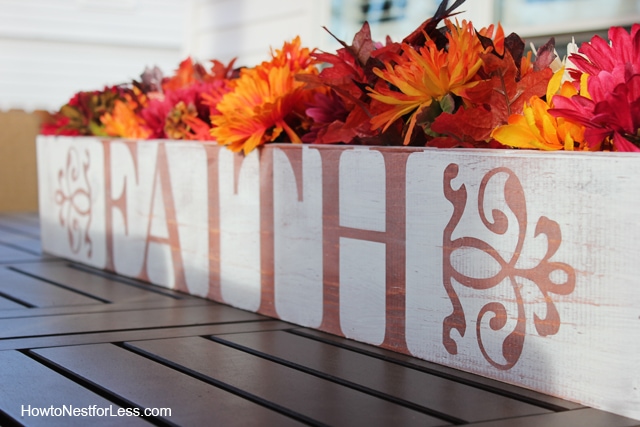
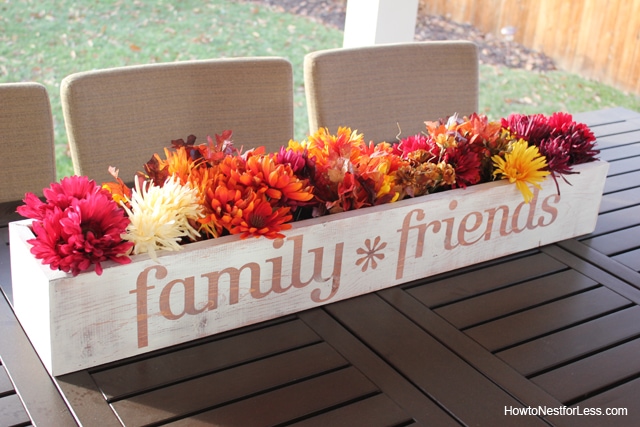
Then you’re ready to apply your vinyl lettering. I actually found mine on clearance from Michael’s. It came in two pieces: one side says Family & Friends, the other side says Faith with some little ornamental dingbats.
Next I painted the entire box with a coat of Pure White Annie Sloan Chalk Paint.
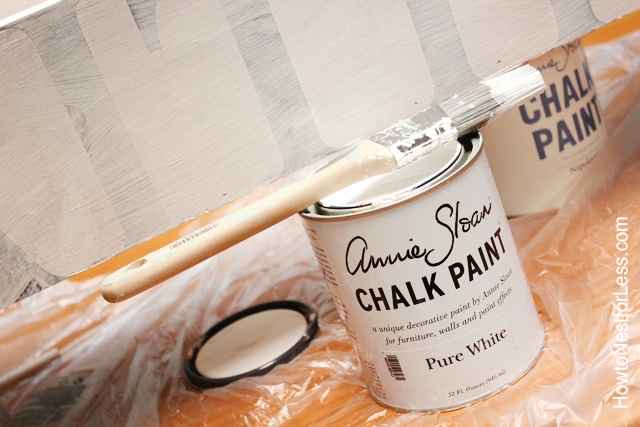
When it dries, you can peel away the vinyl lettering to reveal the stain underneath. Pretty cool, huh? To finish, I lightly sanded the entire table trough to give it a distressed, vintage look.
And here’s the final piece!

Overall I’m more than happy with my first project using the Craftsman 10 inch compound miter saw! Heck, I can’t wait to see what I can do with this puppy in the new house.
AND make sure you come back tomorrow because I’ll be giving away a Craftsman 10 inch compound miter saw to ONE LUCKY READER from Ace Hardware!
As you know, Ace Hardware is a cooperative-style business meaning each Ace Hardware location is an independent, locally-owned and operated neighborhood business. As a local business, each Ace Hardware location knows the importance of supporting their neighborhood.
On November 30th, Ace Hardware locations across the country will be celebrating Small Business Saturday® – which takes place between Black Friday and Cyber Monday and is dedicated to supporting the small businesses that help fuel our local economy. The Shop Small® movement is an easy way to support the local small businesses that create jobs, fuel the economy and invigorate communities across the country.
If you want to see more projects from the Ace Hardware team,
check them out HERE!

Disclosure: I am an Ace Hardware DIY Blog Team Member and was provided with an Ace Hardware gift card to purchase items for my project. I was also compensated for my time to use the products. All opinions are 100% mine.
Original article and pictures take howtonestforless.com site
Комментариев нет:
Отправить комментарий