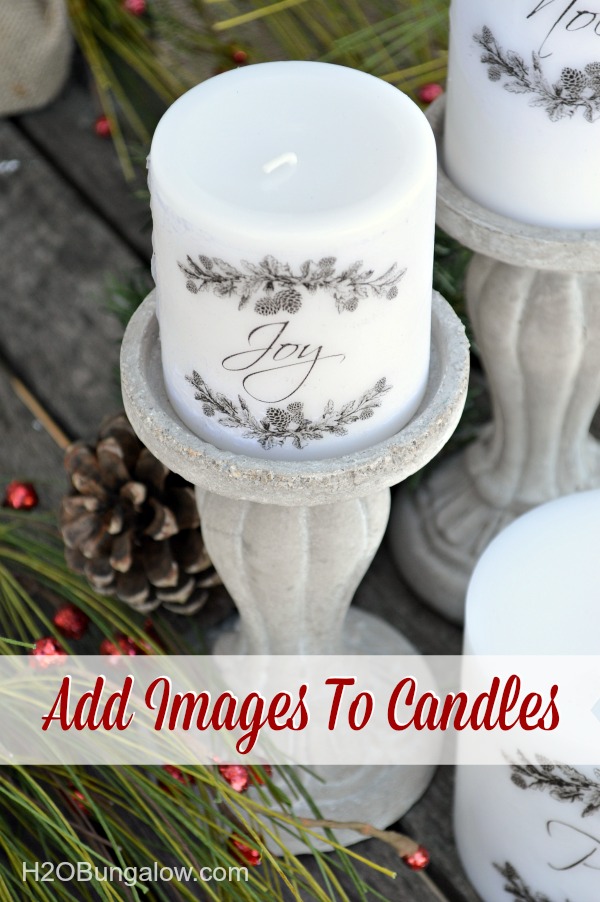
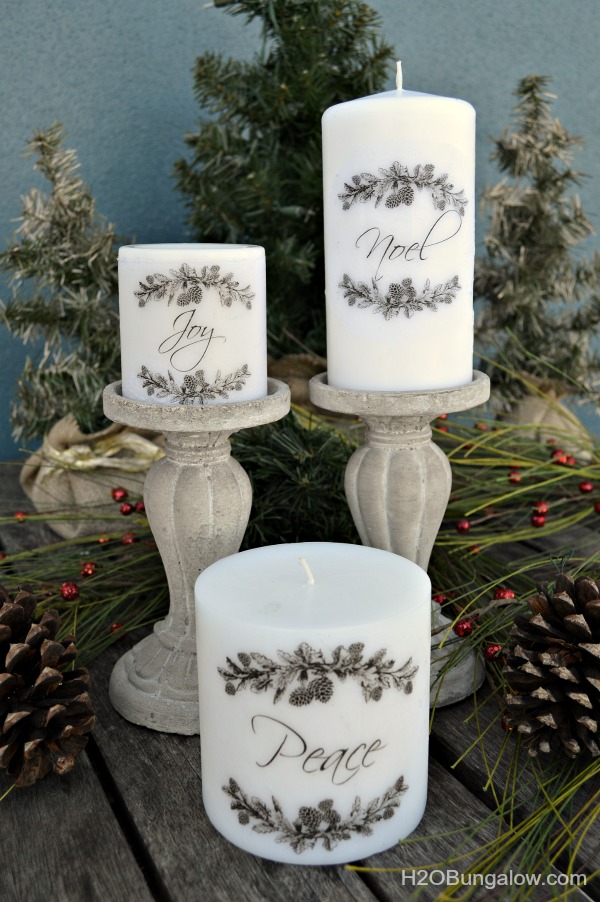
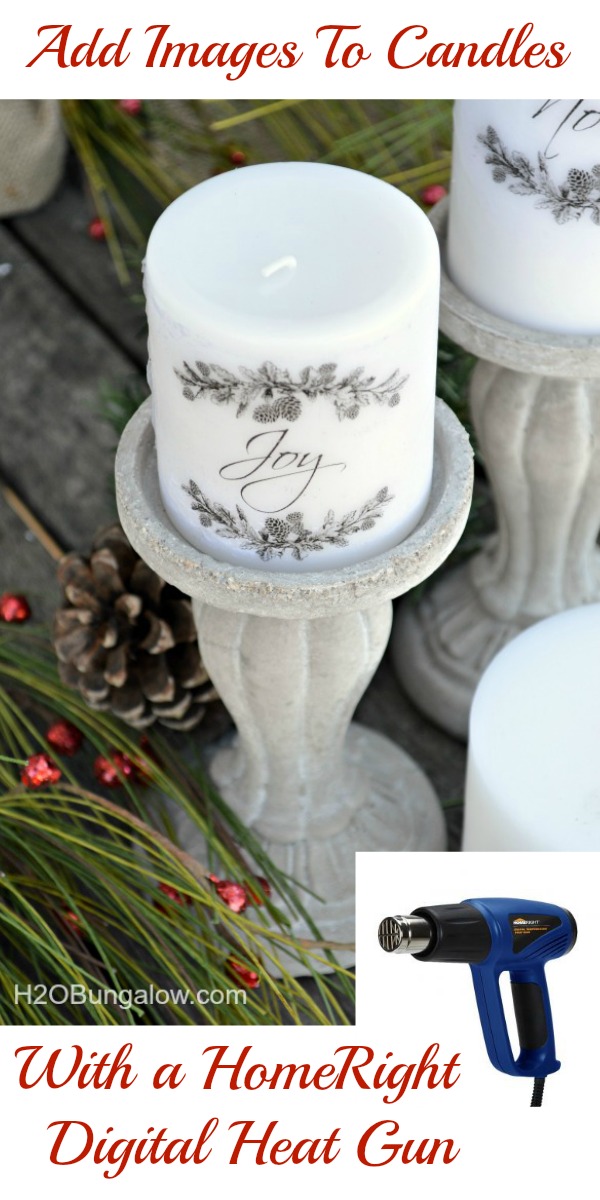
I was super excited to receive my new HomeRight Digital Temperature Heat Gun. Oh…Yawn..you say? Like, what can you do with a heat gun? I’m so glad you asked because this new tool does lots of things from crafts to home improvement projects! Today, I’m going to share with you how to add images to candles. Using this technique, I turned plain white inexpensive candles into beautiful ones that look like they came from an upscale boutique.
These make great gifts!

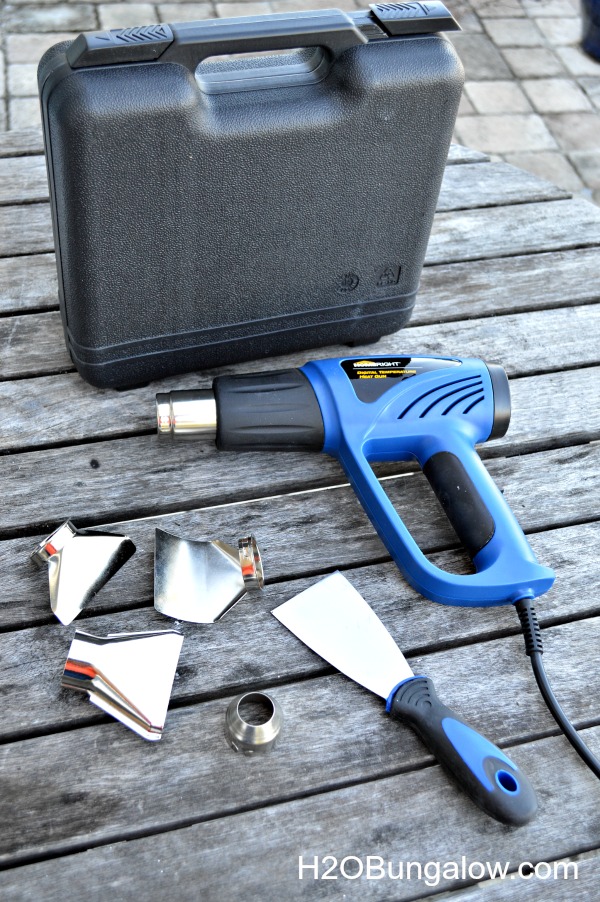
I started with my new heat gun. This isn’t just any old heat gun, it’s adjustable up to 1200° and has 3 fan speeds, several useful attachments and a sturdy storage case. All those features make it a super useful tool and eliminates the need to buy other tools that will do similar jobs! Chemical free paint removing, stubborn sticker removal, defrosting frozen pipes and crafty things like embossing, aging wood and…making upscale candles with images are just a few of the many jobs this heat gun can tackle!
Let’s get started and I’ll show you how to add images to candles in a few easy steps.
This is what you’ll need to transfer an image onto a wax candle.
- Plain tissue paper , the type used for gift wrapping
- Tape, I used painters tape
- Piece of card stock or heavy paper 8 1/2 x 11 inches
- Wax paper
- Image, your own or my free downloadable ones below
Tools needed for this project.
- Scissors
- Printer
Start by cutting your tissue paper the size of your paper. Notice that the tissue paper has a shiny and a matte side. You’ll want to print on the matte side. Tape the top of your tissue paper to your card stock shiny side down. The card stock gives your tissue paper enough structure to be printed on, otherwise you’d have a wadded up mess in your printer
Print your image onto your paper and trim around the image edges. If you’re not sure which side of the paper your printer will print on (top or bottom), print a test sheet first.
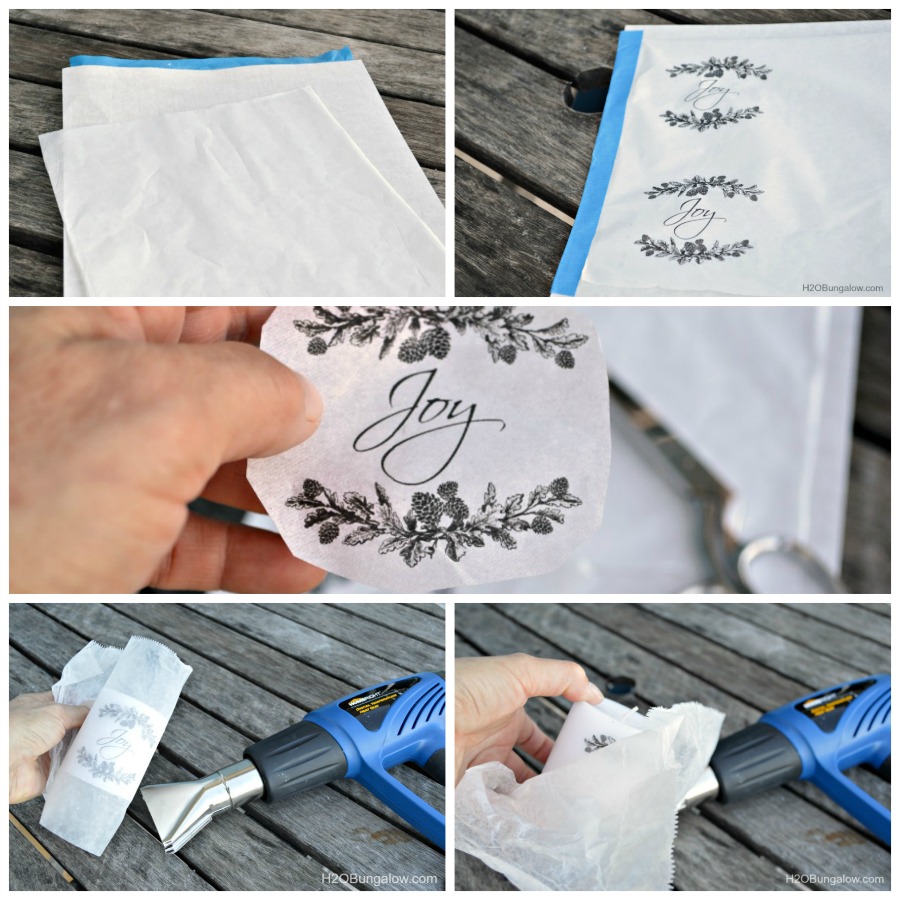
Cut a piece of waxed paper large enough to go around your candle with enough extra to hold onto. Place your image with the matte side facing out onto your candle and wrap your wax paper around it. Next, with the waxy side of the wax paper facing the candle, heat the image at about 190° using the wide directional attachment on the heat gun. I kept mine at about 1 1/2 – 2 inches away from the candle.
As soon as you see your image brighten, it’s been fused to the candle. Continue to quickly move on to the next area of the image. On a small candle, this process takes less than a minute. As soon as you’ve fused all of your image, carefully pull back your waxed paper.
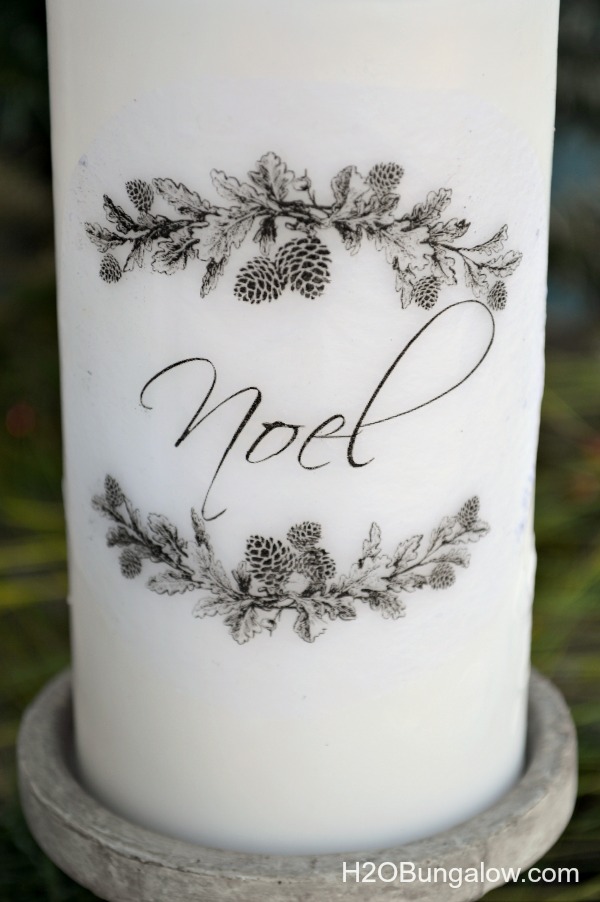
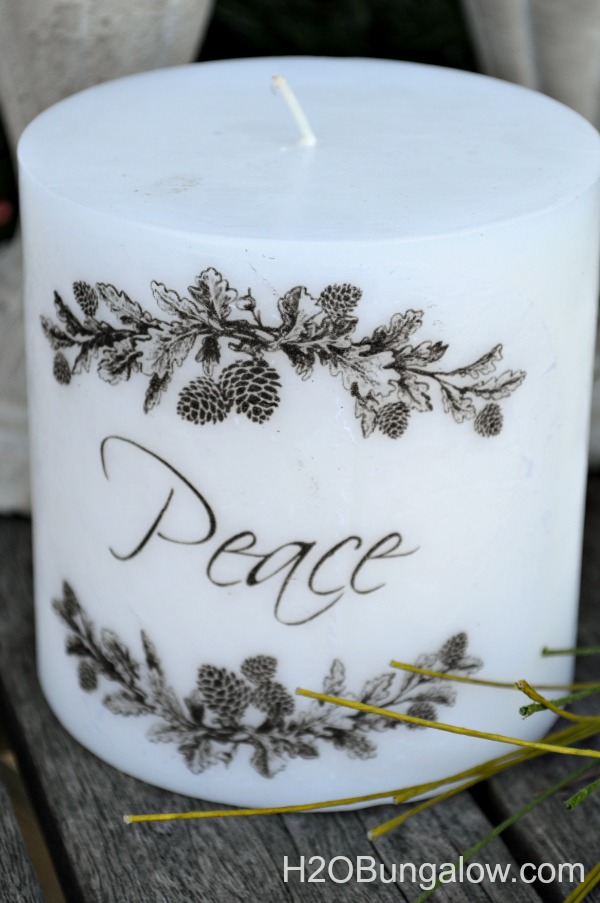
That’s it! You’ve just learned how to add images to candles:)
They look awesome, don’t they? You can’t see the tissue paper at all, it’s completely transparent.
Almost any graphic will work with this technique. Photos and vintage images can make a plain candle upscale. Just for fun try something with color. I created these images for the holidays with garland, pinecones and a few of my favorite holiday words. You can download each image I used below. Just click on the graphic below you want to download and it will take you to a pdf to save. Please note they are intended for personal use only.


Are you loving this project? I sure am! Be sure to check back here next Monday. I have another crazy fun project to share using my new HomeRight Digital Temperature Heat Gun!
Seriously…you’ll WANT to see this!
…and NO, I’m not giving any hints away!
Now that I’ve shared how easy it is to add images to candles with my new HomeRight Digital Heat Gun are you ready to try this yourself?
I love the HomeRight brand for the quality, features they include and the durability they build into their products. Why do I say this? Because aside from having fun with holiday crafts, we use our tools on our home. Living in a project house that we are renovating gives us plenty of opportunity to try lots of products. We only recommend the ones we’d purchase ourselves!
Want more information on HomeRight’s Digital Temperature Heat Gun or any other HomeRight products?
As you might have guessed this is a sponsored post, I was provided product and /or compensated for sharing this information. All opinions, craftiness and projects are 100% my own and I’ll only share items I think have value for my readers!
Love a good dose of DIY home decor, home improvement, the challenge of woodworking and creative ways to make your home look fabulous?
Me too!
I’d love to share mine with you. Click here to sign up for my post emails and I’ll send a quick note when I have a new project to share.
Social media fan? Don’t be shy say hello! I love when you guys do that! I’m interactive on Facebook and I share lots of other projects and, useful inspiration for the home and content I don’t share anywhere else. Follow H2OBungalow on Facebook here
Oh heck, just follow me on all social medias. We’ll have some fun…promise:) Follow H2OBungalow on Instagram , Follow H2OBungalow on Twitter , Follow H2OBungalow on Pinterest, I’m on Periscope! @H2OBungalow
I use affiliate links in my posts. If you should make a purchase I will receive an itty bitty commission at no cost to you. Thank you in advance for supporting my blog…my two cats and our boxer dog

This project was featured on

Original article and pictures take h2obungalow.com site
Комментариев нет:
Отправить комментарий