This post is part of a social shopper marketing insight campaign with Pollinate Media Group™ and Sharpie, but all my opinions are my own. #pmedia #StaplesSharpie http://cmp.ly/3/8vNxcO.
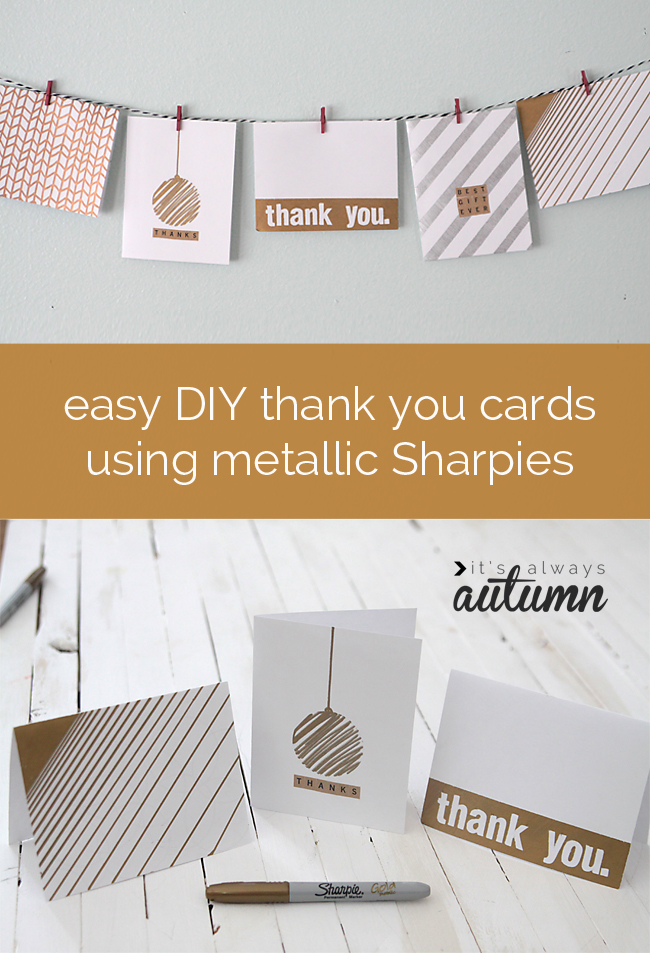
Kids don’t want to write thank you notes. They just don’t. I certainly never did – honestly, I hardly do now! I usually just call someone to say thank you instead. But I thought it might be fun this year to create some DIY thank you notes and cards with my kids – I figured if they helped make the cards they might be a little more excited about writing in them after Christmas. What I didn’t realize was quite how much fun both the kids and I would have making these cards using metallic Sharpies. It would be fun to work on these together a few days after Christmas when the craziness has died down a bit.
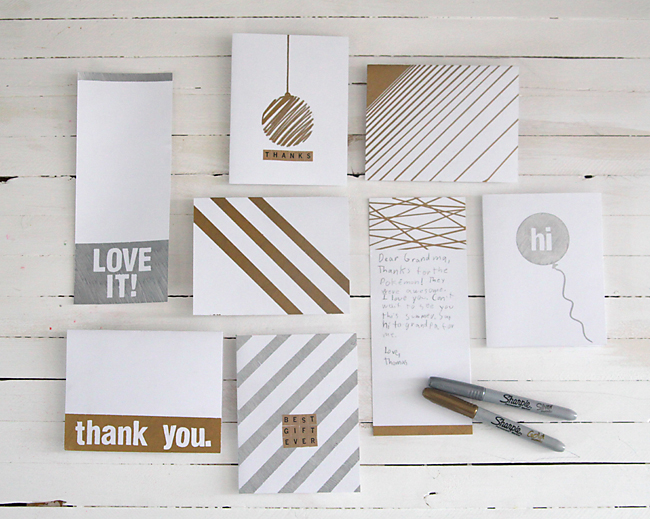
I have no natural drawing ability (my sisters still make fun of the things I used to draw when we’d play dictionary) and I wanted the kids to be able to do this project too, so I knew I needed to come up with an easy way to make my cards look nice. All the cards above were made with the metallic sharpies, letter stickers, a ruler, and washi tape. They were so easy to make, and the Sharpies have such a fun metallic surface! Plus, it was really nice to work on a craft project that didn’t make a big mess.
I got my Sharpies at Staples, where they’re on a great sale right now. You can get the 12 packs of assorted colors for only $6, and the 4-packs of metallic colors are only $5.
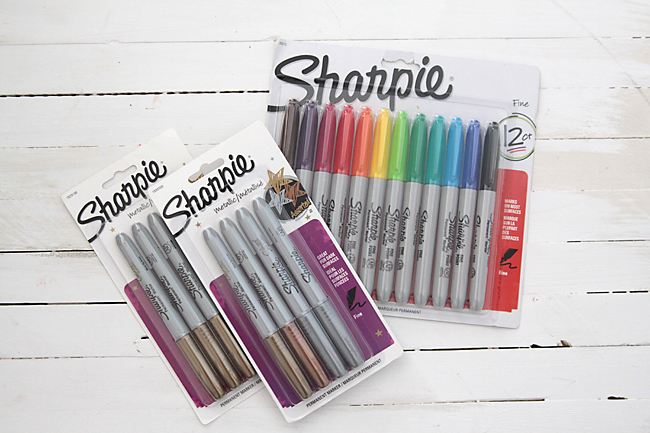
I’m kinda in love with the metallics – they go on very smooth and don’t bleed through the card stock like normal Sharpies can. They’re so much nicer than other metallic paint pens I’ve tried – with the paint pens it’s always hard to control how much is coming out at once and you end up with splotches – but the Sharpies write just like normal Sharpies, only a little smoother. It did seem like they needed a few strokes to “warm up” each time we opened them up, so draw a bit on scratch paper before you start your actual design.
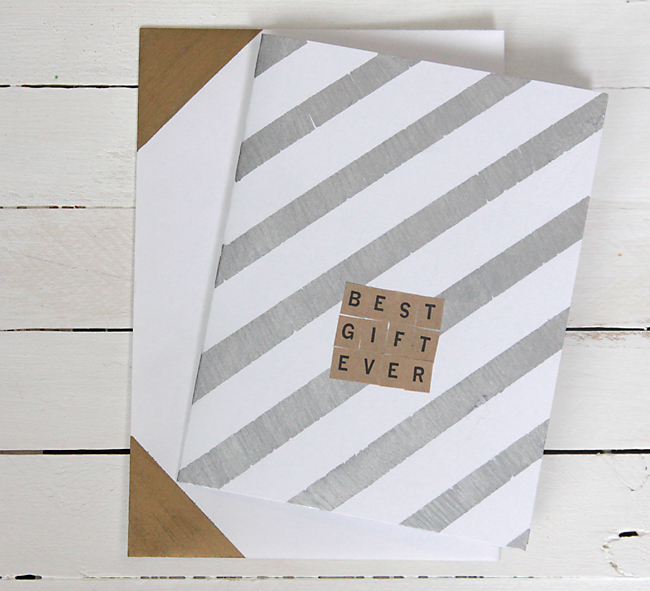
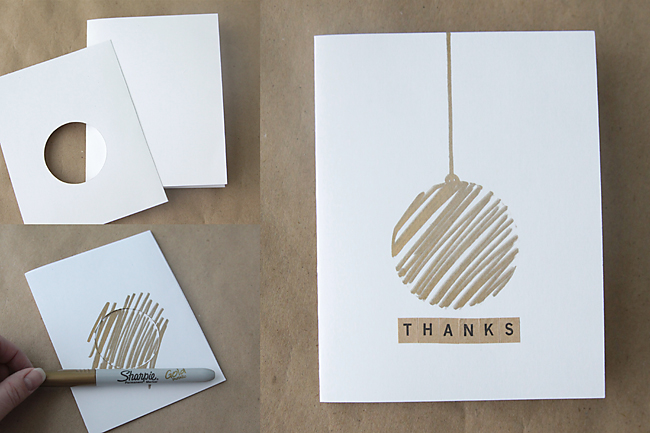
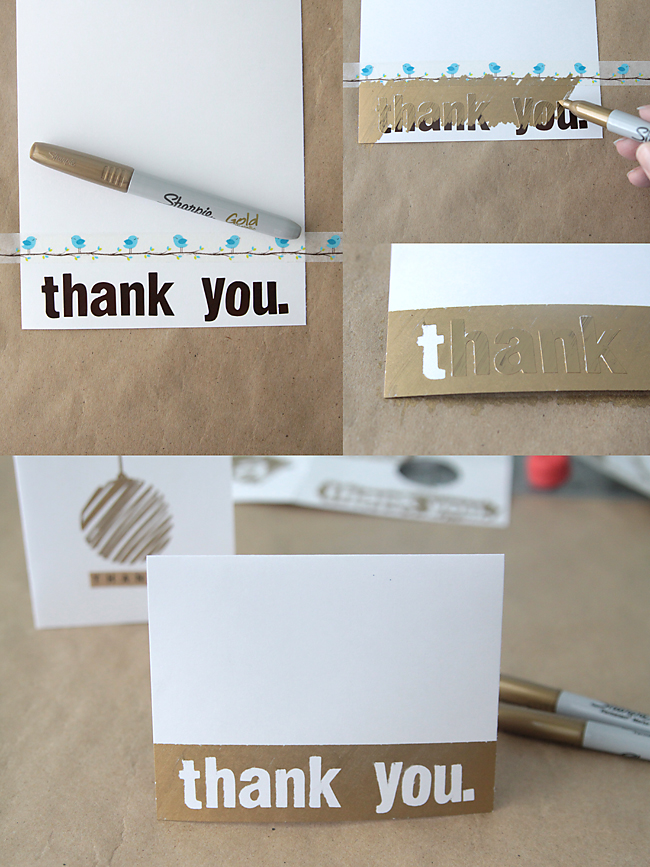
A few notes on how we made our cards: 1 – We used white card stock for the cards – either one piece sliced in half for a folded card, or one piece cut in three for a tall, non-fold card. 2 – We used washi tape instead of masking tape because it’s not quite as sticky and it pulled up better without tearing the paper, but you could probably use masking tape if you were very careful. 3 – We used letter stickers to spell out “thank you”, colored over the stickers, and gently pulled them back off for a fun negative design. 4 – We also cut simple shapes out of card stock to use as stencils.

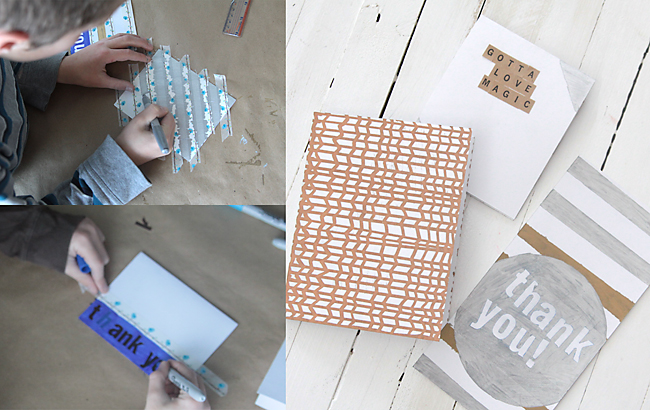
My kids got into the action, too. I taped some kraft mailing paper (from the dollar store) down on my table so they wouldn’t have to worry about getting any ink on the table, then let them go to town. The younger kids just played with all the different colors, but my older boys (10 and 12) had a great time using the masking tape and alphabet stickers to make some custom designs. The twins have been taking card stock and Sharpies in the car with us for the past week so they can keep working on new designs.
For more fantastic ideas using Sharpies, visit Sharpie on twitter, pinterest, Facebook, and instagram!
Original article and pictures take www.itsalwaysautumn.com site
Комментариев нет:
Отправить комментарий