So my lucky husband is down south this week. I giggled a bit when he mentioned it rained on his first day (sorry not sorry). Meanwhile the boys and I have been enjoying our nice weather here, ahh yes, the slushy, muddy, first signs of spring weather. I think I know how "spring cleaning" came to be - kids dragging mud in the house. Well, if you're looking to spruce up your home for Spring, take a look at this DIY Yarn Wall Hanging, it's an easy DIY to give your home a trendy new look.

Here are the things you'll need: two metal rings (look for them in the leather section at Michaels), yarn and scissors.

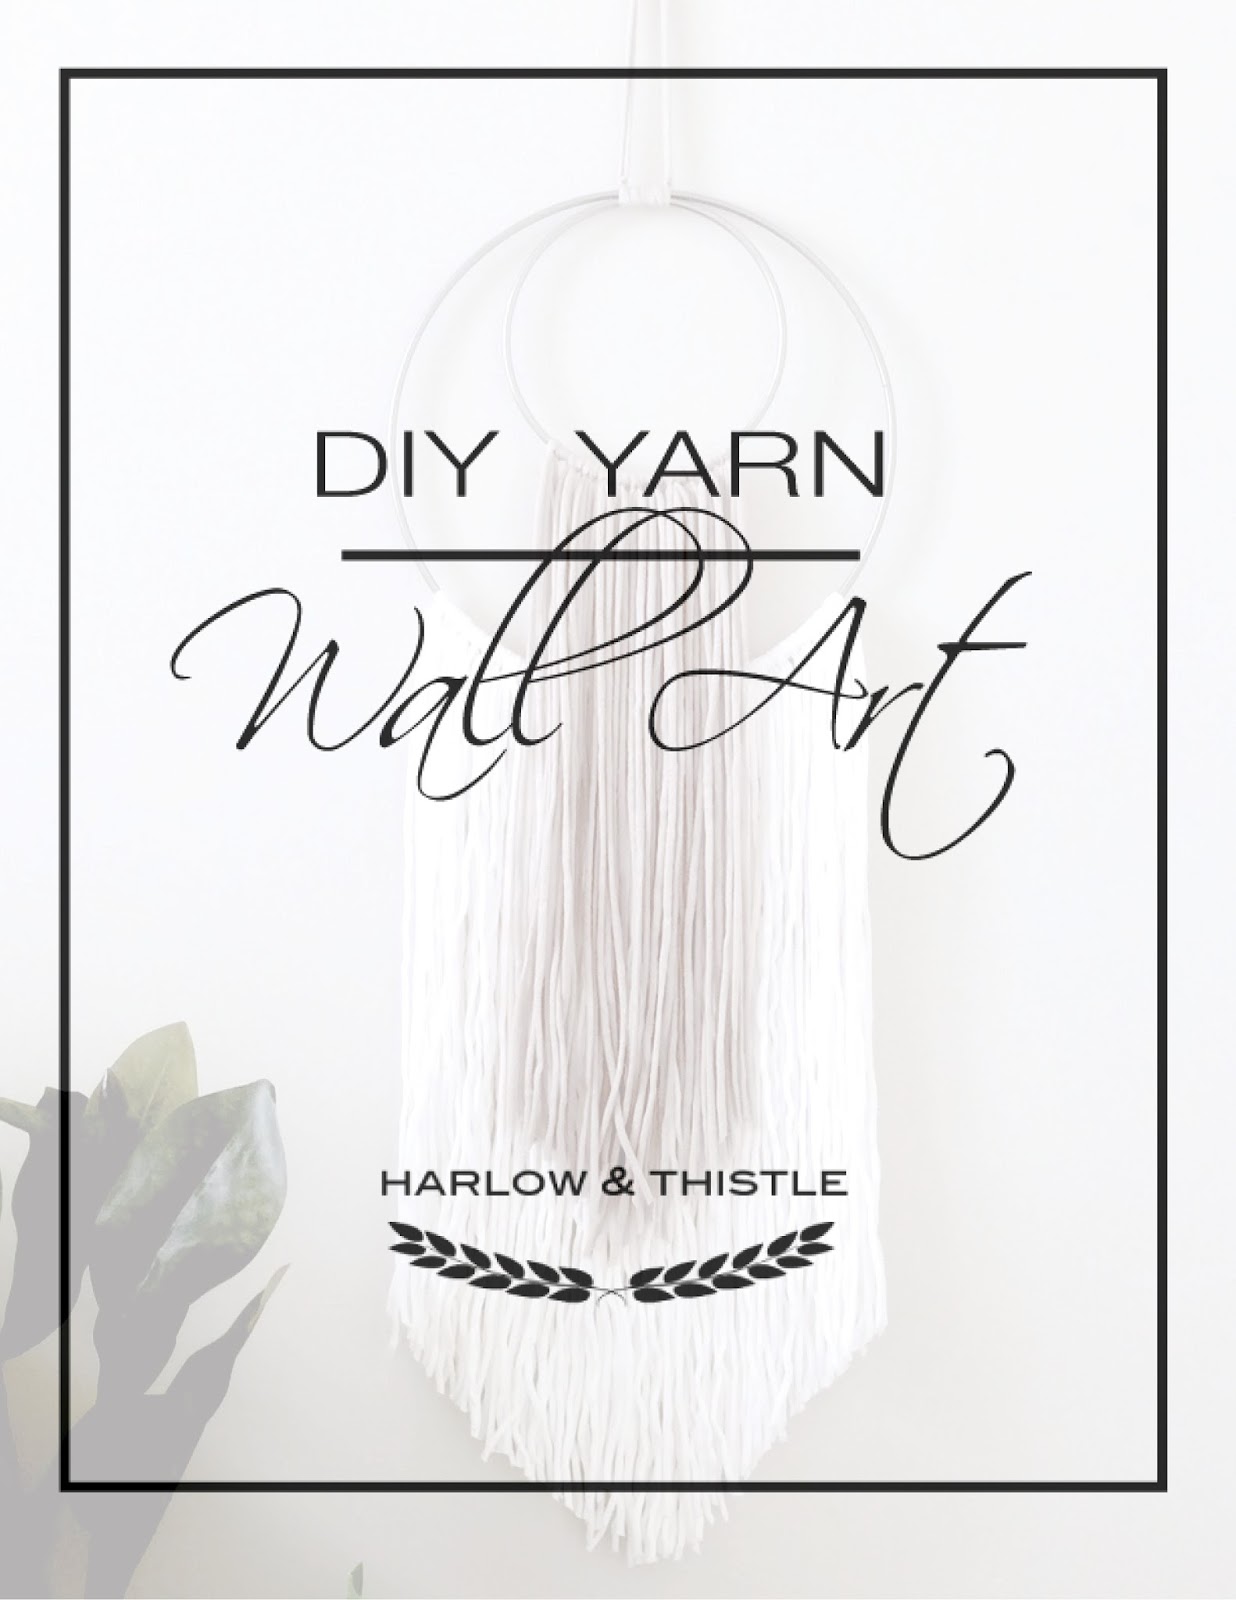
Here's how to make Yarn Wall Art...
Cut the yarn into 3ft strips. I chose two colours.


Grab two strips, make a loop, put the loop under the ring and pull the ends through. Continue this process along the ring and on the smaller ring in the other colour.


Attach the two rings together by tying them with the yarn.


Cut the hanging yarn into a v on both the large and small ring.


That's it! An easy DIY Yarn Hanging. My only regret is that I didn't spray paint the ring gold.
Also, I used this technique on a DIY Fall Wreath check it out.


Original article and pictures take www.harlowandthistle.com site
Комментариев нет:
Отправить комментарий