As the kids are quickly growing up (too quick, too fast, in my opinion!) Jordan noticed that we didn’t have a growth chart for them. And he was right. We were documenting their growth on social media, chronicling silly faces, and the occasional silly comments. But we never had a physical measure of their growth. What to do? Build our own growth chart!
Growing up you may be familiar with a mark on the wall depicting your own growth. However, we had to be realistic. We relocate a lot. Instead of picking up and creating new measurements after each move, we wanted something that would move with us. Oh, and it needed to be pretty. I like dual functionality our home.
This post contains affiliate links. If you shop from my blog, I may be compensated for clicks or purchases that you make. Read my disclaimer page for more information.
Supplies Needed for DIY Wooden Ruler Growth Chart
-
- 1×8 piece of lumber (We used select white pine)
- Orbital Sander (Optional to lightly soften edges and sides)
- Ruler & Pencil
- Wood Burning Tool (Optional)
- Wood Conditioner (Optional)
- Polyurethane (Optional. We used this one)
- White Cloth for Staining
- Foam Brushes for Stain
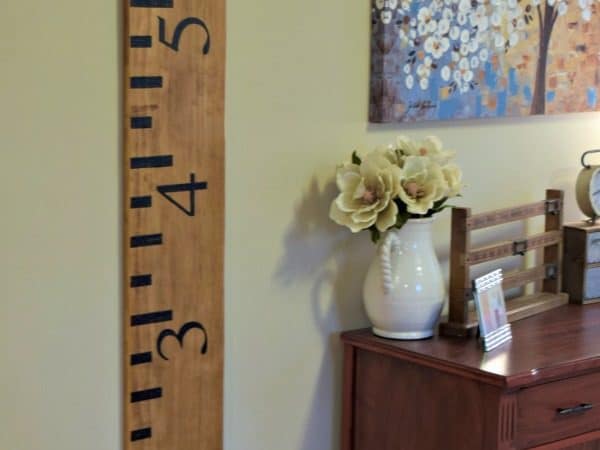
The goal of this project was to emulate an old fashioned ruler. While you could paint on the measurement lines with acrylic paint, we opted to use a wood burning tool. It made this piece even more memorable and it looks so realistic!
Choosing your Board
Think about the size of the area you have available to hang the board. You want to place it on the edge of a door frame and have a very narrow chart, or you may want to make a wide ruler looking piece (like we did). Once you have width determined, find a very straight board. It took us buying three boards and taking them home (they all looked straight or flat in store), to find the best one for us.
Cutting your Board
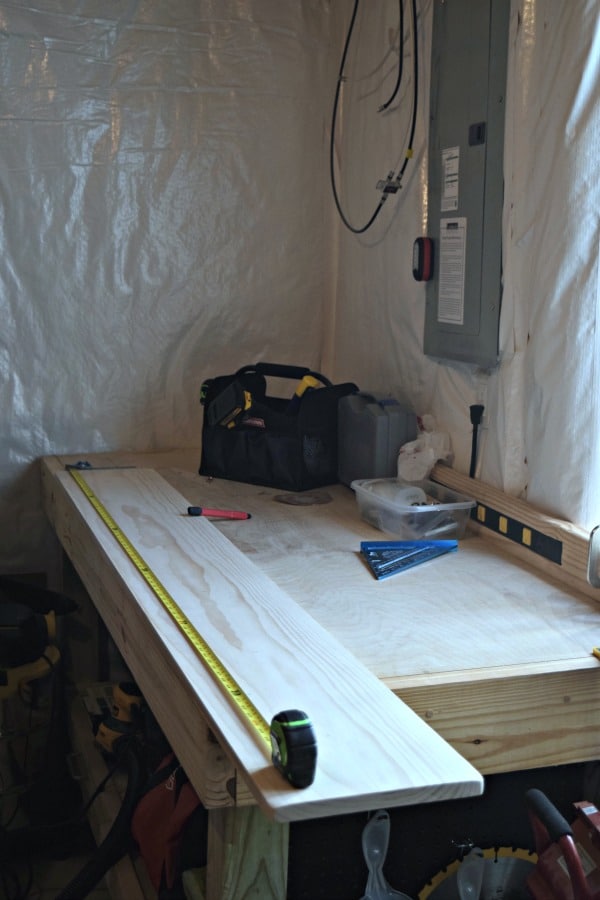
We are not tall people. Therefore, we do not expect our kids to suddenly grow 8 inches beyond Jordan’s height. With that in mind, we cut the board to 6 feet in length. We chose 6 feet because, the growth chart will begin at 6 inches (above the floor base moulding) and actually end at the height of 6 foot 6 inches. Keep the floor allowance in mind when you’re choosing your cut length!
Measuring the Tick Marks
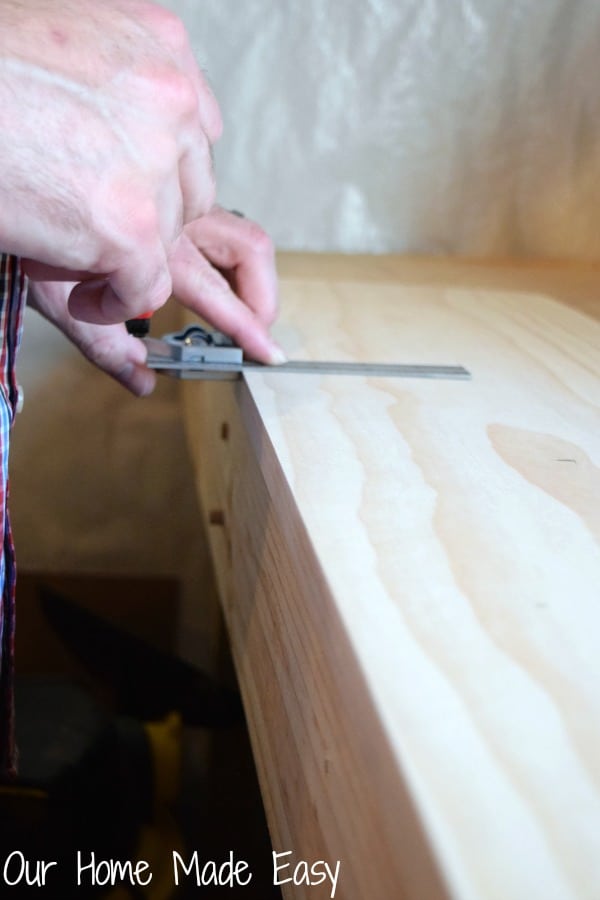
Jordan used his handy square and quickly made the tick marks. He used the width of the square to make the tick mark bars. He centered the bars around the actual measurement. Since our board is so wide, the bars are proportioned well. Trace your foot markers with pencil.
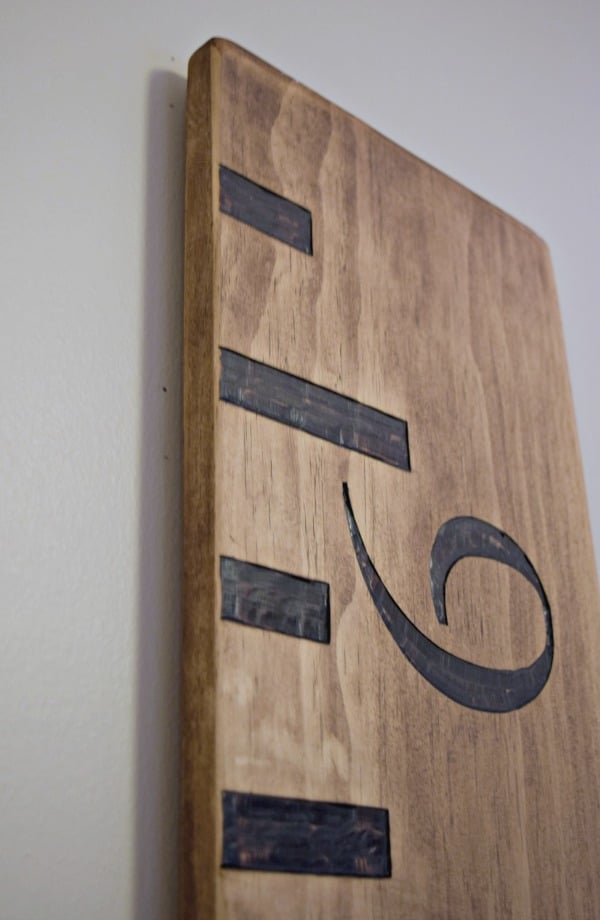
Burning in the Measurements

Next, you will want to use the wood burning tool to burn in your measurement bars. Once the tool is heated up, lightly run the tool across the wood in short straight strokes. Continue this with every tick mark. Once you have this completed, wood burn the numbers. You may need one extra tip for this step. The wood burning tool’s tip became less pointed and then we needed another one. Thankfully, there are replacement packs for that very reason!
Optional: If you are using acrylic paint, follow the steps above only painting the bars and the numbers with a fine tipped paint brush.
Sand the Growth Chart
Lightly sand the growth chart with an orbital sander to give it a worn in feel.
Choose your Stain
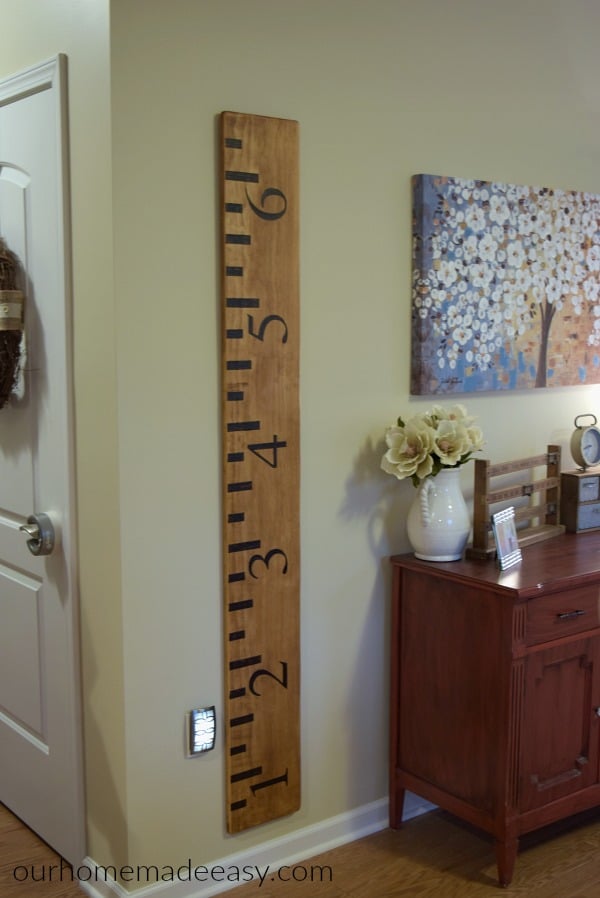
Test your stains on the back of your growth chart. This pine board took more than 8 cans of stain to find the rustic ‘old ruler’ brown look we wanted. And it was blotchy, so we had to apply a pre-stain conditioner so that it would have a more uniform appearance. The final stain choice? A color that was never expected (Golden Mahogany)!
Measure & Hang
Install hanging hardware. Measure how far down your hardware is from the top of the growth chart. If your growth chart should begin 6 inches from the floor, measure your hanging nails for
Board + Floor Allowance – Length of Hardware to Top = where you need to screw it in.
As an extra precaution, we placed one command strip down near the bottom on one side. The first thing our little guy did was try to make a pendulum out of the wood! The command strip keeps it firmly secured in place at the bottom.
Let me know what your wooden ruler growth chart looks like! I enjoy seeing your projects!
Original article and pictures take www.ourhomemadeeasy.com site
Комментариев нет:
Отправить комментарий