*The following post contains affiliate links
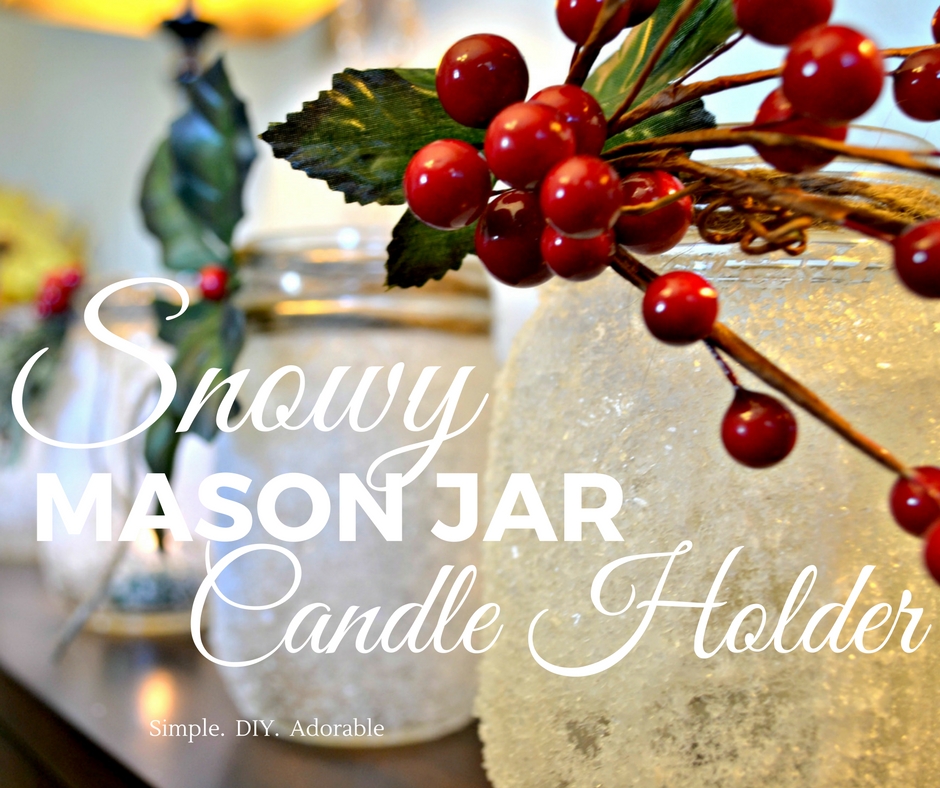
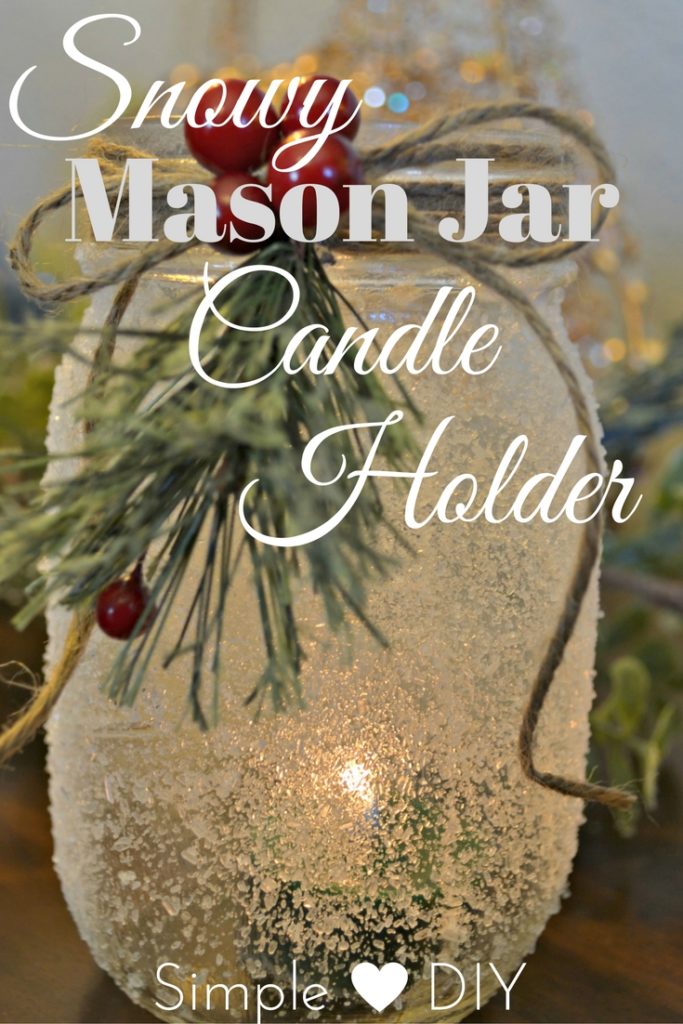
Mason Jars are one of my favorite and easy DIY crafts to do. In the fall I made leaf covered mason jars. They glowed so beautiful on my mantle all fall, so I had to make another season appropriate version for the fall. Enter the snow covered mason jar craft!
Here is what you’ll need:
- Picks (from the wreath making section of any craft store)
- Modge Podge acrylic spray – to seal the snow on the mason jars
- Tea light candle
- Sponge brush – to spread the glue
- Large bowl to put the epsom salt in
Directions:
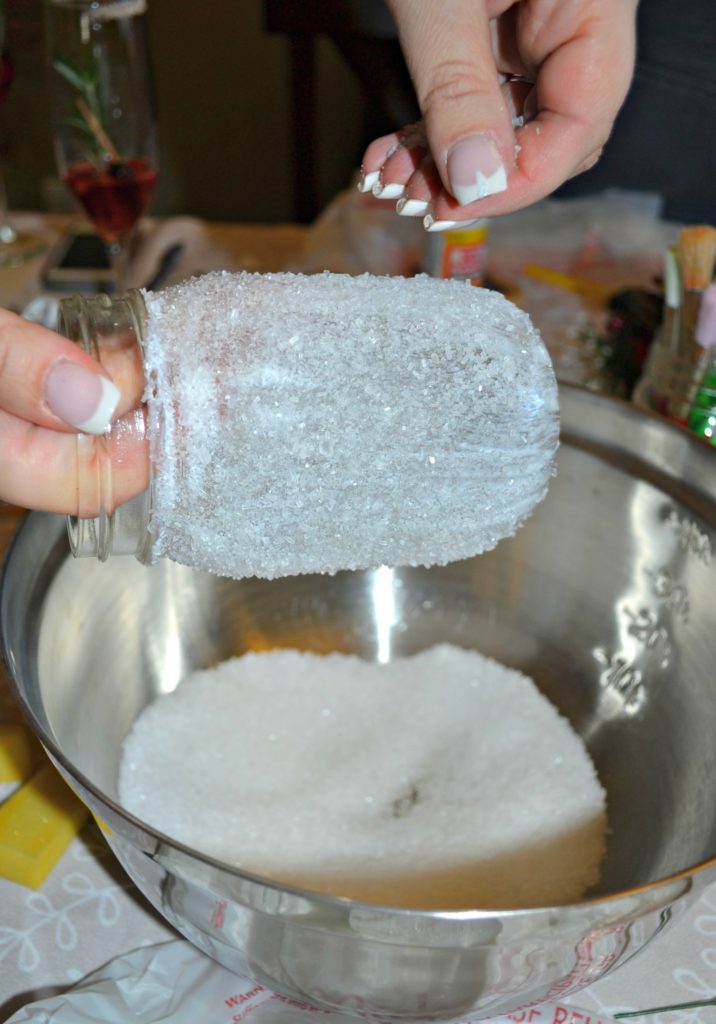
- Use the large bowl and fill it with the Epsom salt.
- Use the sponge brush and paint the modge podge glue around the jar. Be sure it looks even.
- Place the jar in the bowl and sprinkle the salt all over the wet glue.
- Let it dry.
- Spray acrylic spray around snowy jar.
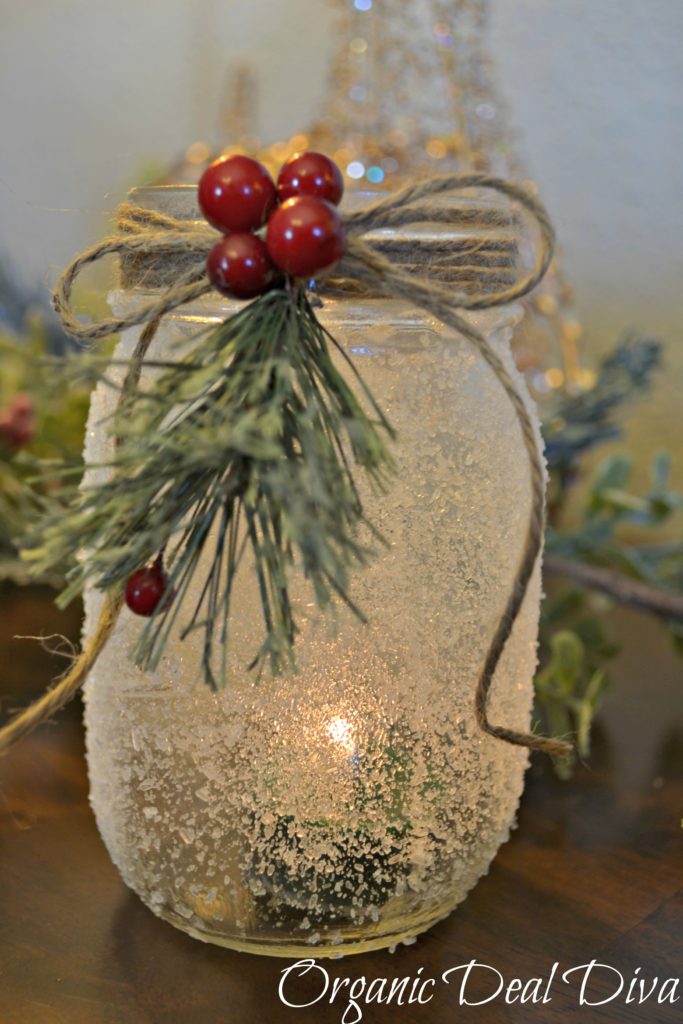
- Now decorate with the twine, picks, add ribbon, etc – get creative!
- Use a small tea light and watch your snowy jar glow!
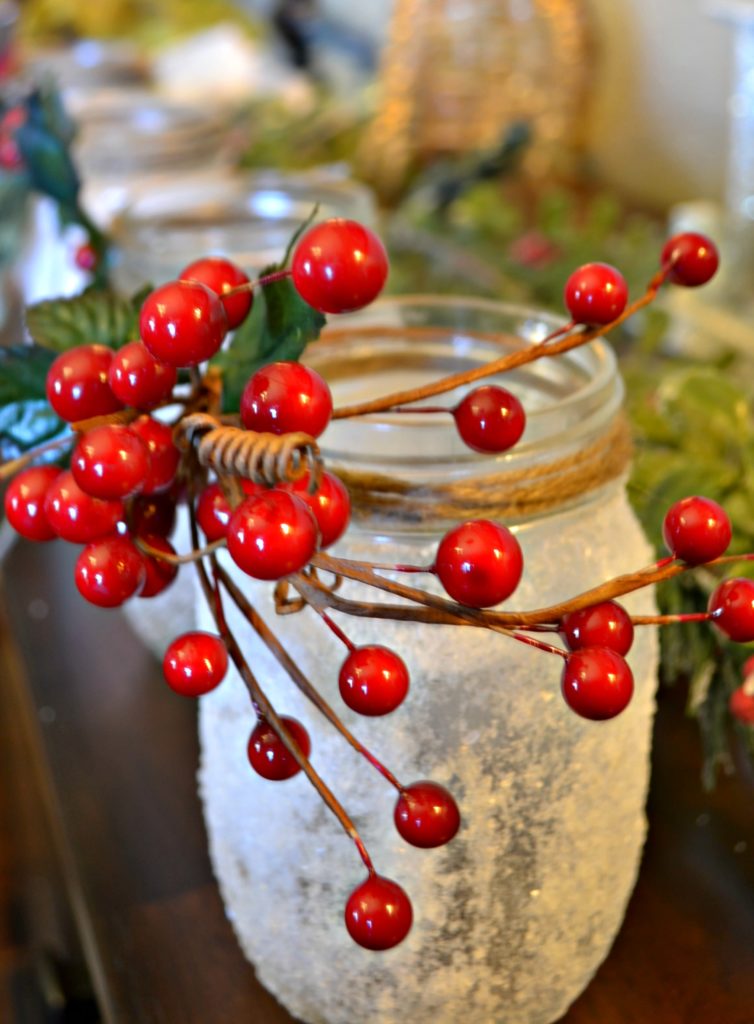
The acrylic spray is optional, but expect some of the “snow” to fall off. (My 2 year old enjoys flaking the snow off slowly….mom just loves that!)
One of the easiest winter crafts I’ve ever done and I love how it looks on my mantle. It’s a craft you can keep out all winter, and not just during the holidays.
I’d love to hear from anyone that’s made this craft before! How much do you LOVE your jar!!? ��
Original article and pictures take jessilivinglovely.com site
Комментариев нет:
Отправить комментарий