Making a show-stopping DIY large wood sign is easier to make than you think! Here’s a great tutorial for how you can make your own sign for your home.
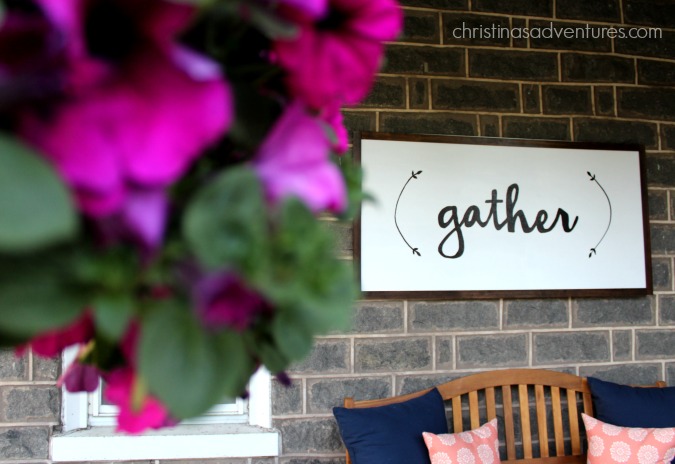
I shared this “Gather” sign on our front porch on Instagram and I had so many people ask me to write up how I made it. Here’s a quick tutorial so you can make your own customizable wooden sign
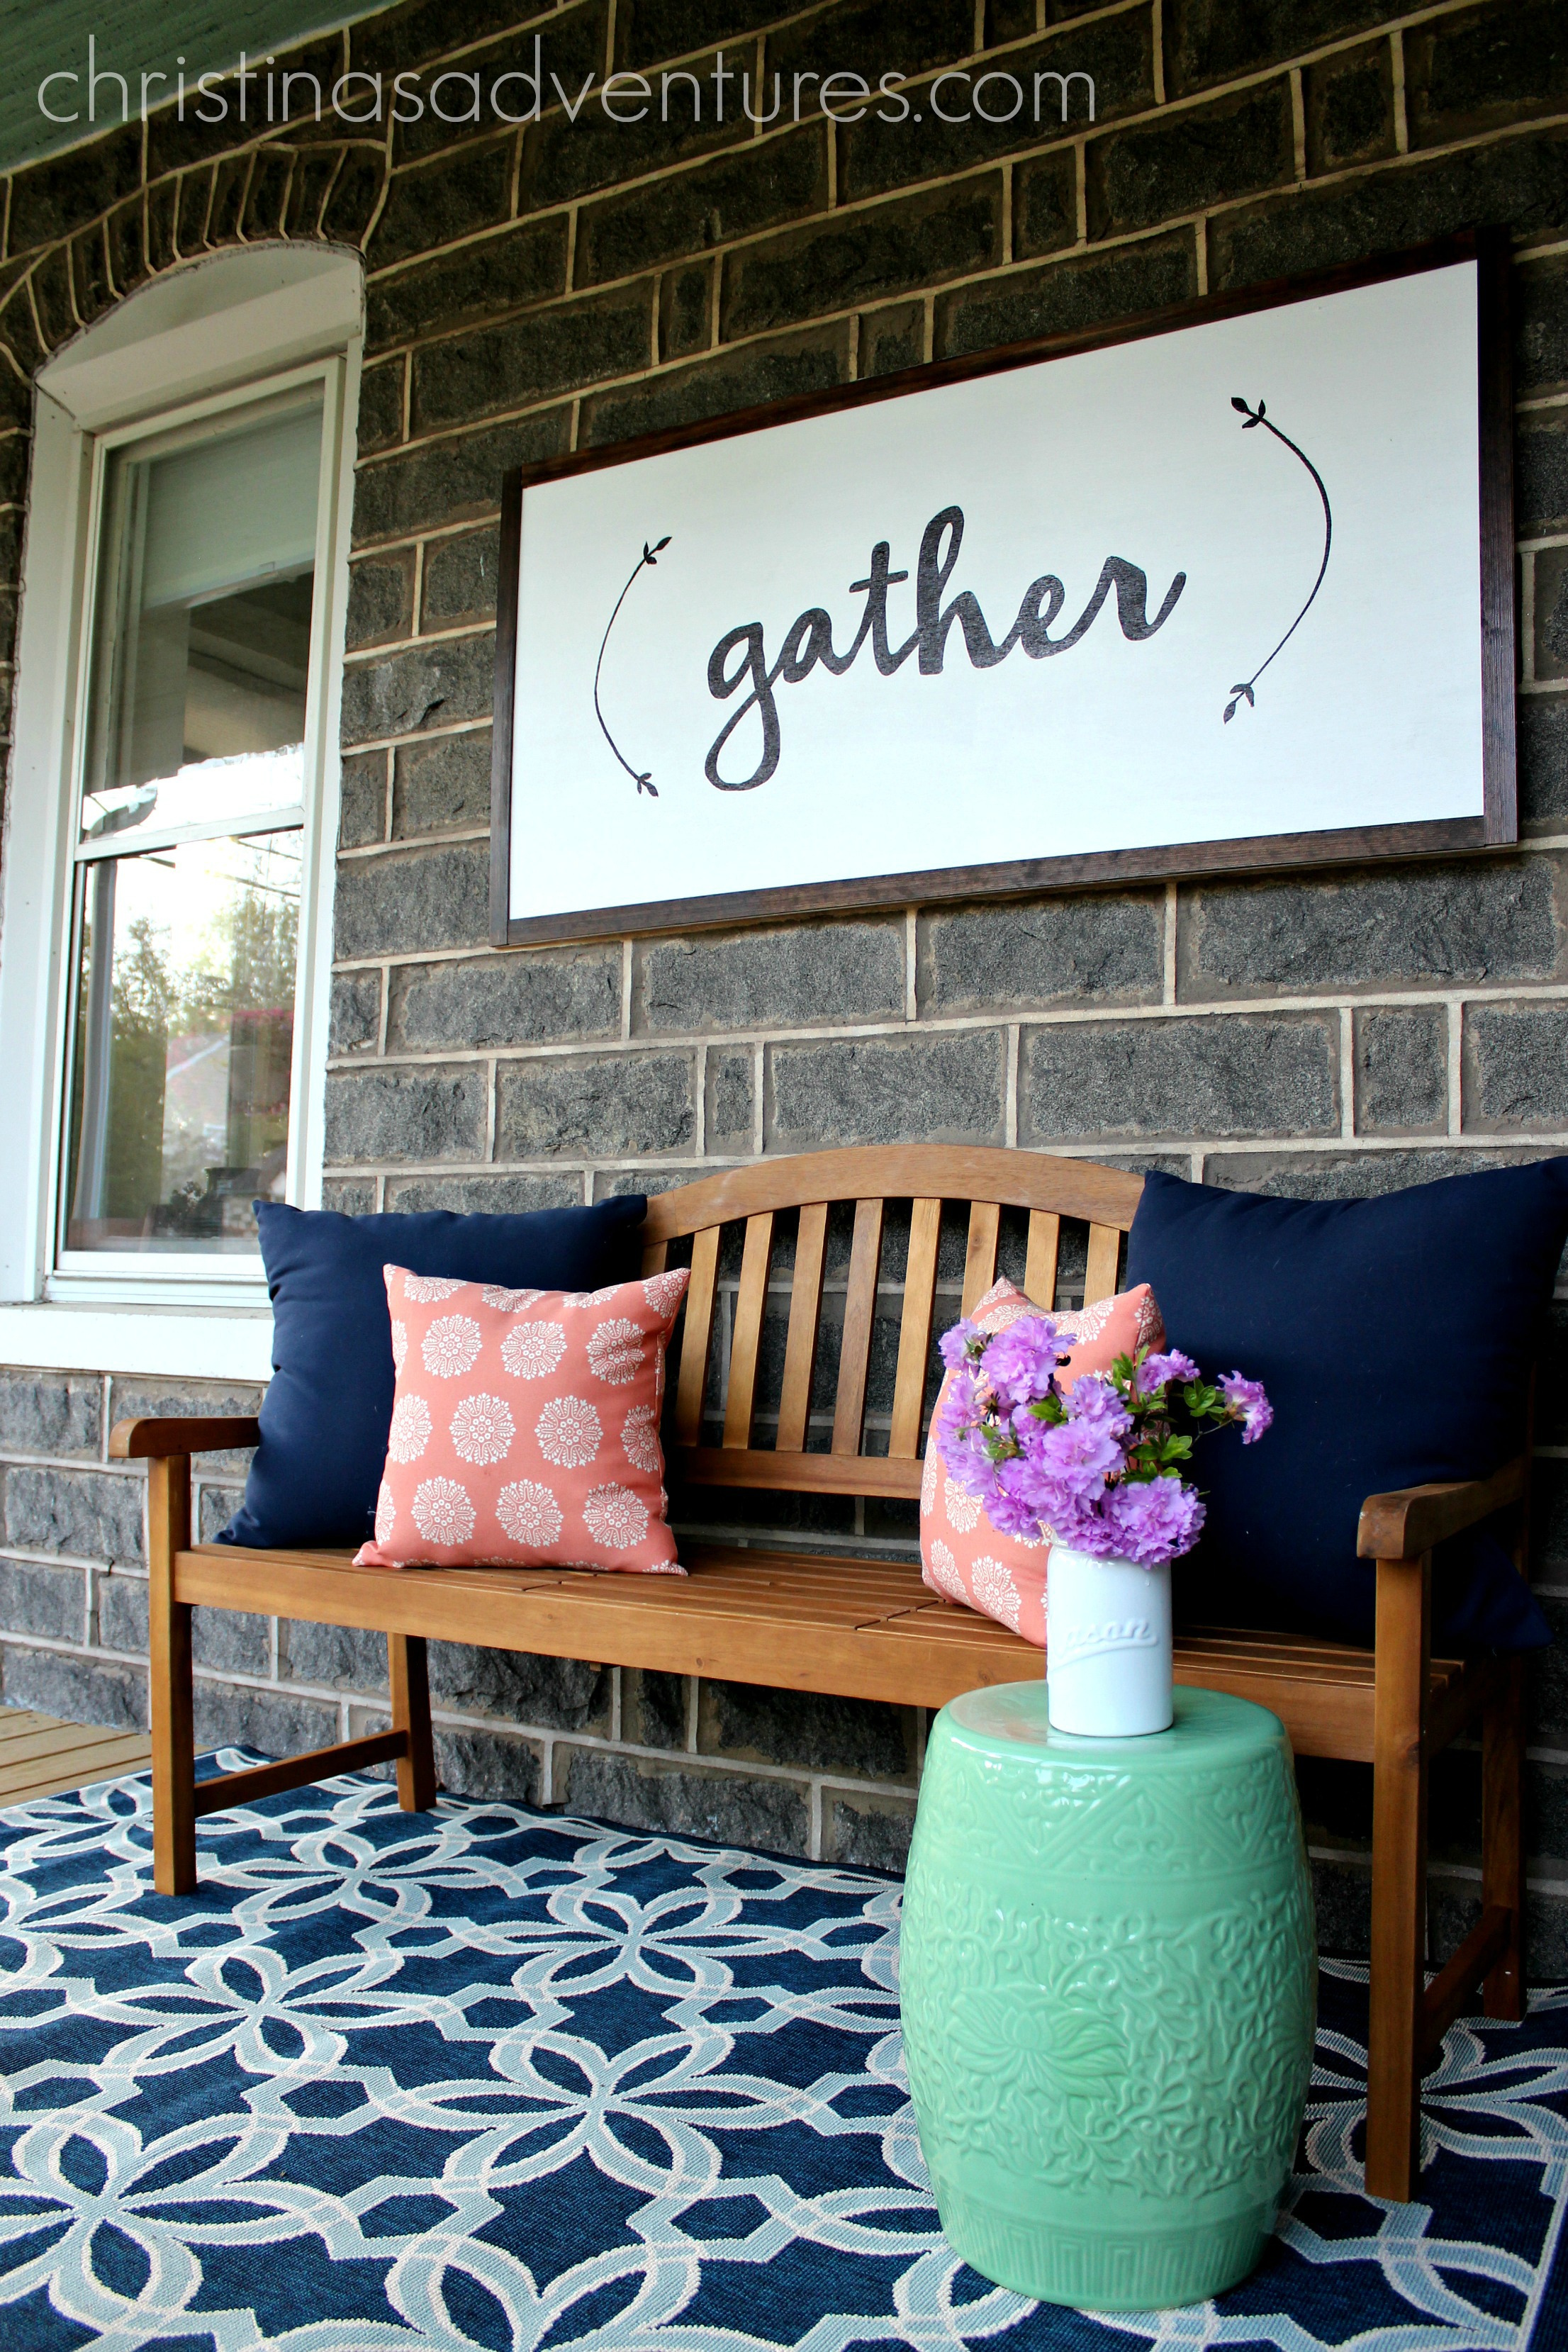
DIY Large Wood Sign Tutorial
I shared this “Gather” sign on our front porch, and I had so many people ask me to write up how I made it. Here’s a quick tutorial so you can make your own customizable wooden sign
subscribe to my e-mail list at the bottom of this post to receive this printable wooden sign template for FREE!

Materials needed (this post contains affiliate links for your convenience. full disclosure here.)
- Plywood
- Flat trim wood
- Primer
- Paint
I made a video of the process here – to see the pictures and instructions, keep scrolling down!
The back of this sign is made of plywood. I got mine cut at Lowe’s once I figured out the correct dimensions. Make sure that if you’re going to be using this sign outdoors (like I did) that you get an exterior plywood.
Paint the plywood your color of choice – I did a coat of primer & a coat of satin white paint. Then you’ll make the “frame”. It’s so simple – I stained flat trim wood (it’s $5 for an 8 ft. piece) and adhered it with liquid nails.
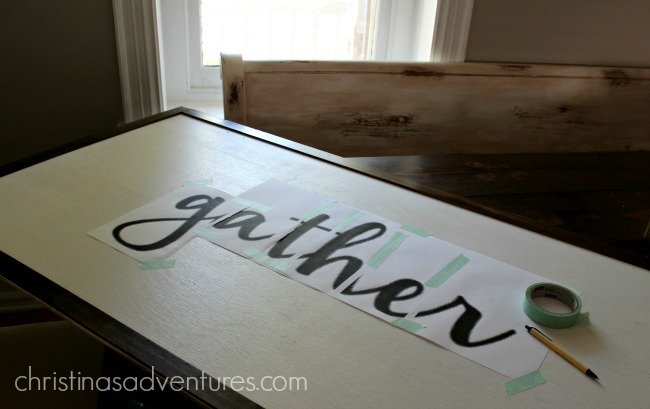
Once the adhesive dries, figure out what word/phrase you want to write, and pick a font you love. I enlarged the word, and split it up in a Word document. I did one page per letter for this sign. Tape them in place on your painted plywood:
Trace the letters with a ballpoint pen. Make sure you press hard – you want to make an indent in the wood underneath the paper:
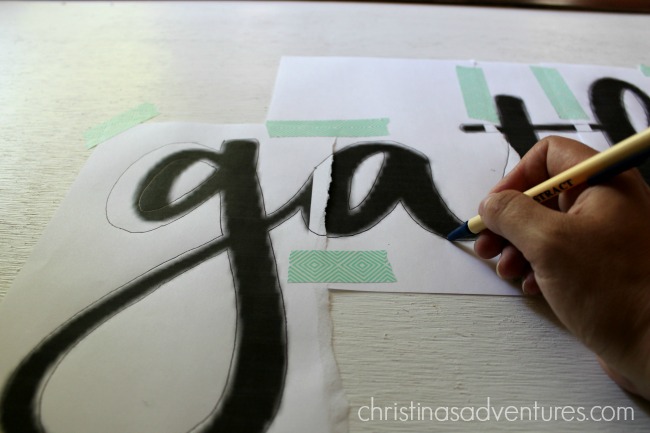
Once you’ve traced your word, you’ll want to fill it in. You could choose to use paint and a small brush, but it makes it SO much easier if you use a paint pen.

And that’s it! We attached two large sawtooth clips on the back to hang on concrete nails:

See more pictures of our welcoming porch space here.
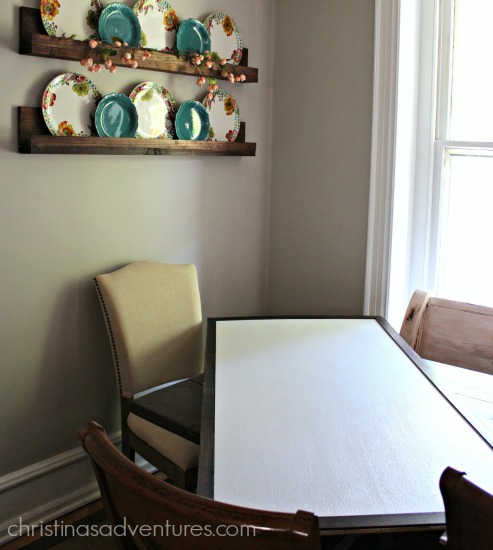
I made another version of this sign, using a similar technique, in our kitchen. Come see how I did it:

Like this post? Share with other and save for later by pinning on Pinterest here!
Original article and pictures take christinasadventures.com site
Комментариев нет:
Отправить комментарий