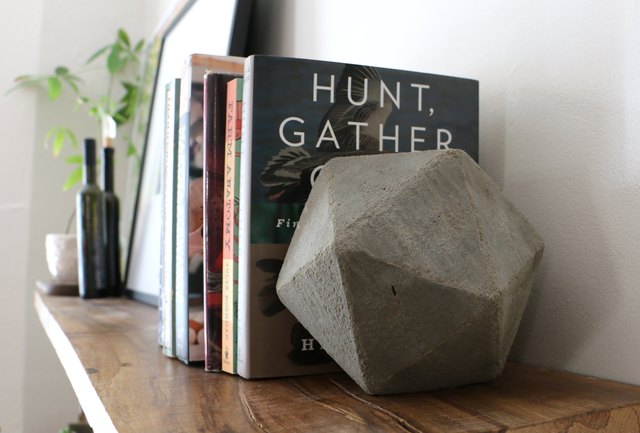
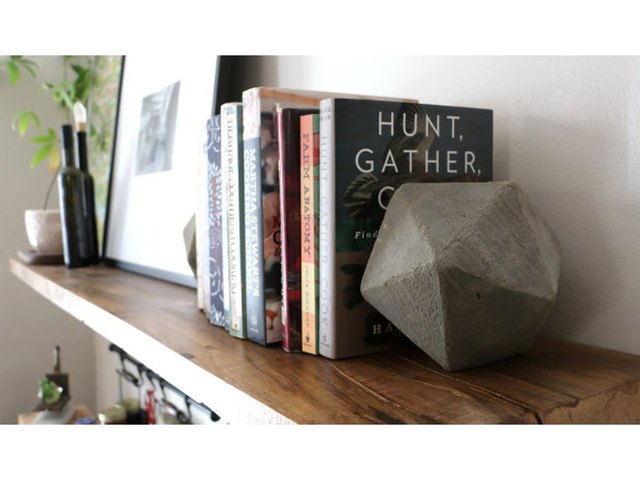
With the help of recycled cardboard and quick-drying concrete, these modern bookends with high-end appeal are budget-friendly and easy to make at home.
Things You'll Need
- Cardstock
- Ruler
- Scissors
- Corrugated cardboard
- Utility knife
- Duct tape
- Quick-drying concrete
- Water
- Mixing bucket
- Trowel
- Gloves
- Sanding block
Tip
-
Working with concrete: Look for a quick-drying smooth concrete or cement mix at your local hardware or craft store. This project would also work well with plaster or other agents, such as mortar, depending on what you have on hand.
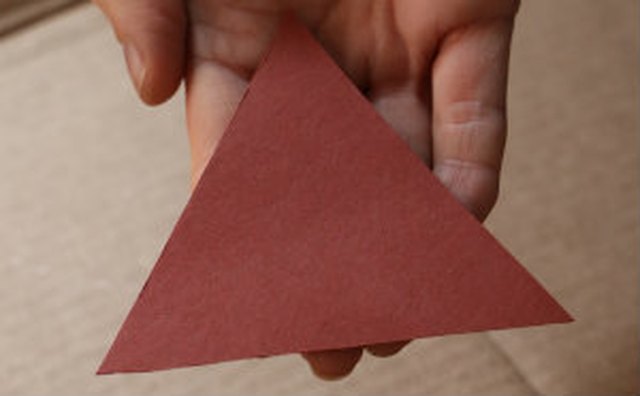
Step 1
Cut a 4-inch equilateral triangle from a piece of cardstock. This will be the guide to draw the mold template. Cutting a larger or smaller triangle will result in a larger or smaller bookend than ours. Get creative to suit the needs of your project or space.
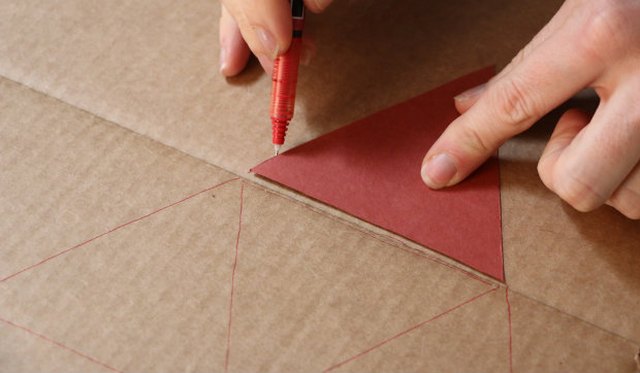
Using the triangle as a tracing guide, draw out the following template onto a piece of corrugated cardboard, such as an old box.

Cut out the entire shape from the cardboard.
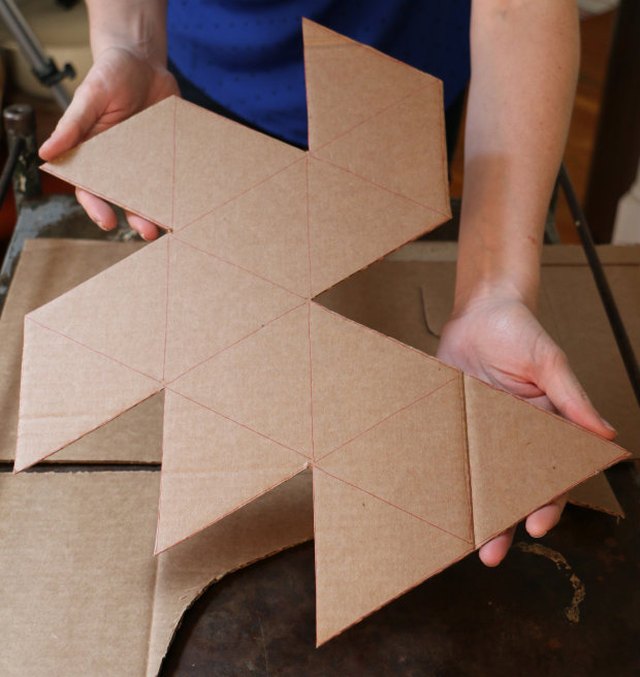
Step 2
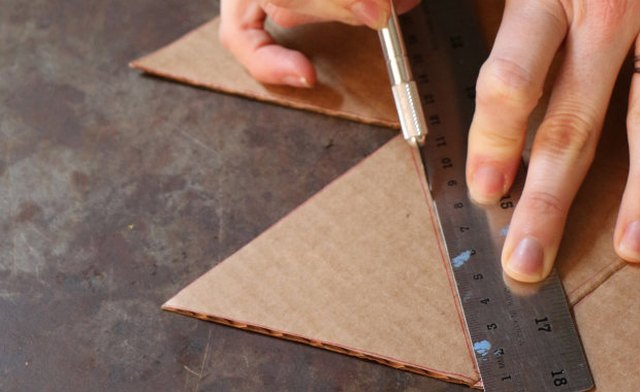
Using a ruler as a guide, score the top layer of cardboard along each of the lines, using a utility knife. The goal is to make for easier folding, not to cut all the way through the cardboard.
Step 3
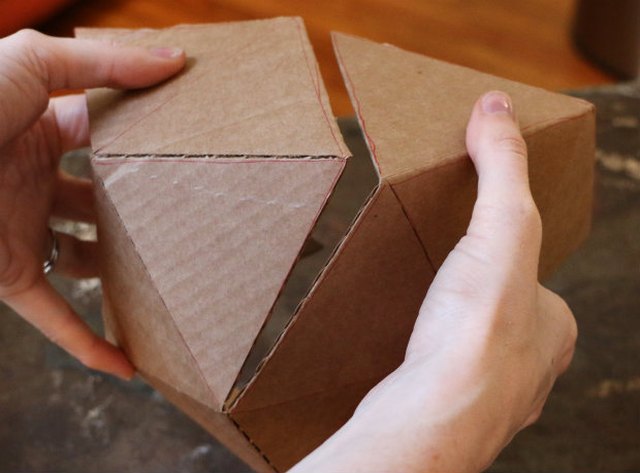
Once scored, bend and fold each cut in the cardboard to shape into the geometric mold.
Step 4
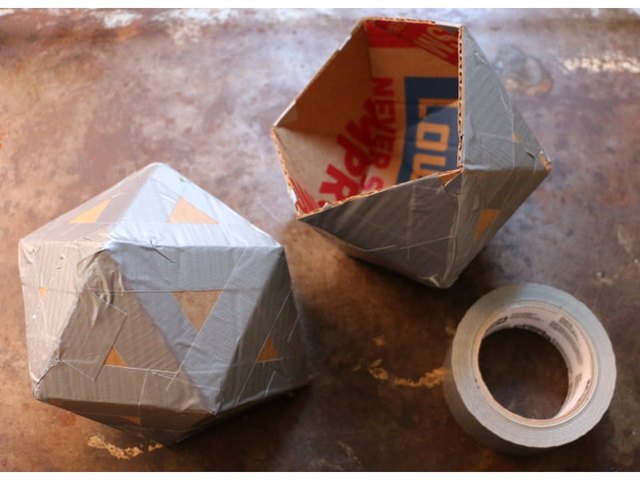
Secure each folded side with duct tape. If making two bookends, repeat the steps to make two molds ready for filling.
Step 5
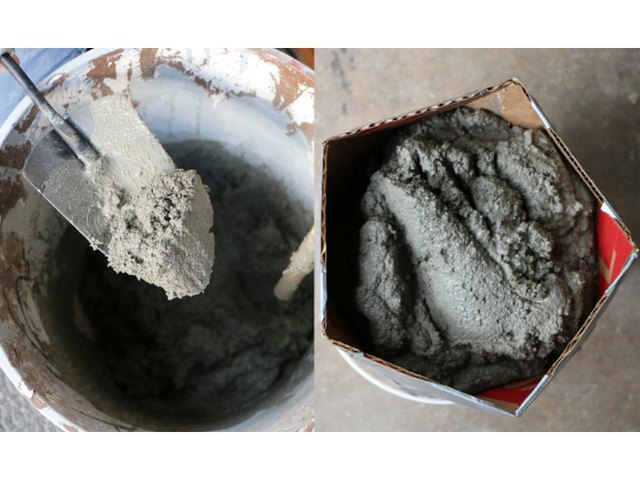
Because these next steps can get a little messy, bring the molds out to the garage. Mix quick-drying concrete with water according to the package directions in a well-ventilated and easy-to-clean area. Scoop the concrete into the molds, patting down the sides every so often to make sure the mix settles all the way down evenly (as you would with a baking pan when making cake or brownies).
Tip
-
Concrete can be tinted, if you prefer a different shade than the classic grey, incorporate dye during the mixing process to achieve desired hue.

Rest the molds face-up atop of paint cans or mixing buckets to set and dry. Allow the concrete to dry according to the package dry time, but move onto the next step when the concrete has set to shape just before it’s fully dry. Removing the mold before the concrete fully dries will allow for easier sanding and faster final drying time because the bookend will be exposed to the air. You’ll know when the concrete is almost dry when the center looks light in color and the edges are pulling away from the mold but it’s still a bit dark from retained moisture.
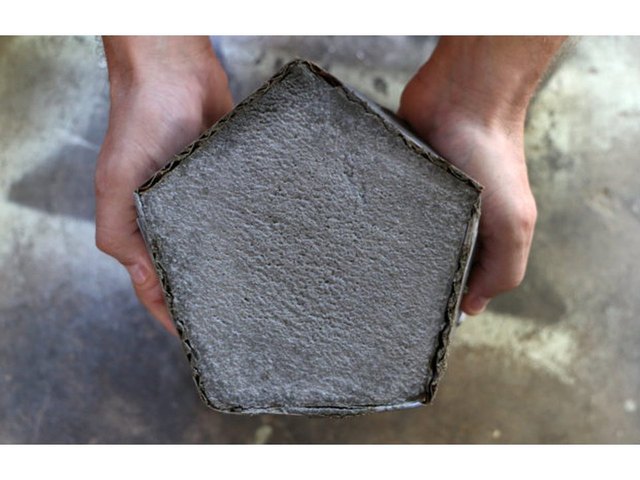
Step 6
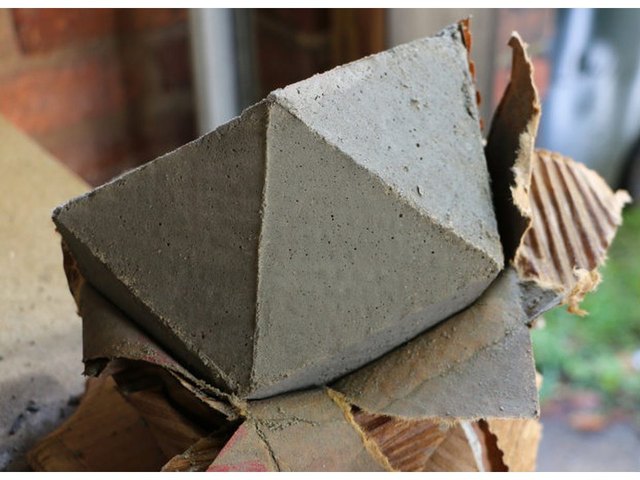
To remove the mold, gently peel away the tape and cardboard from the concrete. The shape will be rough at this point, retaining the ridges of the cardboard, and may have small bubbles or other imperfections.
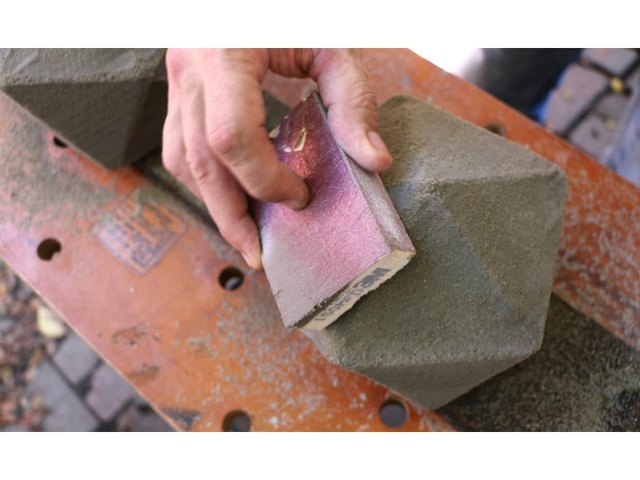
Step 7
Sand the surface and each edge of the bookends with a coarse-grit sanding block until smooth.
Step 8
Wipe away any excess dust, and allow to fully dry before bringing inside. At this point, we were happy with the natural surface of the concrete shapes, but this is the perfect stage to apply 2-3 coats of acrylic paint to a single facet or the entire surface for a bright update. Metallics, whites and blacks are all modern shades that pair well with most decor.
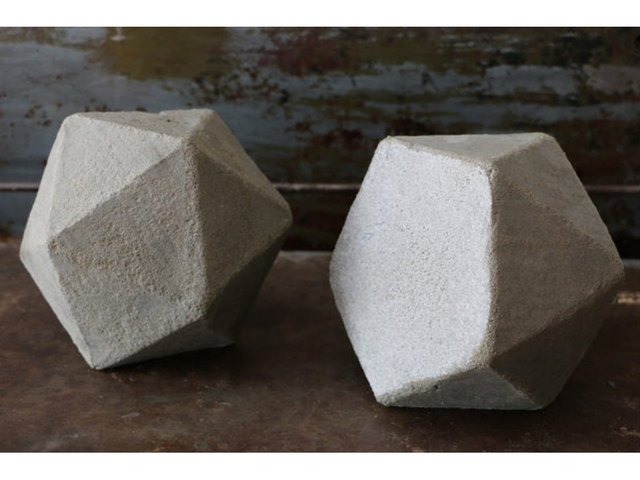
Rest the largest flat side against the books, and marvel at the modern architectural feel they introduce to your space.
Original article and pictures take v5-static.ehowcdn.com site
Комментариев нет:
Отправить комментарий