In my annual flurry of organization around January 1st, I realized I didn’t have a calendar in our office anywhere. I wanted something small that wouldn’t take up too much space, and this DIY desk calendar was born!
It combines two of my favorite things–watercolor and ombré–and I think it’ll make a pretty little addition to any desk:

Supplies
- Gold rub-on transfers (letters & numbers–I found mine at Target)
- 1 sheet of patterned paper
- Small, white wooden box
- 3 small C-hooks
- White eyelet gift tags
- Modge podge
- Sponge brush
- Watercolors & brush
- Pencil
- Measuring tape
- Scissors
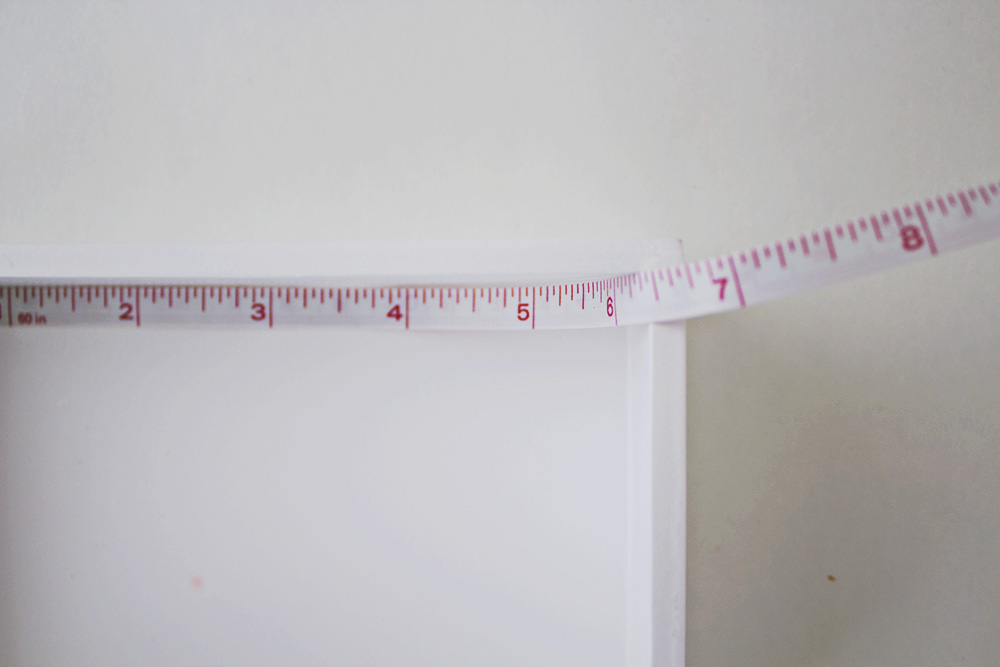
First, measure the interior of your box (mine was 5 5/8” x 3 5/8”–you won’t need the lid). Then, measure and draw a corresponding rectangle on the back of the patterned paper and cut it out.
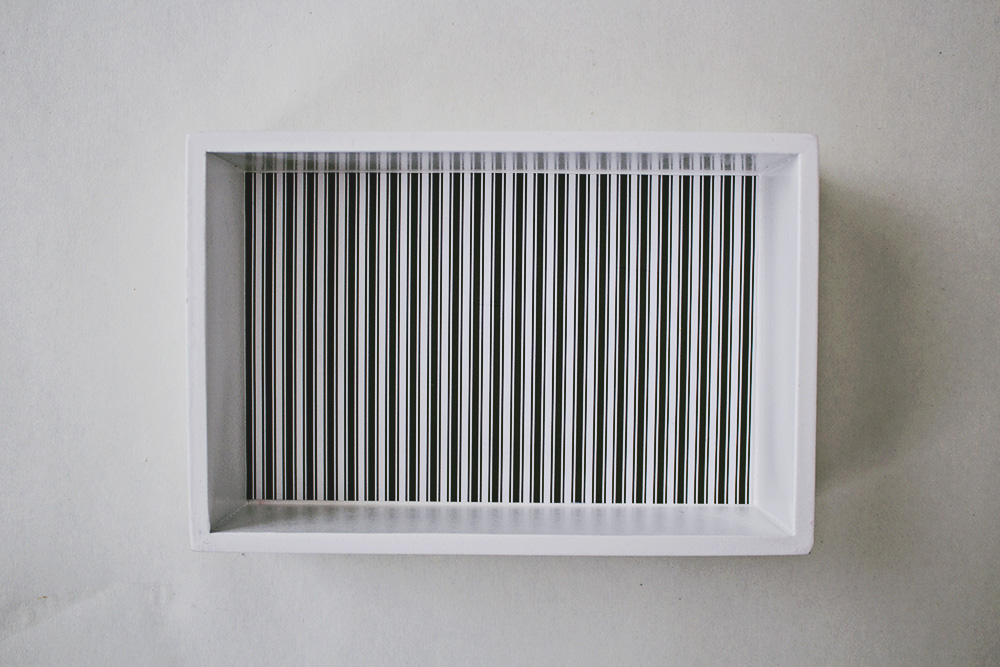
With the sponge brush, add a layer of modge podge to the bottom of the box and the back of the paper. Place the paper on the bottom of the box, and smooth out any wrinkles/bubbles (a credit card works great for this!). Let dry for 15 minutes.
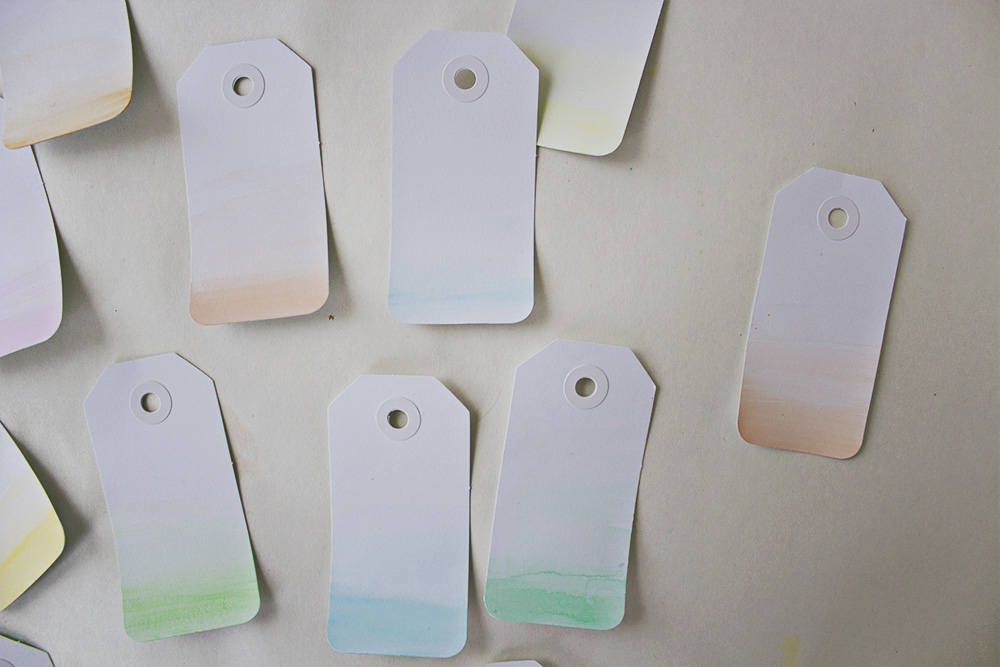
In the meantime get out the watercolors, a small dish of water, and the gift tags. I chose to work with pinks, blues, and greens, but you can do any combination of colors you choose–or even a single hue.
Dip the paintbrush into the water and wet the first color, ensuring you have a decent amount of pigment on the brush. Make a large stripe across the bottom of the first tag (remember: do a few practice ones first). Rinse the brush, wipe lightly, and paint another stripe above and adjacent to the first using only water. Repeat these steps until you reach halfway up the card. The color should be darkest at the bottom and gradually lighten until it matches the white of the tag.
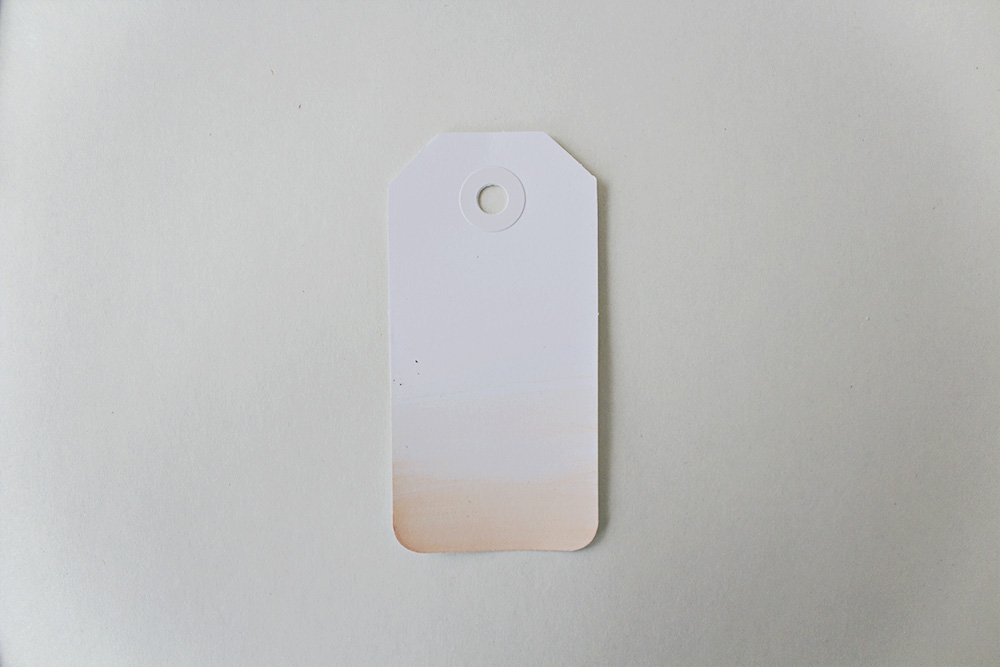
Repeat this process on 13 of the tags. Let dry, and repeat on the other sides. Don’t worry if the paper starts to curl — painting both sides will flatten it out, and you can always bend it slightly afterwards.
While the tags dry, add another thin layer of modge podge to the bottom of the box and let dry for another 15 minutes, taking care to make it smooth.
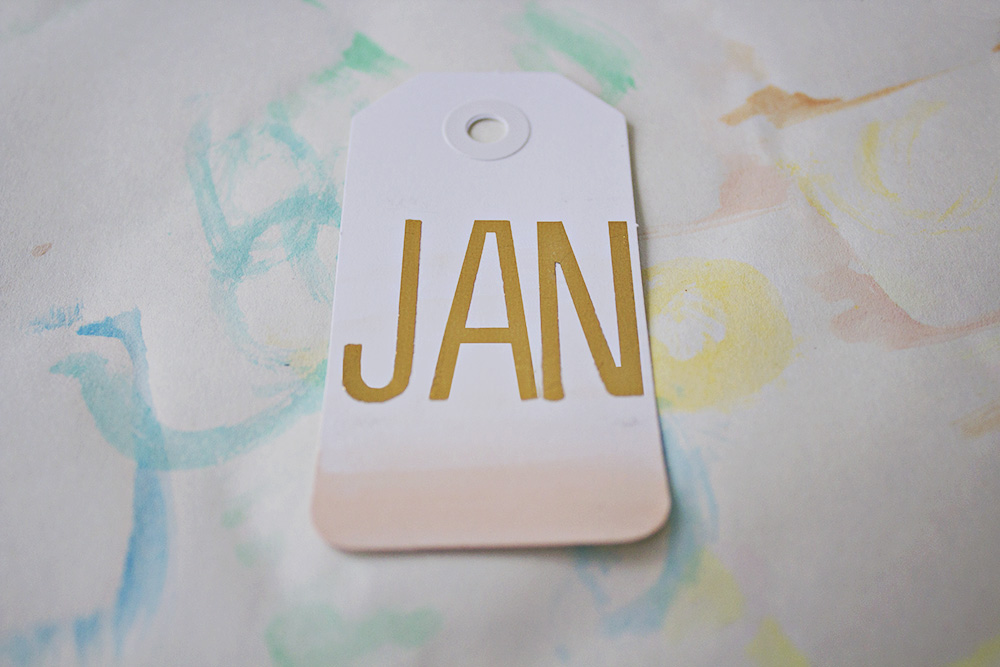
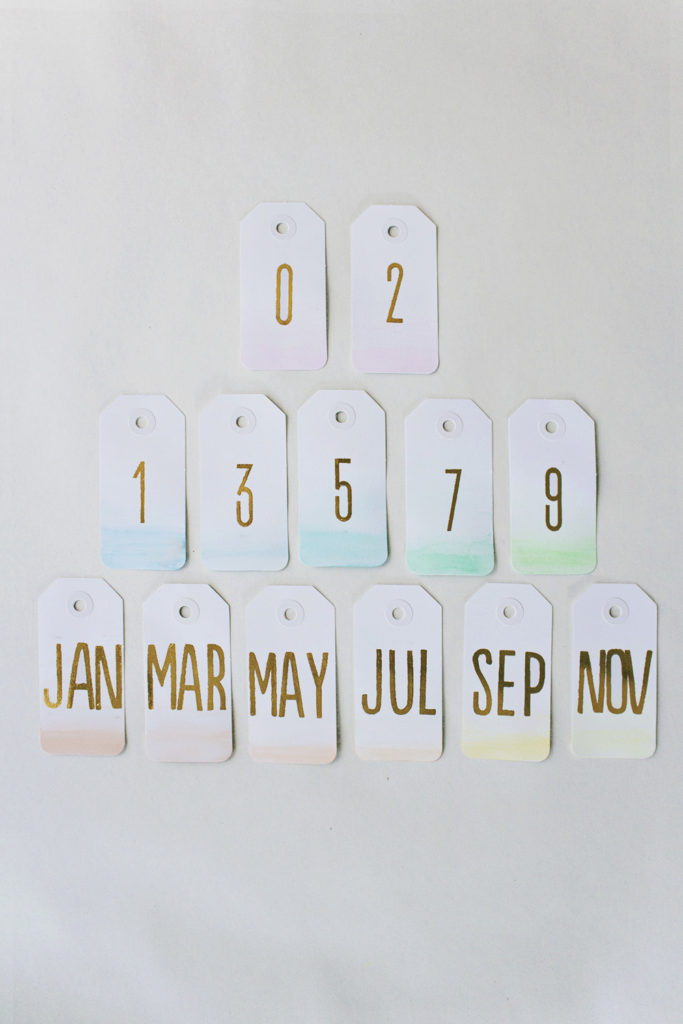
Divide the tags into three piles of 6, 2, and 5 respectively. The first pile will be the months, the second pile will be the day’s first digit, and the third pile will be the day’s second digit. Follow the directions of the rub-on letters and apply the following to the tags (front/back): jan/feb, mar/apr, may/jun, jul/aug, sep/oct, nov/dec, 0/1, 2/3, 0/1, 2/3, 4/5, 6/7, 8/9.
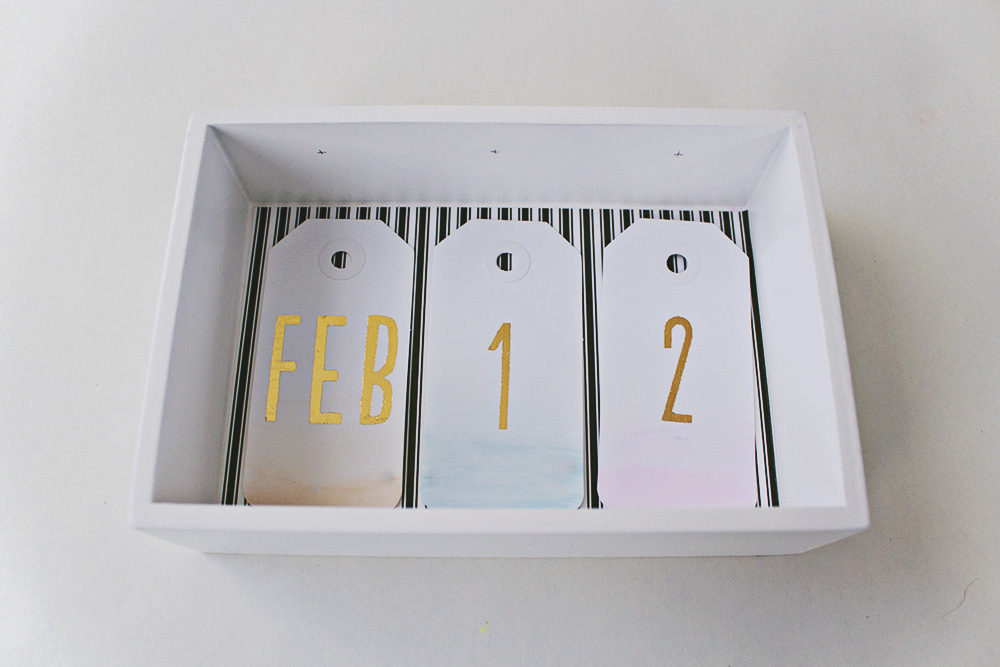
Next place three tags into your box, evenly spaced. Use them as a guide to make three marks on what will be the “ceiling” of the box, ½” from the front edge.
Screw the three C-hooks into the ceiling of the box. Or ask your hubby to do it. These babies take some muscle!
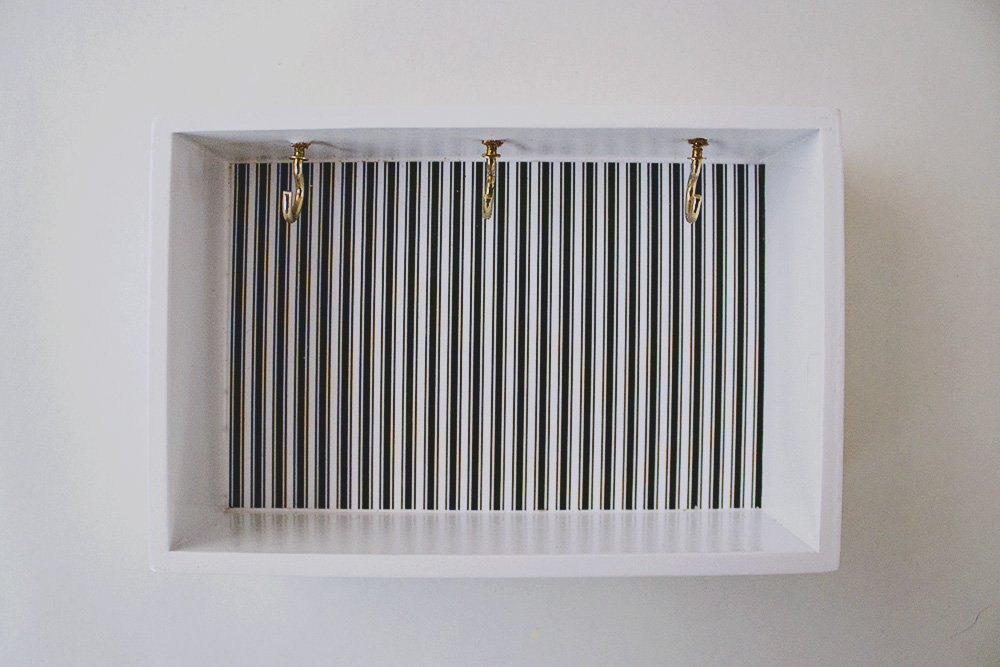
Place the tags onto the hooks! If you find they aren’t easy to hang, you can trim the tops or bottoms until they fit perfectly.
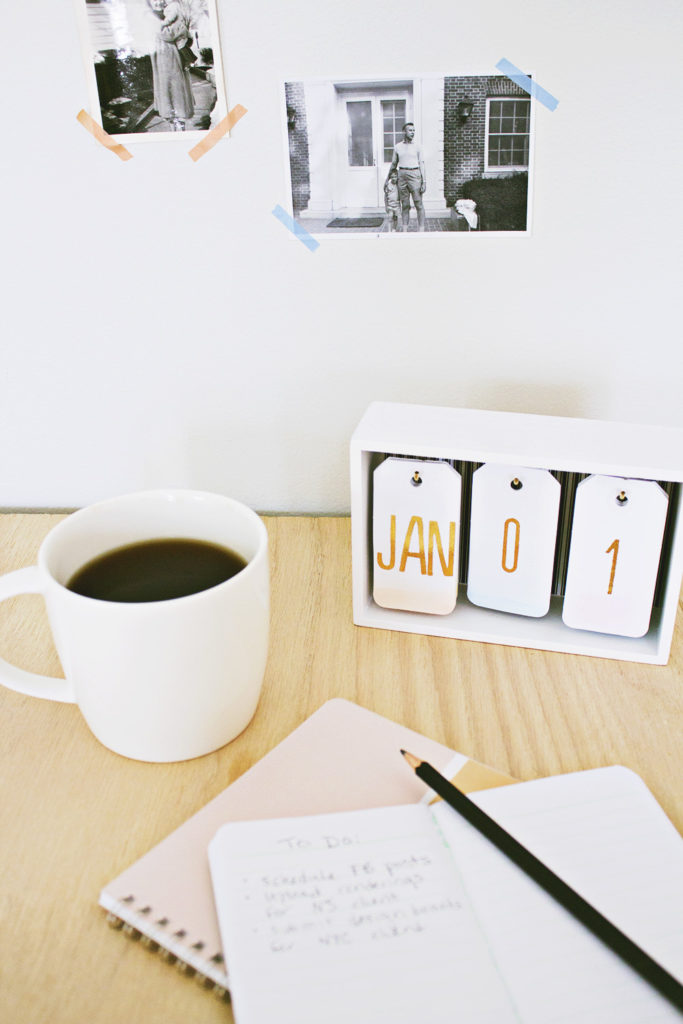

Now place it in a handy spot, and enjoy!
Original article and pictures take annabode.com site
Комментариев нет:
Отправить комментарий