If you follow me on social media, you’ll for sure know that my craft room is always in desperate need of cleaning and organization – and well, tis the season! I pulled together this way fun, simple, DIY Craft Paint Organizer and I couldn’t be more excited about it!

If you’re a crafter (and I’m guessing you are…), you probably have a bunch of craft paint that needs organized. I’m excited to show you the solution I came up with!

So excited to share this as part of the Michael’s Makers Fresh Start Challenge. Whether it’s planning the family schedule, cleaning out your pantry or getting the kiddos ready to head back to school, Michaels has everything you need to help you get organized this year.

It’s super fun to browse all their organization solutions and when I saw the wire baskets, I knew they would work great for my project…

DIY Craft Paint Organizer
You’ll need:
–wire bins – I used 8
–wood board (mine was precut from the hardware store at 2ft by 4ft, so we didn’t need to make any cuts on it)
–flat-head screws
So, before this, my paints were just dumped into a big bin – I never knew what I had and was always buying more paint because that was easier than digging through my stash.

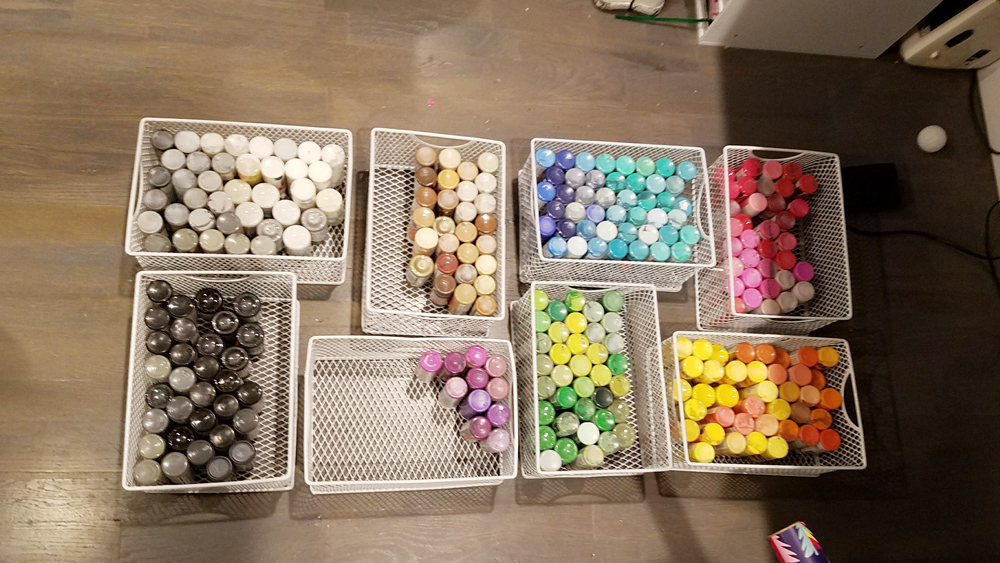
The first thing I did was divide it out by color – I had no idea how much paint I had or if I had too many bins or too few, so I wanted to do a test run before I build the organizer. And what’s with the purple?! So I split mine into red/pink, yellow/orange, blue, green, purple, browns, white/gray, and blacks.

DIY Craft Paint Organizer Assembly
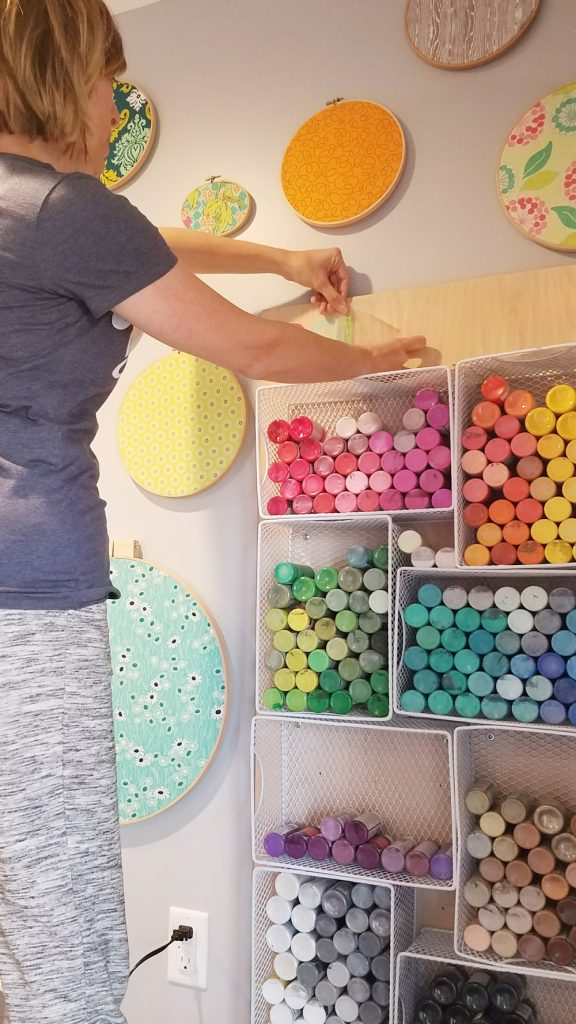
The original plan was to just attach each bin to the wall individually. But then we realized that where the stud in the wall hit, only about half the bins would be attached to a stud, and I figured the bins would get pretty heavy with paint. So we had the idea to attach all the bins to a board first. Using screws with a flat head so that they don’t go through the wire holes.

Then we attached the whole board to the wall, screwing it in along the stud, so it’s nice and secure.

At the last-minute, I decided to have all the bins scooted down on the board so that there was a header on the top where I could add fun vinyl. So normally you’ll want to do that before it gets attached to the wall, but I ended up doing it after – whatever works!


If you need tips on attaching vinyl, you can check out How to Use Adhesive Vinyl – I cut each letter of “color” individually out of different colored vinyl – then use transfer tape to attach it and voila, awesome!

I love the extra touch that the vinyl adds!

My craft room is coming along! Organizing the paint is a BIG deal for me and I am SO excited about it!!


What would you do with all these storage solutions??

Check out what others on the Michael’s Makers Team did to restart their year:
Looking for more organization inspiration? Make sure you visit Michaels’ blog, The Glue String, to see the rest of the Michaels Makers’ organization project ideas.
Original article and pictures take www.sugarbeecrafts.com site
Комментариев нет:
Отправить комментарий