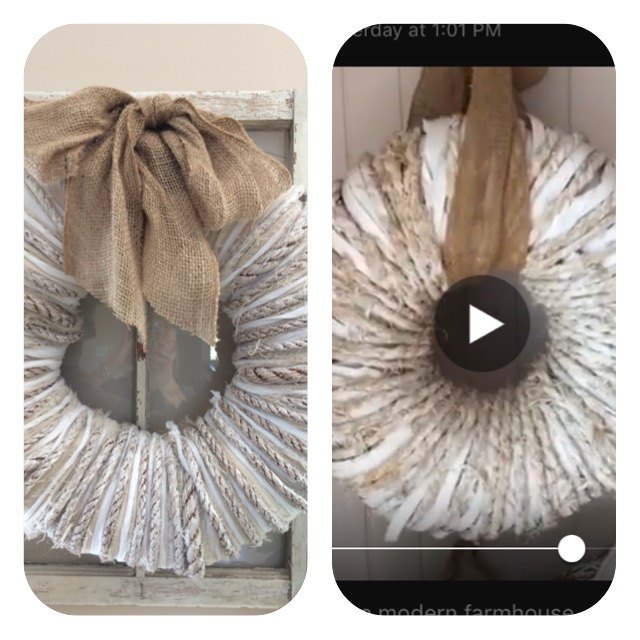
Last Wednesday, hometalk took a live tour of Deb Foglia's modern farmhouse. Everyone was asking about the wreath in her family room. Deb said that she had purchased the wreath at Homegoods. I liked it so much, I decided to make one for myself - and now you can too! My wreath is on the left. Homegood's wreath is on the right.
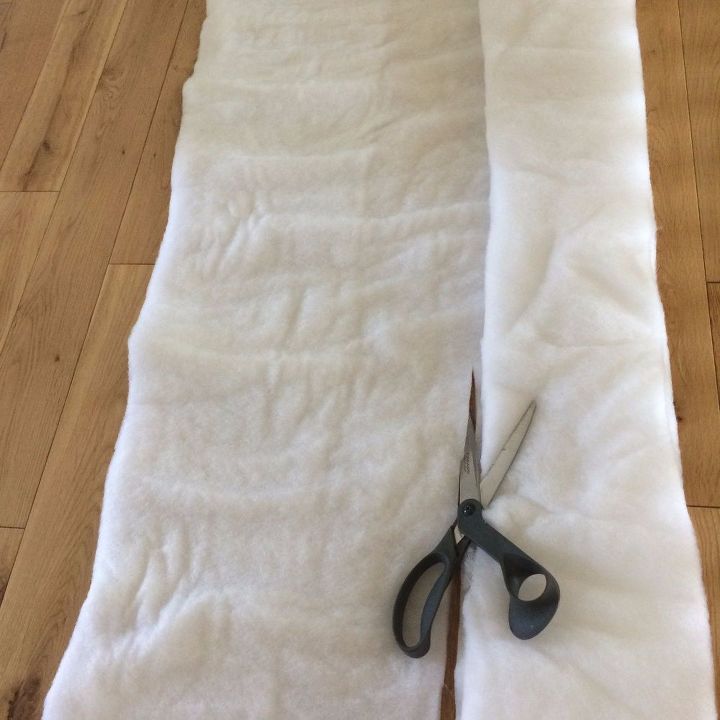
Once you've wrapped all of the batting around the wreath. Cut and wrap 6" wide strips of an old sheet around the wreath to cover the batting.
Gather your white craft paint, rubber gloves, and rope. Cover your work surface to protect it. Put on the gloves and squeeze a small amount of paint onto your glove. If you don't have gloves, you could put a plastic bag over your hand.
Grab the rope and begin to pull it through the paint in your glove. Make sure you cover the entire rope with white paint.
Once the paint is dry, begin to wrap the rope around the wreath. I wrapped the 5/8" x 10' piece of rope first and then wrapped the 3/8" x 50' piece.
To secure the rope, I tucked it into the sheet. As you wrap, the "tucked in" piece will become more secure.
Tear the drop cloth or muslin into 4" wide strips and wrap around the wreath between the rope.
Once the drop cloth or muslin is in place, tear 3" wide strips of sheet. Wrap them around the wreath twisting as you go, laying them on top of the drop cloth or muslin. Secure the ends behind the rope or you can hot glue them in place.
We want to help you DIY, so some of the materials in this post are linked to sellers. Just so you know, Hometalk may collect a small share of sales from the links on this page.
Original article and pictures take cdn.hometalk.com site


Комментариев нет:
Отправить комментарий