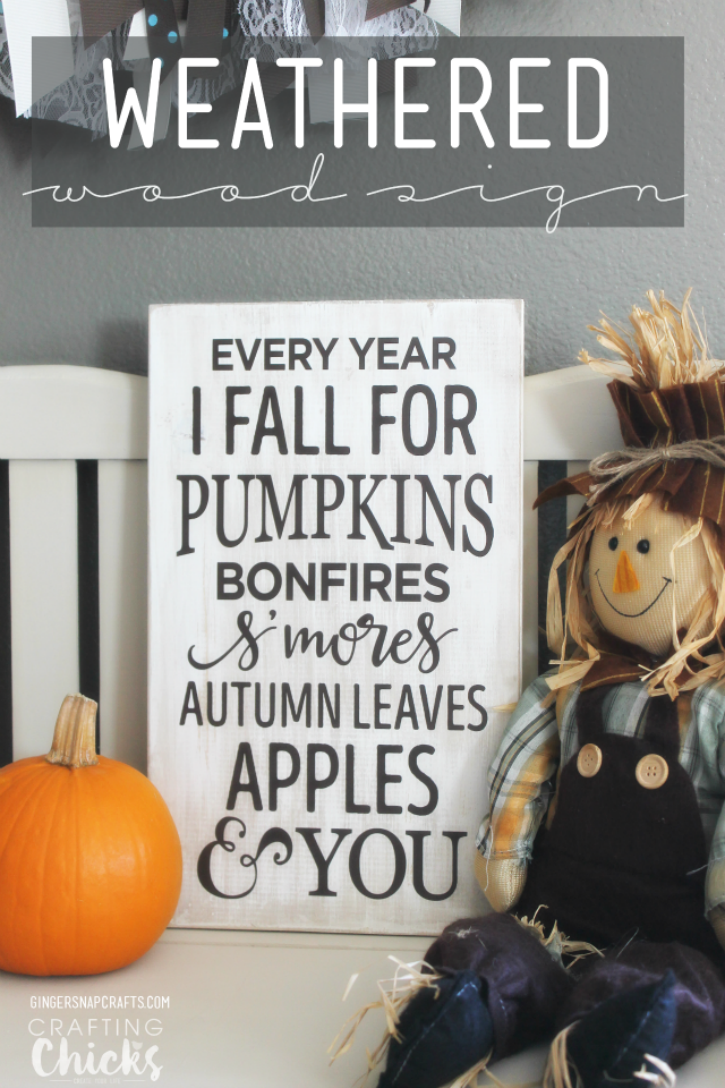
Hello, there! It’s Ginger from GingerSnapCrafts.com. I’m back to share another cute & easy project with you! Today I am excited to share how you can get that nice, soft weathered wood look with just a few simple steps & supplies. I used it to make this cute fall sign for our home. So let’s get started. ��
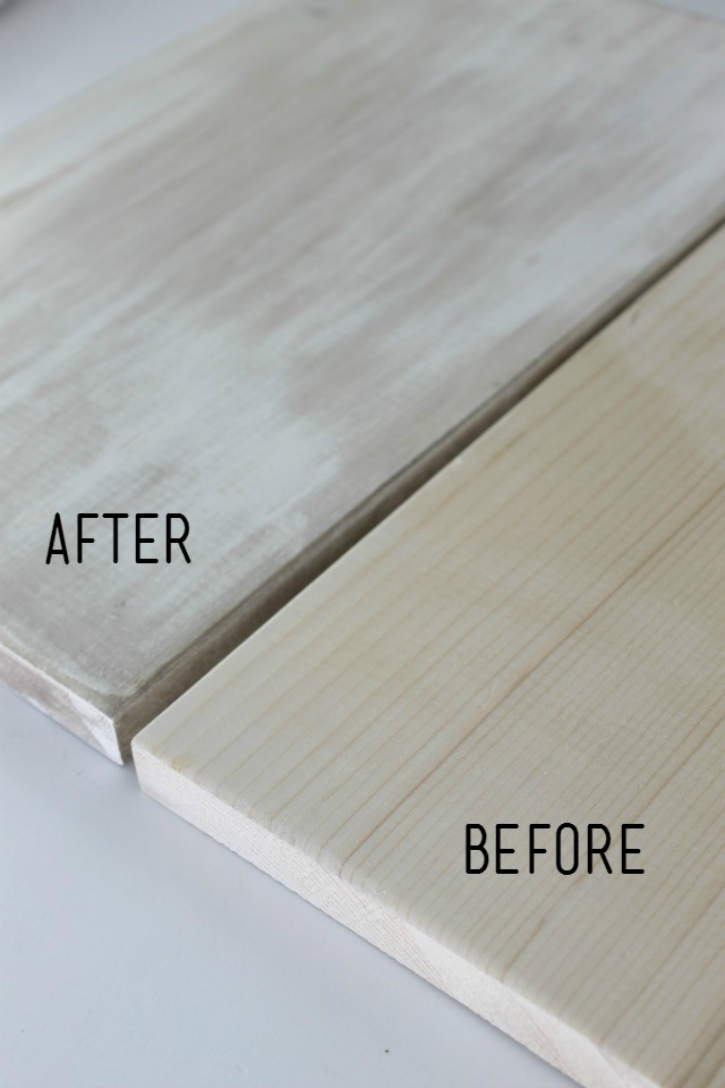
Just check out this before & after.
To make a sign like mine, you’ll need a few supplies:
- wood board (I cut a 1×8 down to size.)
- chalk paint
- paint brush
- wood finishing cloths in natural oak
- rubber gloves
- sandpaper
- old rag
- vinyl lettering (I used this design from Silhouette.)
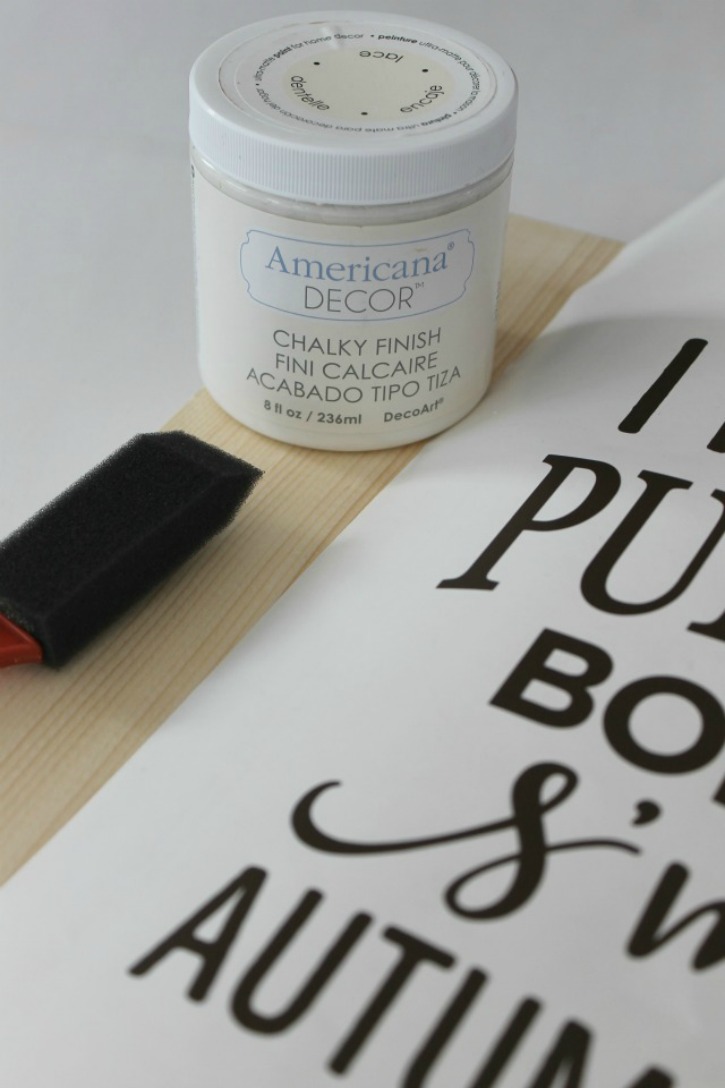
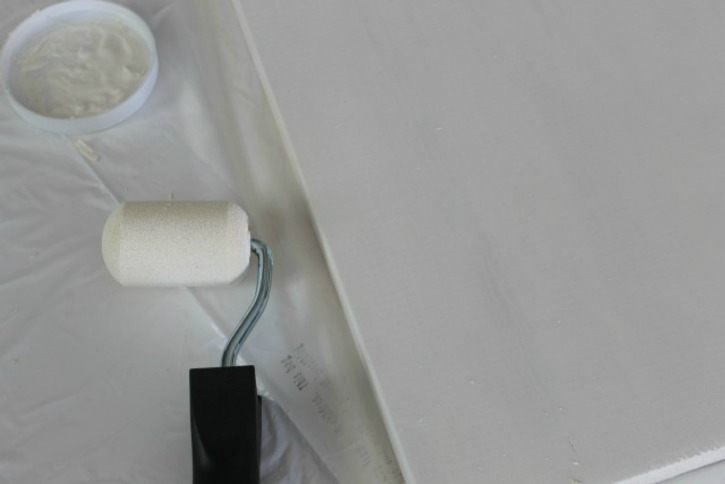
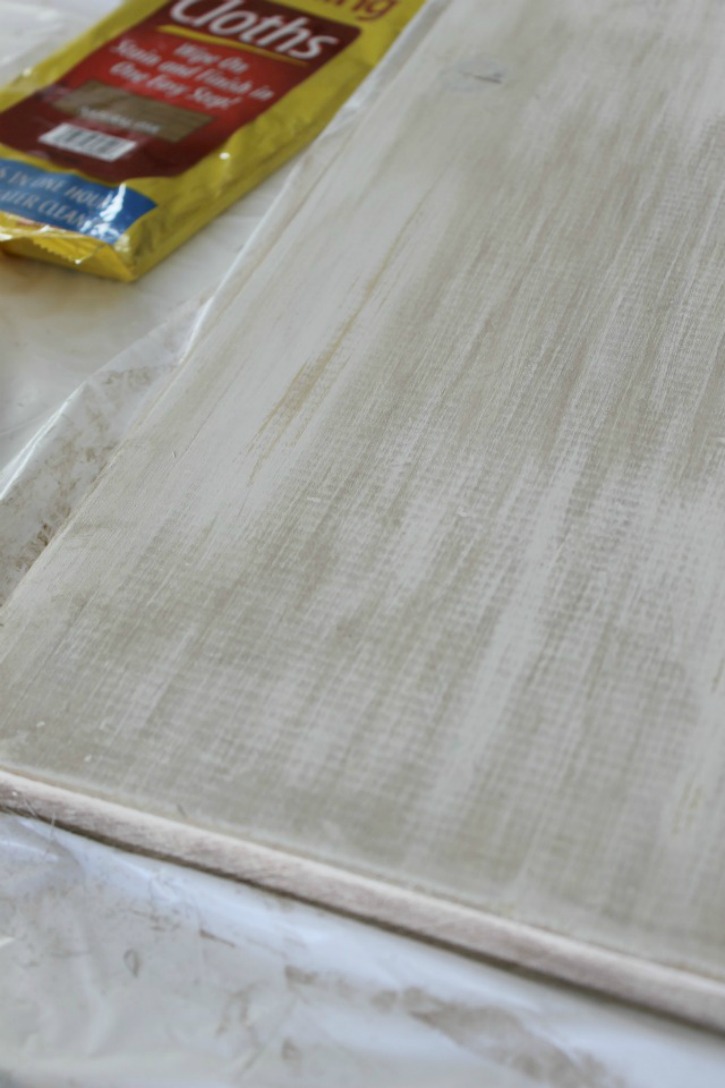
First, I painted my board with two coats of chalk paint. Letting it dry between coats.
After the paint had dried completely I sanded the edges with sandpaper.

Next I got out these amazing wood finishing cloths. These guys are awesome!
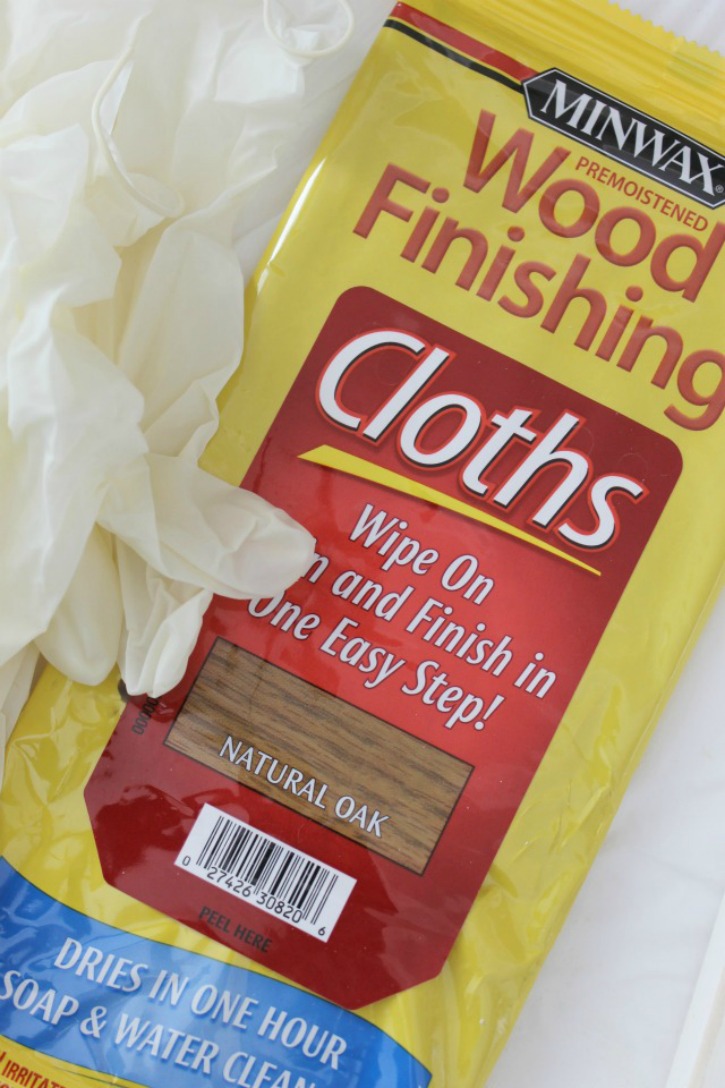
While wearing protective gloves I rubbed the stain over the board.

Wipe off the excess with an old rag. Let dry. Sand again slightly.
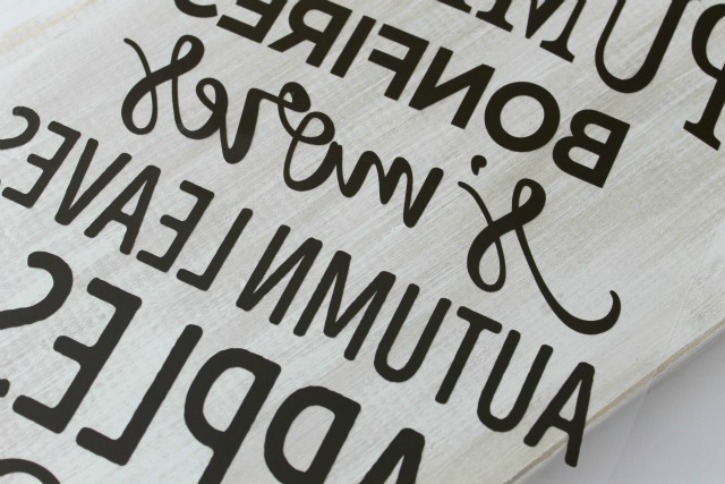
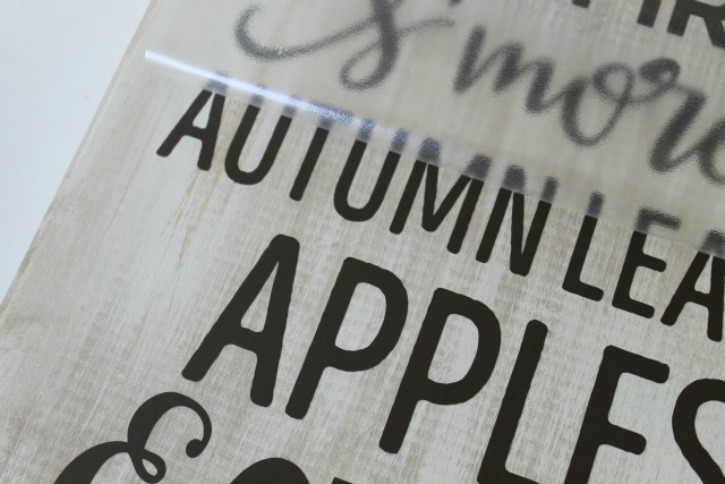
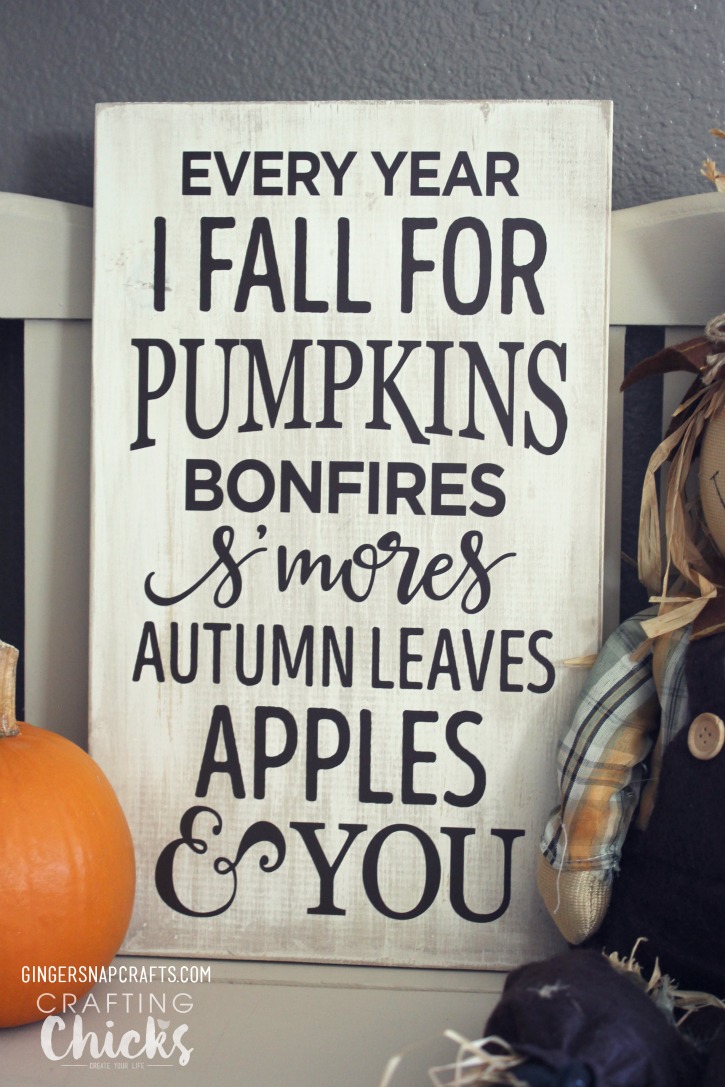
To finish this fall sign I just applied the vinyl lettering.
I can’t wait to try this distressing technique on some more projects!
Do you love the distressed look?
What do you love about fall?
I’d love to hear! ��
Original article and pictures take thecraftingchicks.com site
Комментариев нет:
Отправить комментарий