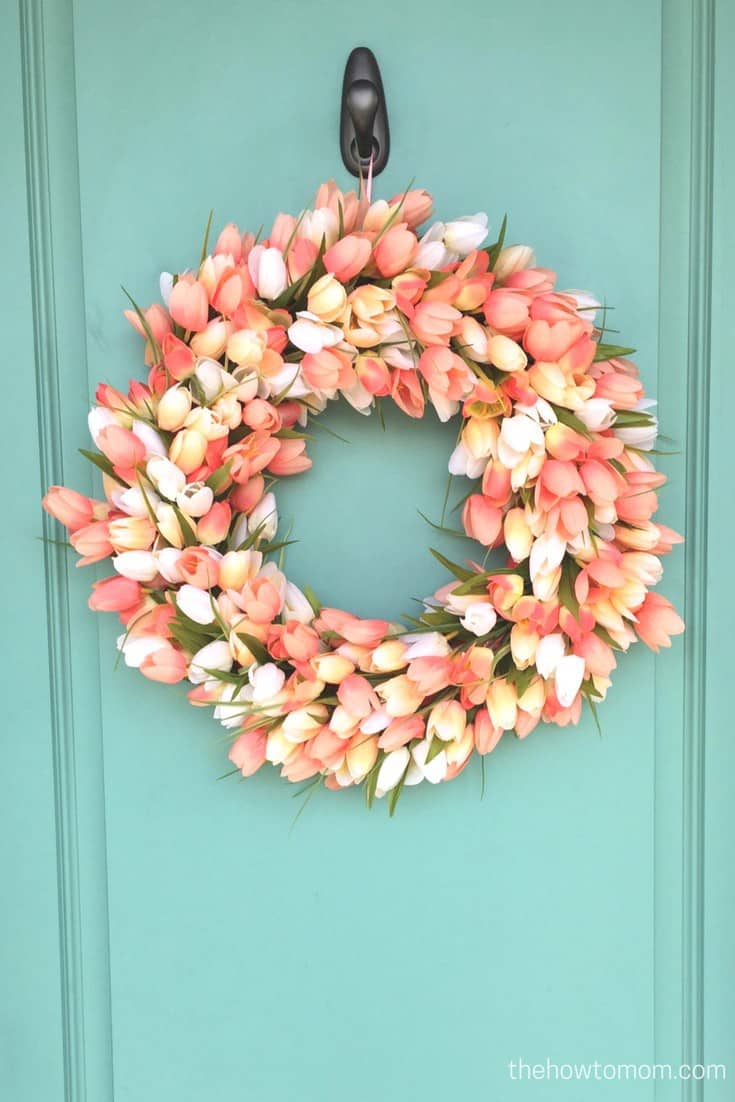
This stunning tulip wreath will add a burst of spring to your front door. You’ll get all the compliments, and your friends won’t believe that you made it yourself! Its actually quite simple to make, no crafty skills required!
Spring is my favorite. The bright pastels! Fresh flowers! Warmer weather! Mini Cadbury Eggs! TULIPS! I’ve been wanting a bright springy tulip wreath, and I finally decided to figure it out and make one.
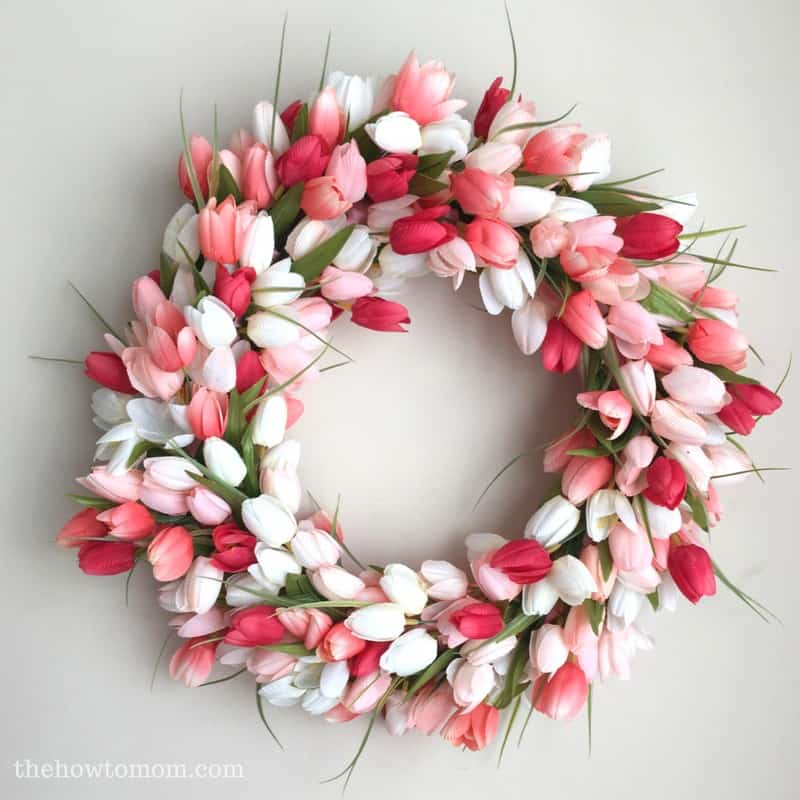
It turned out beautifully! I posted it to my Instagram and Facebook and I was flooded with requests for a tutorial and even a few friends who requested I make one for them.
What can I say, I’m a people pleaser! So here ya go, friends!
Tulip Wreath Instructions

To make your own tulip wreath, you’ll need a foam wreath (I used a 14in), a spool of 1.5in satin ribbon in a matchy color (I used the color “guava“, and you’ll probably need two spools – around 7yds), and about 10 bunches of silk tulips. Depending on how full you like it, you could use between 9 and 14 bunches. I found these beautiful smaller tulips in the seasonal floral section at Michaels. They’re usually available mid January though May, or until your store sells out of them. They aren’t available to purchase online, but you can see all the available colors on their website. They’re the $4 bushes, and they’re almost always 40% off in store. Hope that helps!
Note: this wreath-making method could be used with other sizes or types of flowers. Just keep in mind that the flowers will kind of lay on their side, so it would need to be a flower that looks good from the side, not the straight on.
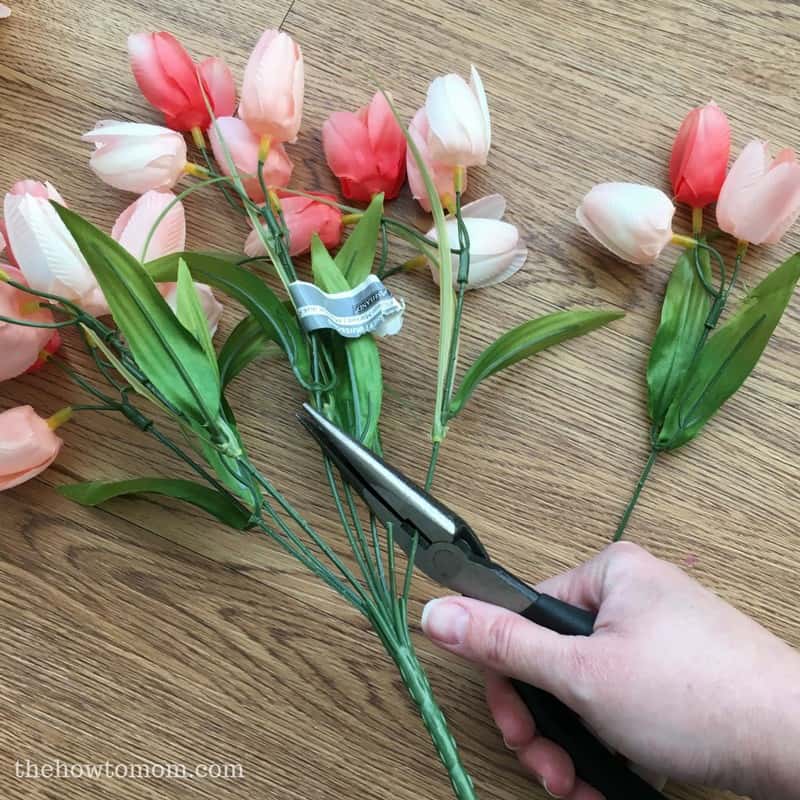
Using floral or wire cutters (or your husband’s tools, haha), cut the tulips away from the base. Move all the greenery up to the top of each stem, near the base of the flowers. If you like the stems and leaves, leave them on, if you want just tulips, take them the leaves off.
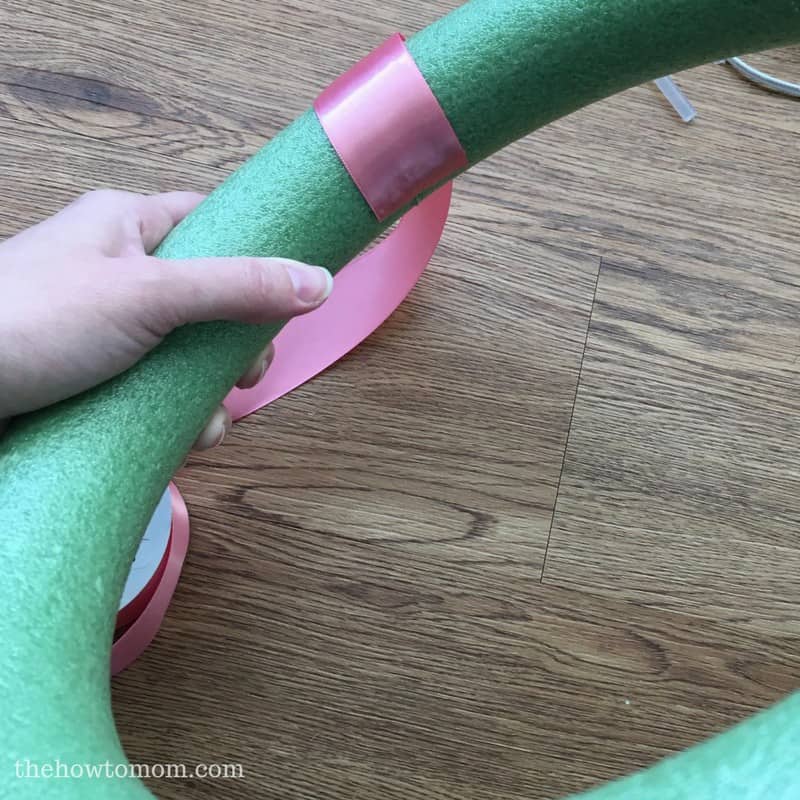
Start by hot gluing the ribbon to the wreath like shown, or you can also use floral pins.
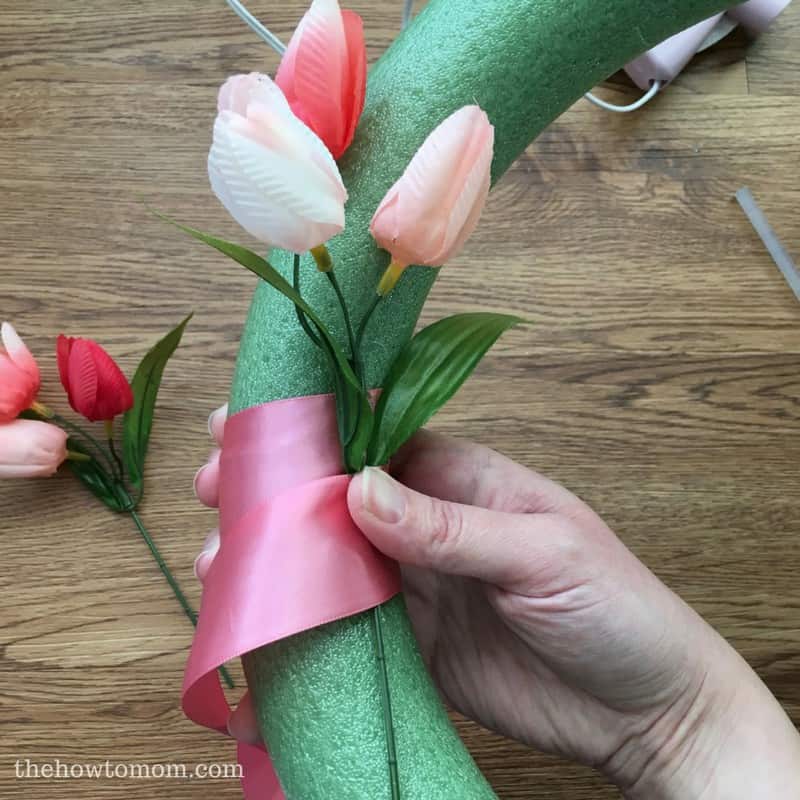
Then you start wrapping and tucking the tulips as you go. Typically, I put two stems in each row of ribbon, and tried to alternate so they were filling the space nicely. Tuck them in nice and tight, and near where the greenery connects to the stem, so they stay secure. Your ribbon will overlap quite a bit towards the center of the wreath, and should barely overlap on the outer edge. This is important to be consistent with, otherwise you may wrap the ribbon too closely and you’ll run out of ribbon or flowers or both!
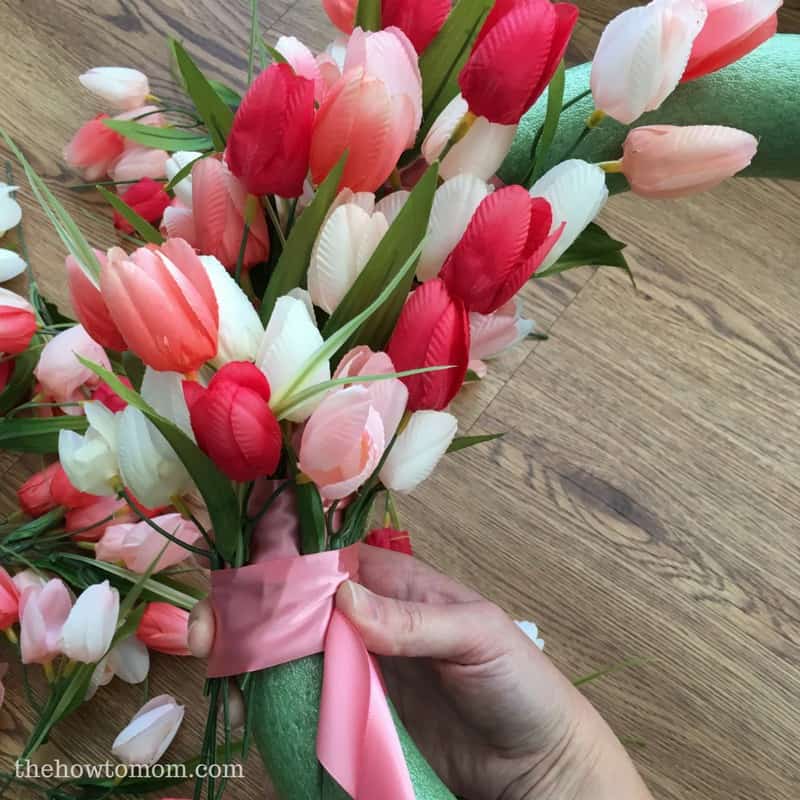
Keep on wrapping and tucking!
It gets kinda tricky near the end, but just do your best to cover all the foam, and get enough tulips in to fill the space. If you need to hot glue a few in, I won’t tell.
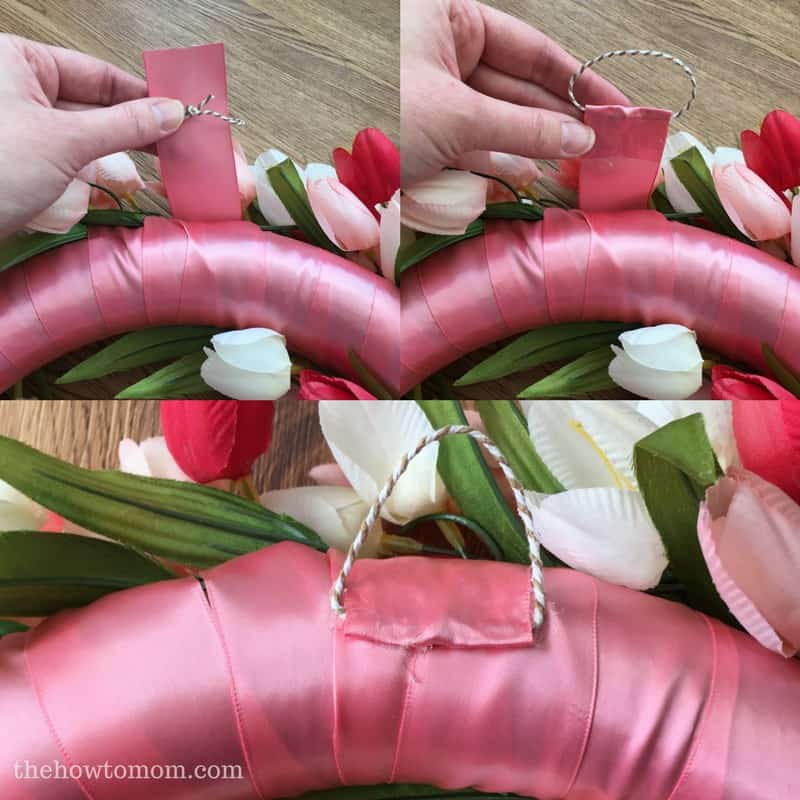
On the back, before you secure the end of the ribbon, slip a string loop in (I like cute baker’s twine!), so you can hang it easily! Hot glue it reeeeal good. Floral pins would help secure it too.
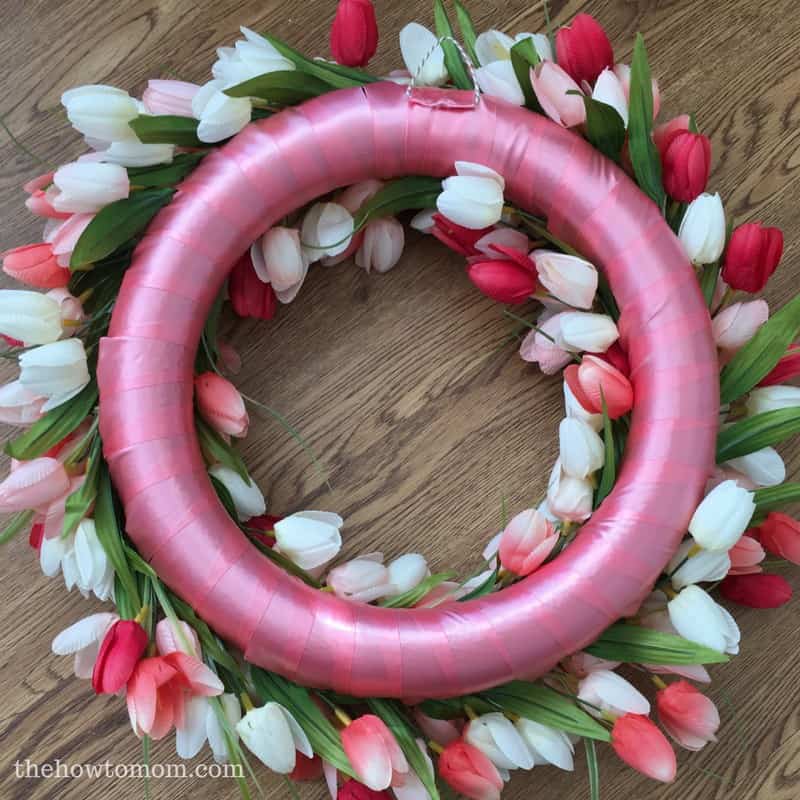
Done! Even the back of this tulip wreath is pretty!! If you don’t have a wreath hanger, you can use a pretty Command hook (like on the teal door below), or you can string a long loop through the wreath and over the top of your door and secure it with an upside-down Command hook on the back of your door, near the top.
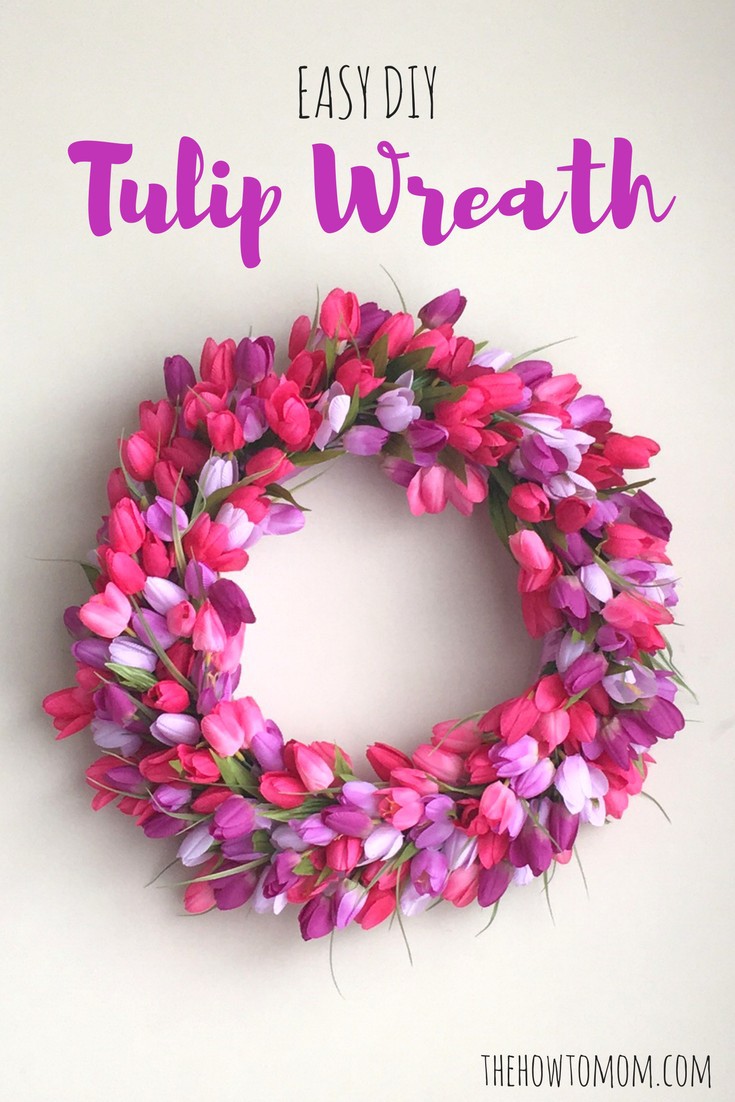
I’ve been playing with color combos, and this purpledy-pink tulip wreath turned out lovely. We’ve also made one with shades of pink, and one with creams and soft peach. My mom wants a pink and yellow tulip wreath, so that’s next on the list. I promise, ma!
Let me know when you make yours, I’d love to see it! Tag me on Instagram so I can go on and on about how amazingly talented and crafty you are! The tulip wreath below was made my my sister-in-law, Suzanne. It looks absolutely stunning on her teal door!
I love to make wreaths! Check out some of my other EASY wreath tutorials:
Farmhouse-Style Magnolia Wreath
Fall Mum Wreath
15 Minute $15 Greenery Wreath
Sparkly Fall Leaves Wreath
PIN THIS!

Original article and pictures take www.thehowtomom.com site
Комментариев нет:
Отправить комментарий