
Easter is almost here and I have been getting the itch to make some crafts. So I started out with a couple reclaimed wood Easter eggs to sit on my porch.
Keep in mind that I am not an expert when it comes to woodworking but I am learning as I go. So if I can make these Easter eggs by myself, anybody can! Just make sure to wear safety glasses and be extra careful when working with the saw.
I also made a reclaimed wood Easter bunny that I can’t wait to show you. Make sure to come back on Thursday so I can share all the details on that project.
With love from my kitchen to yours,
Carrie

Reclaimed Wood Easter Eggs
Supplies
reclaimed wood
wood glue
jig saw
paint
paint brush
sand paper
1/2 inch flat head wood screws
backing board (MDG board, Luan board, or plywood)
Instructions
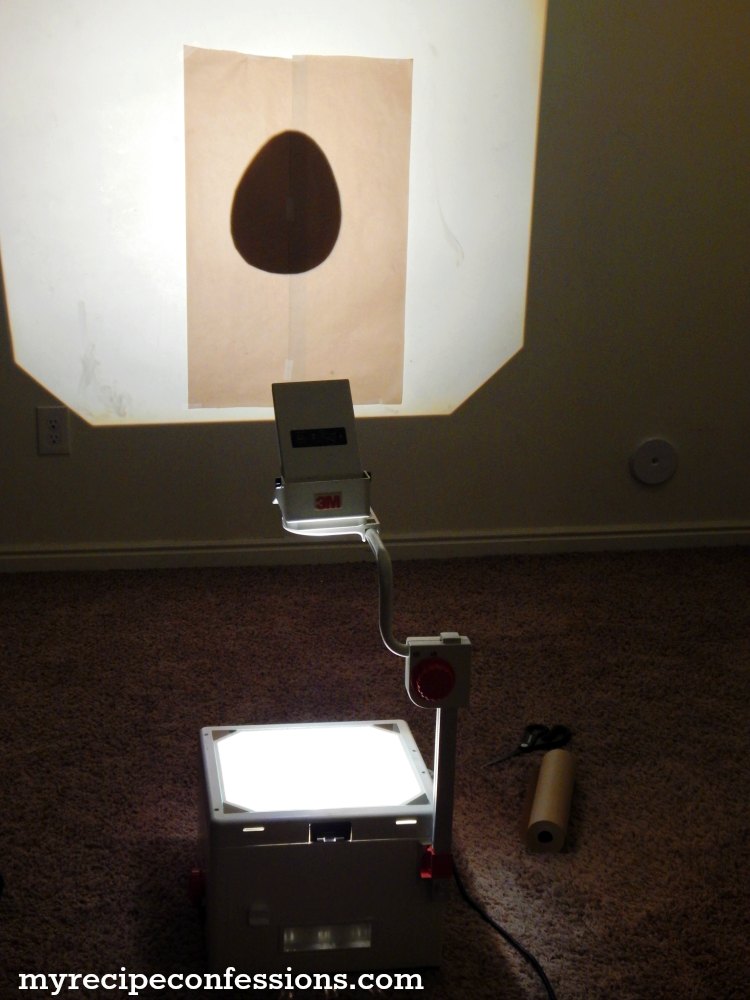
- Enlarge the egg template with either a projector or print off engineer print at Staples or local print shop. I have a projector and I traced the enlarged image on to painters paper. The large egg is 14 inches tall and the small egg is 11 inches tall.
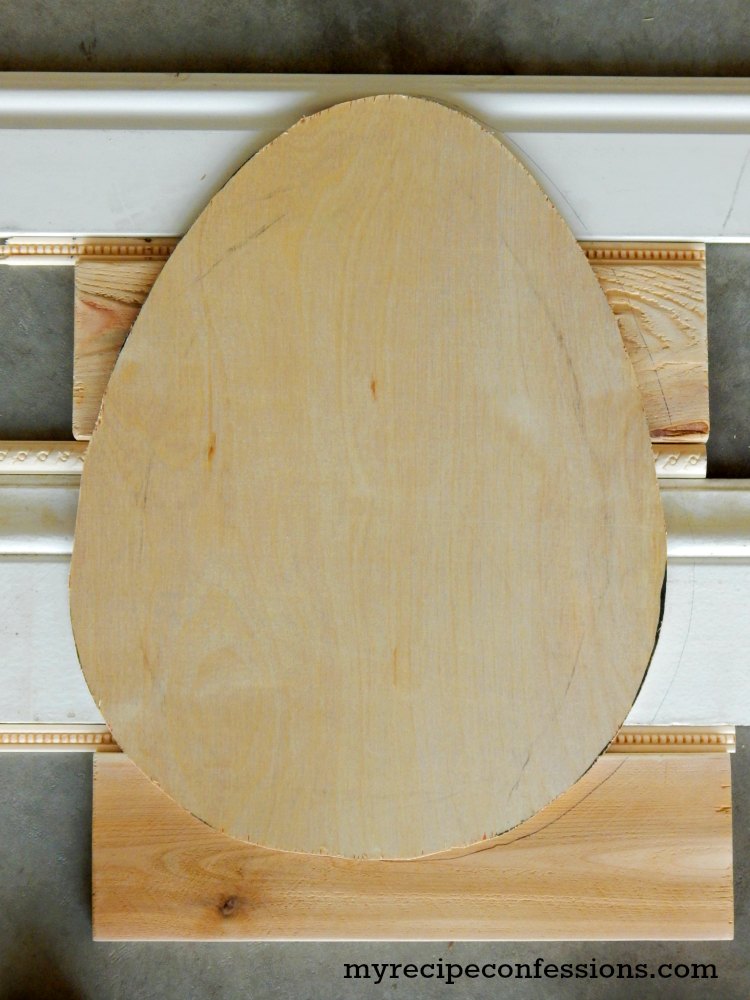
2. Trace the egg onto the board you will use for the backing. Cut the egg out with a jig saw.
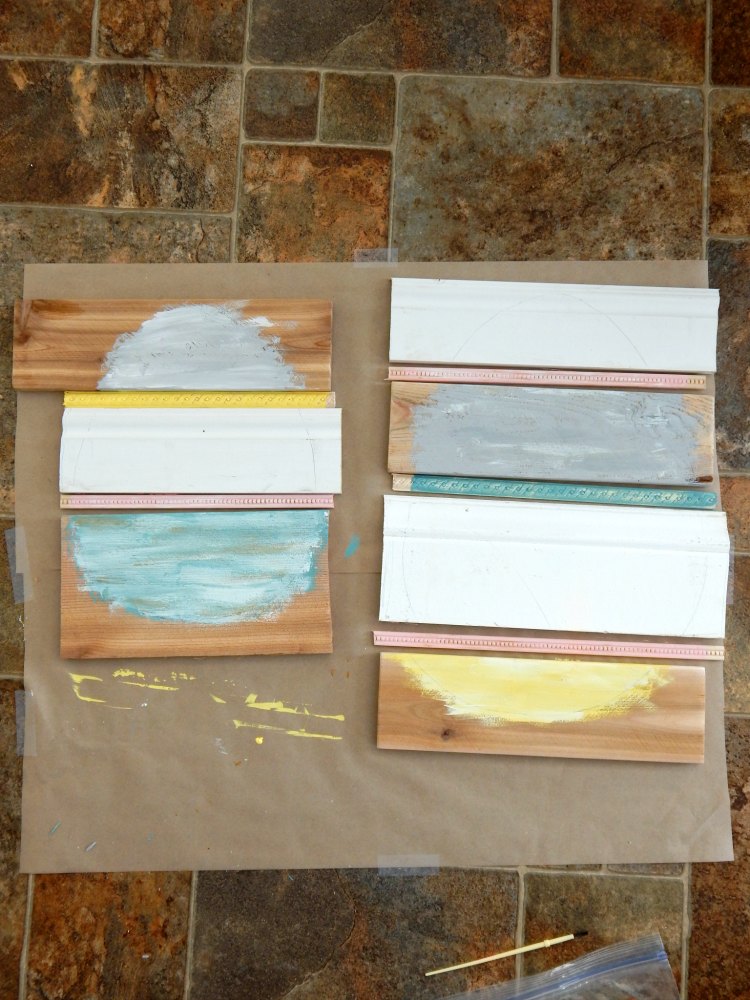
3. Arrange the reclaimed wood in the desired pattern. Lightly trace the egg shape onto the reclaimed wood to use as a guide for where to paint.
4. Paint the egg and allow it to dry completely. I distressed mine at this point.
5. Glue the reclaimed wood onto the backing board. Sink some screws into the back of the egg to better secure the wood.
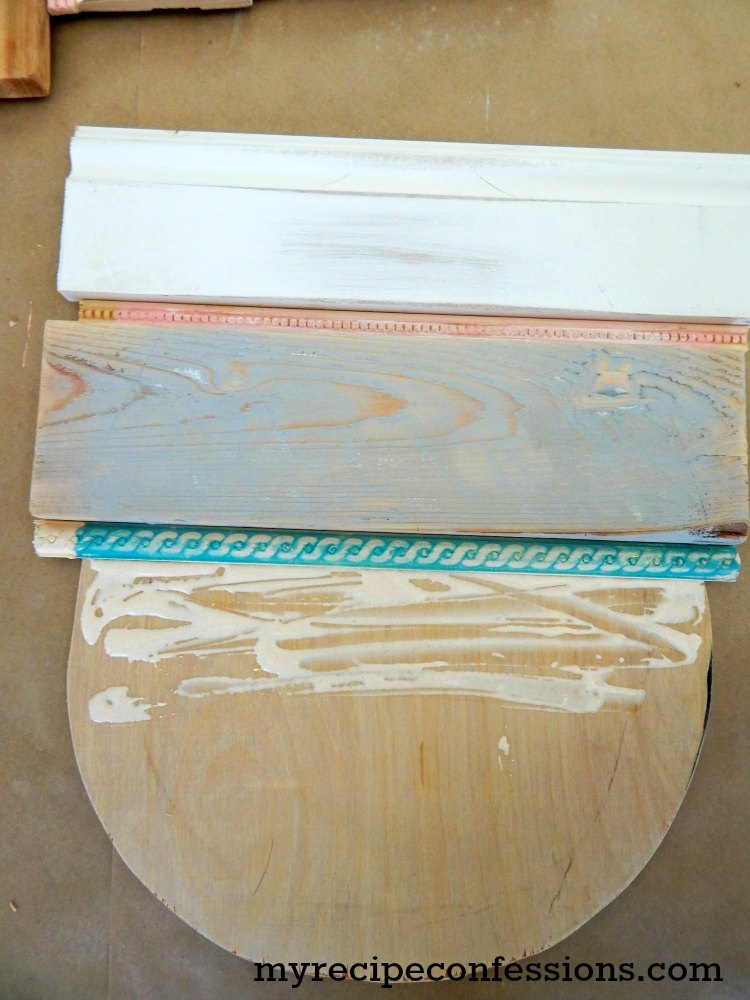
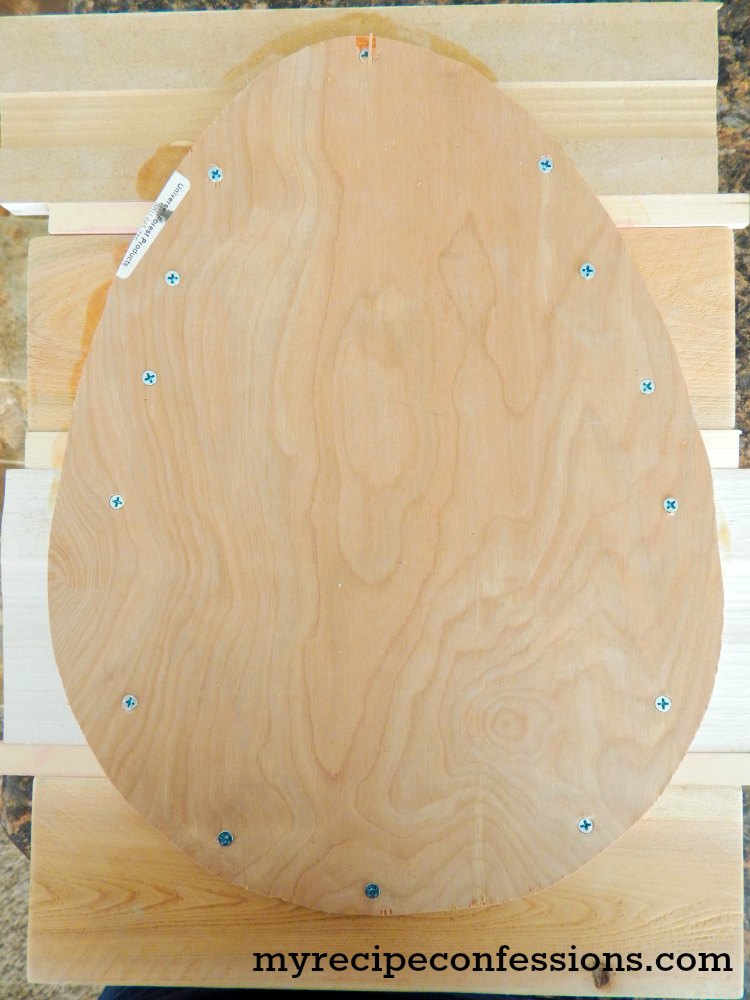
6. Cut the reclaimed wood out using the backing board as your guide. Smooth out the edges with the sand paper.
7. I wanted my Easter eggs sit outside on my porch so I Cut a 7 inch board for the large egg and a 6 inch board for the small egg and secured the egg to it by sinking two screws into the bottom of the board.
Here are a few other Easter crafts you should check out.


Original article and pictures take myrecipeconfessions.com site
Комментариев нет:
Отправить комментарий