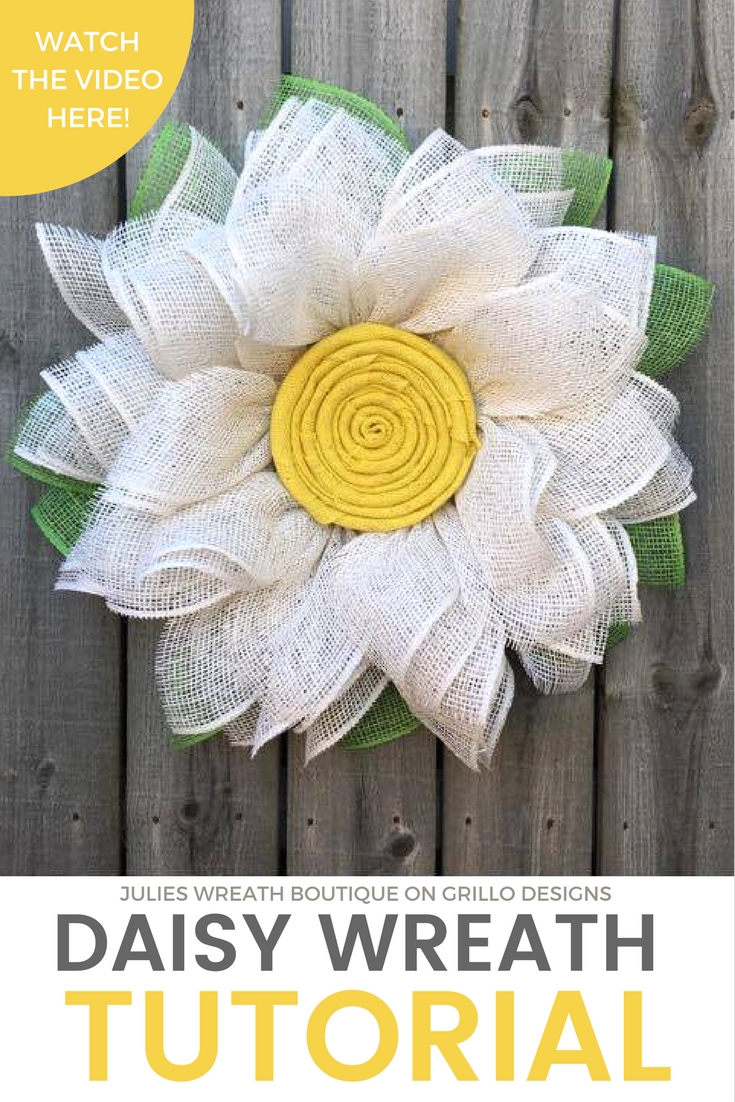
This sunflower wreath tutorial was submitted by Julie Oxendine from Julies Wreath Boutique. She is also a member of our Home Decorating, Upcycling and DIY Facebook group. If you would like to share your projects to be featured on this site, you can do so here

[Psst! Join Grillo Designs on Instagram and Pinterest to keep up with our latest posts and ideas. Got a question? Join the discussion in the new HOME & DIY chat forums]
………………………..
DONT FORGET TO CLICK OVER TO PAGE 2 FOR THE VIDEO TUTORIAL
Materials Used:
This post contains affiliates for your convenience, see full disclosure here
How To make a Sunflower Wreath:
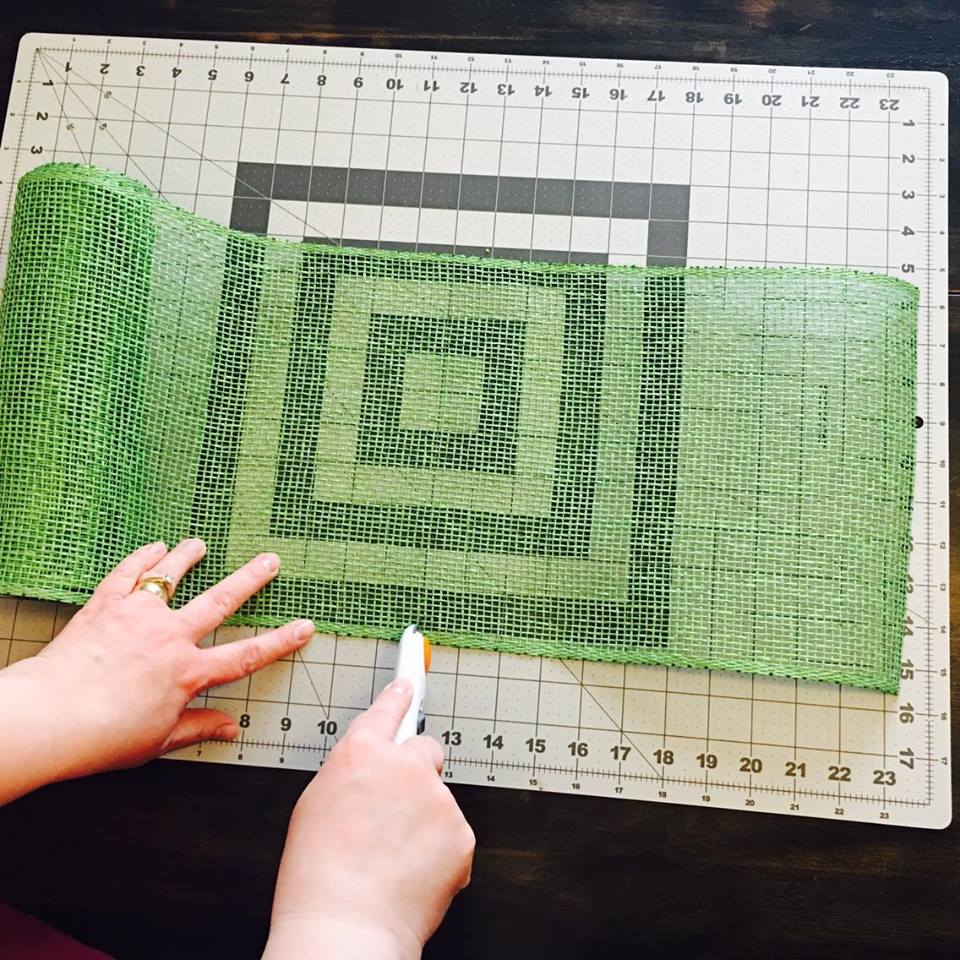
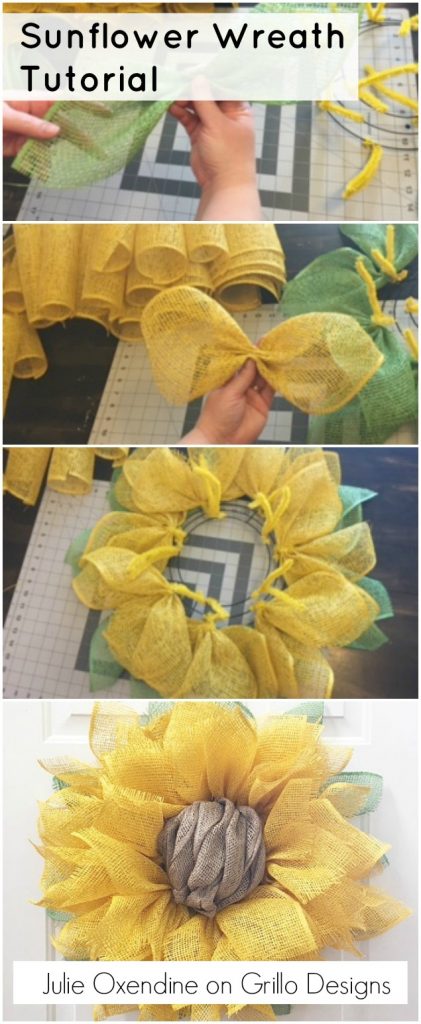
First cut out using your rotary cutter, (you can use scissors but the rotary cutter makes this process more precise and so much easier), 7 – 12″ pieces of green mesh for the leaves.
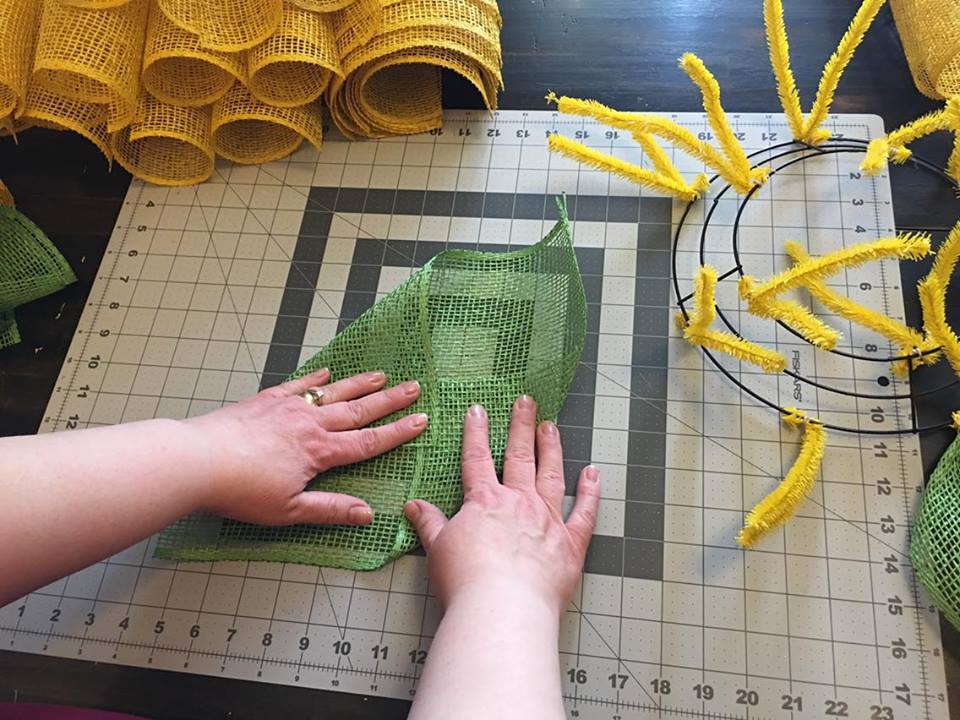
Take two opposite corners, fold them inward, and then gather in the middle until you form a bow tie looking leaf, flip over and attach to the outward layer of stems on your wreath form.
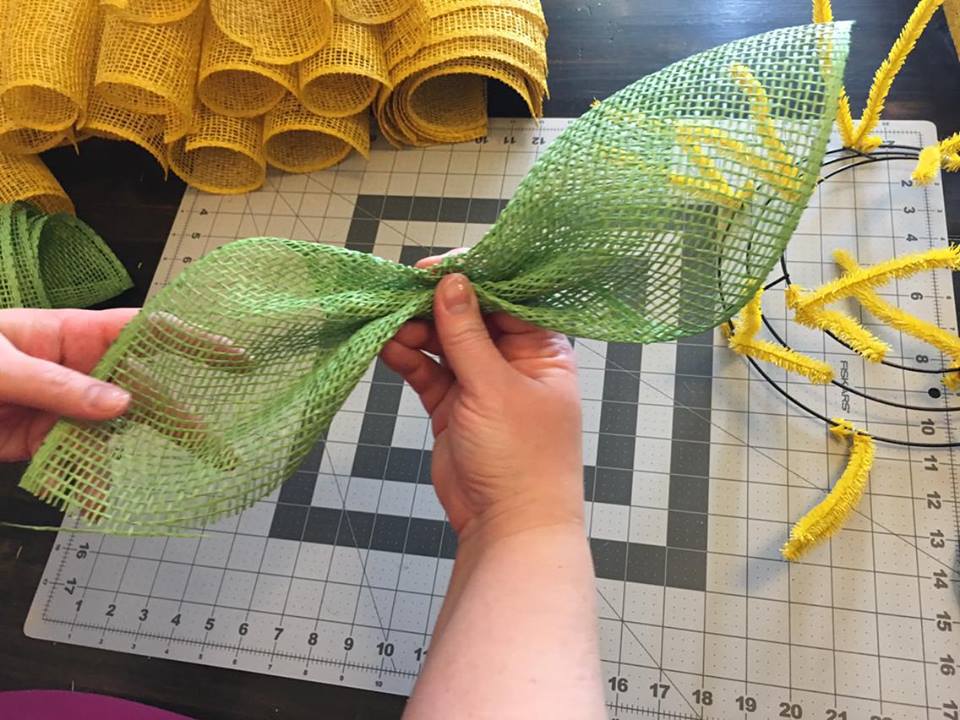
Once you attach your leaf, pull it together to the outside of the wreath to form it, and don’t be afraid to adjust it. Attach the remaining green leaves this way.
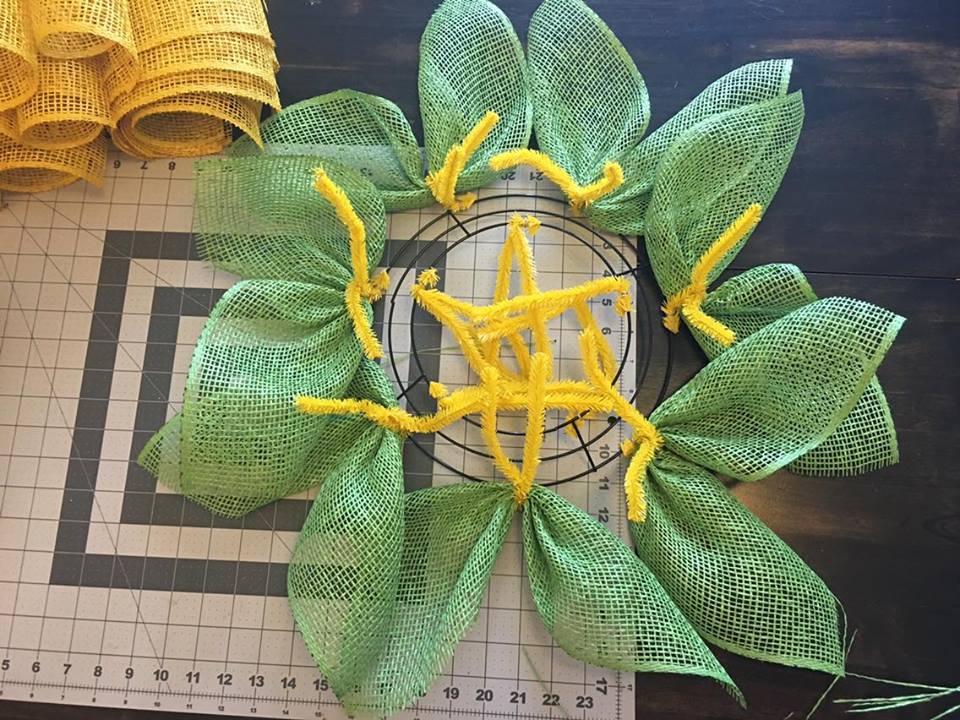
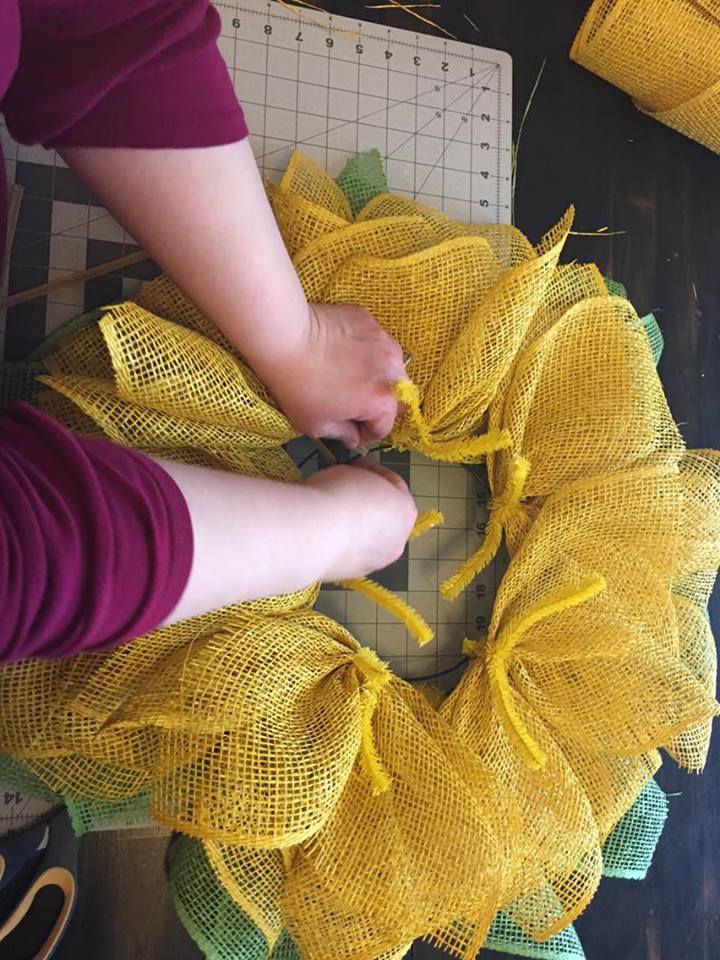
Second, cut 34 pieces of your yellow burlap into 10″ pieces, (I generally cut the whole roll). You will then repeat the process with folding inward the corners and bunching it up to make a bow tie looking petal

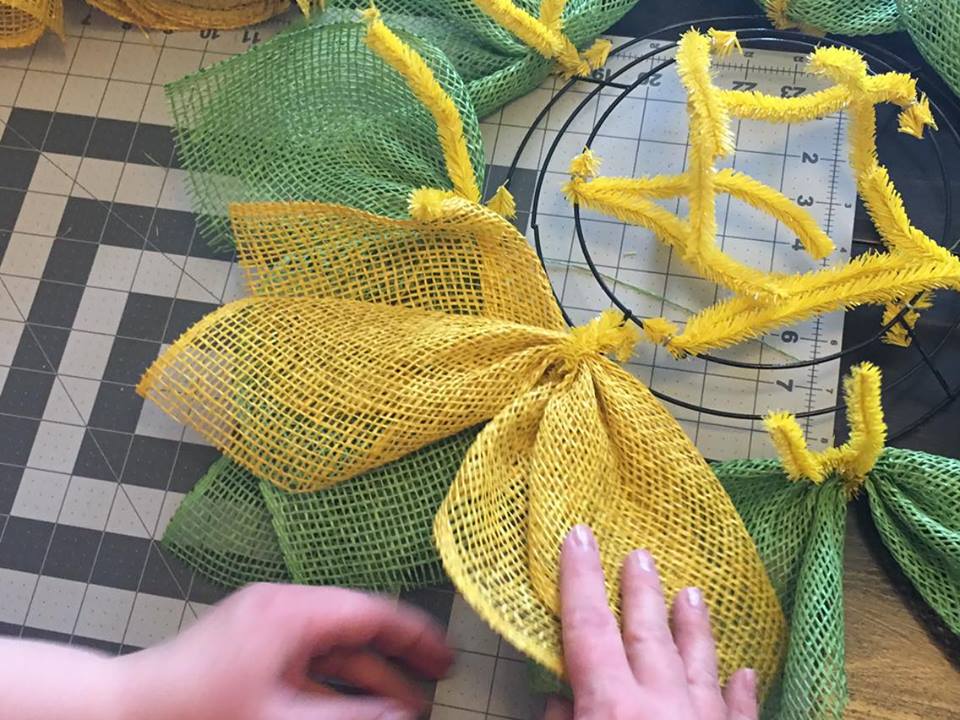
You will attach to the outside rim of the wreath over top of the green leaves. This process needs two leaves on top of each other, twisted together.
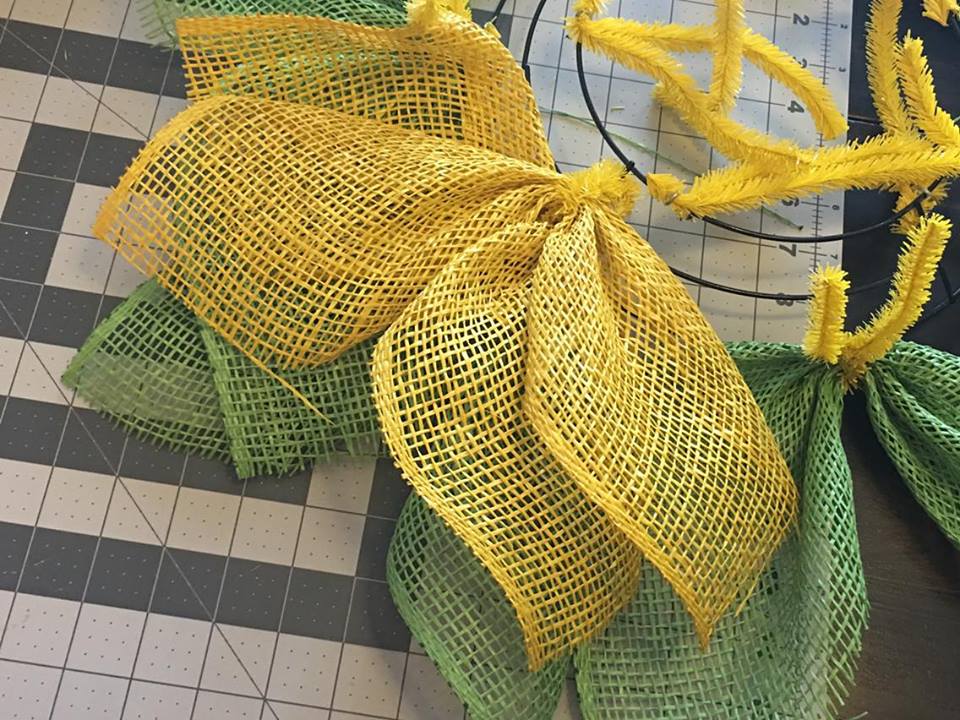
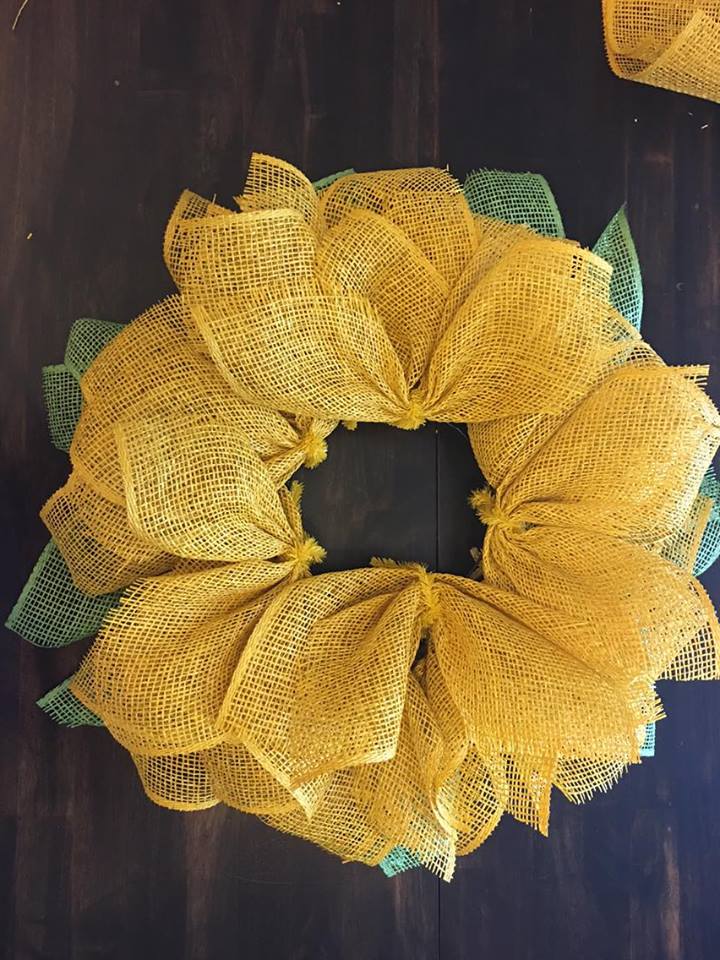
Continue this process until all of the stems are filled with a double layer of yellow petals.
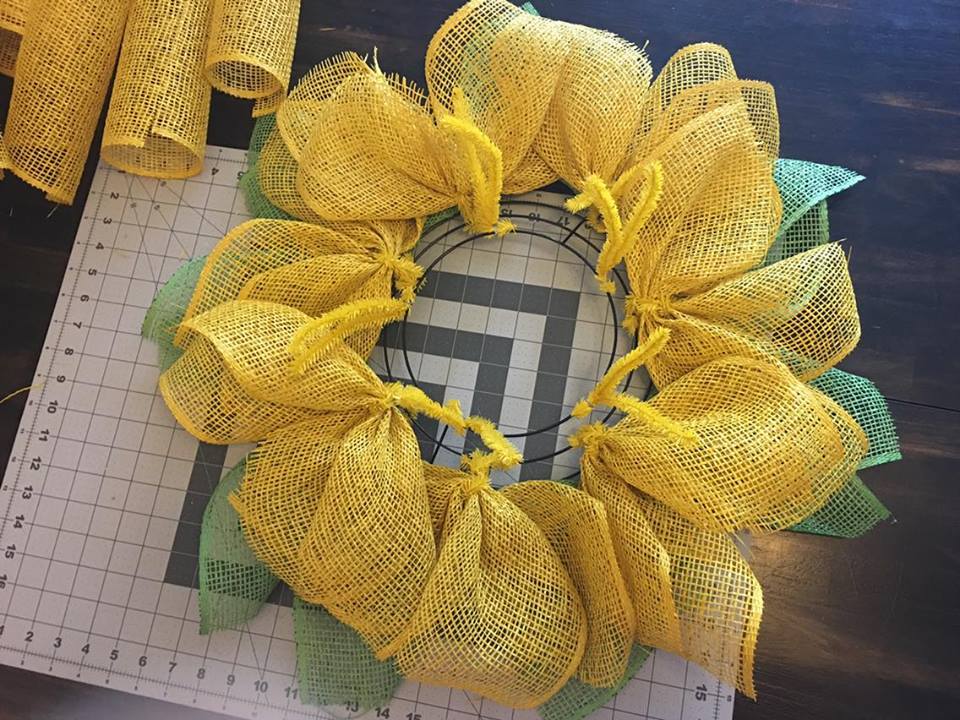
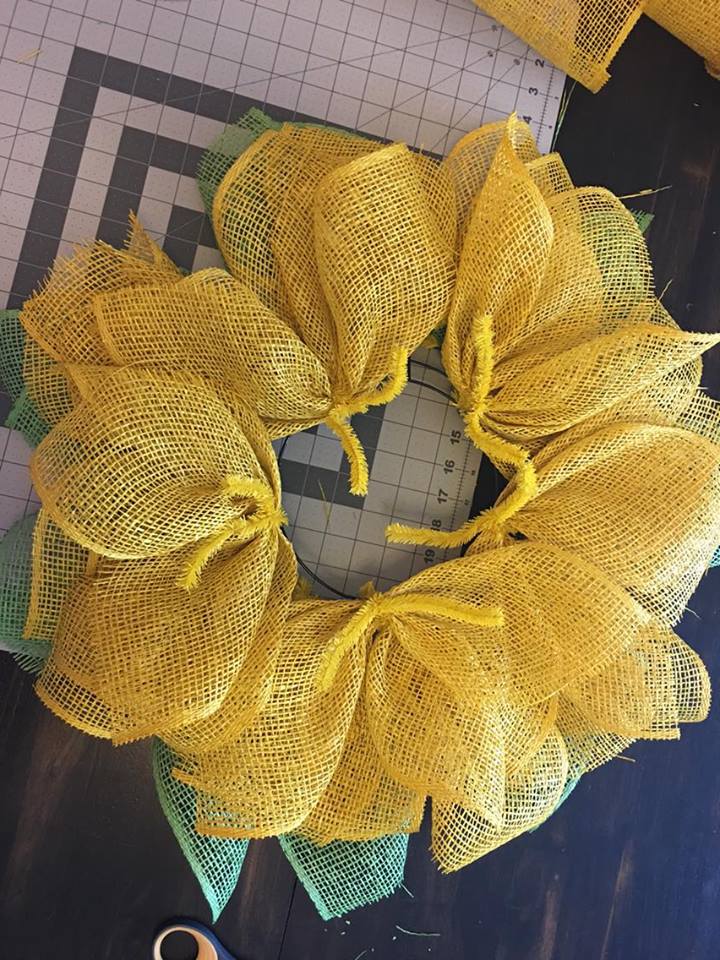
At this point, look at the wreath and take some of the additional chenille stems to add into some of the bare spots in the wreath.
CLICK ON THE ARROW TO SEE PART 2 AND WATCH VIDEO TUTORIAL!

YOU MIGHT ALSO LIKE THIS COLLECTION OF AMAZING WREATH IDEAS!
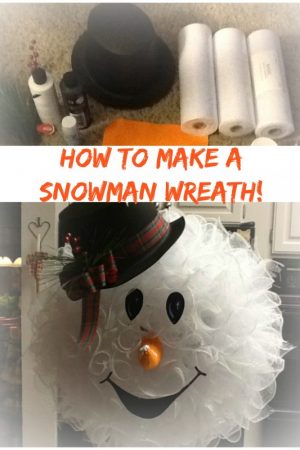
WE KNOW ITS A LITTLE EARLY TO START THINKING OF WINTER BUT THIS SNOWMAN WREATH IS TOO CUTE NOT TO TRY!
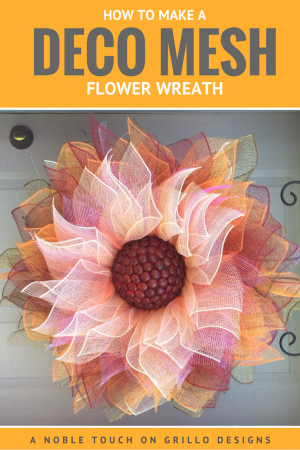
DO YOU WANT TO KNOW HOW TO MAKE AN EASY DECO MESH WREATH?

Since you have the burlap you might as well make this as full as you can make it.
Third, measure out a 7″ circle of Plastic Stiff Canvas and cut it out.
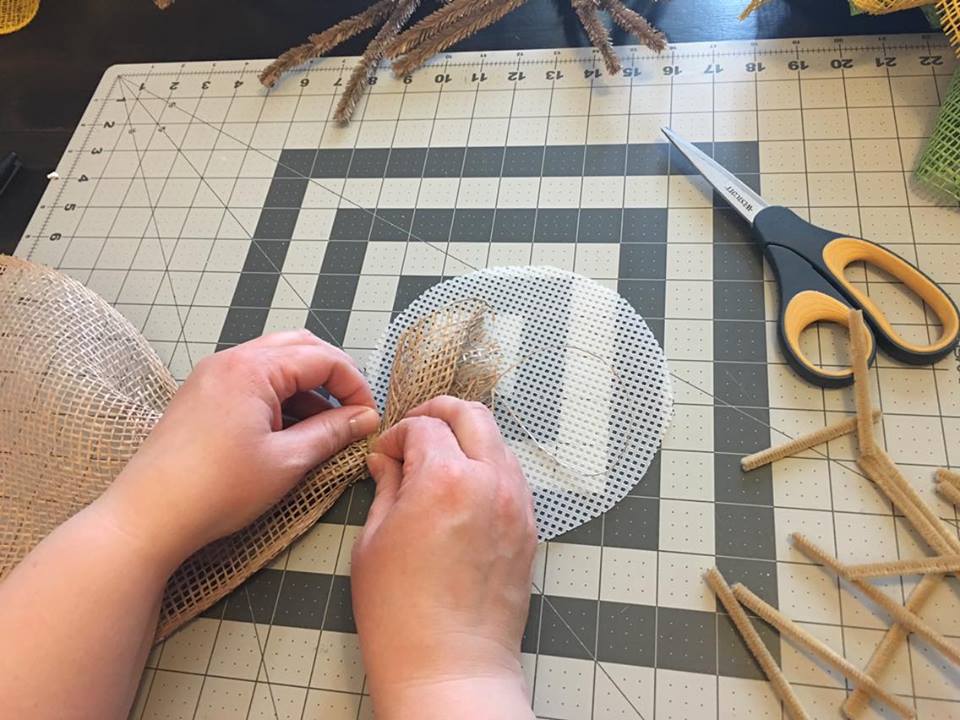
You will take the additional chenille stems and cut them into small pieces and thread through the canvas on the side of the bottom of your circle and attach your brown poly burlap.
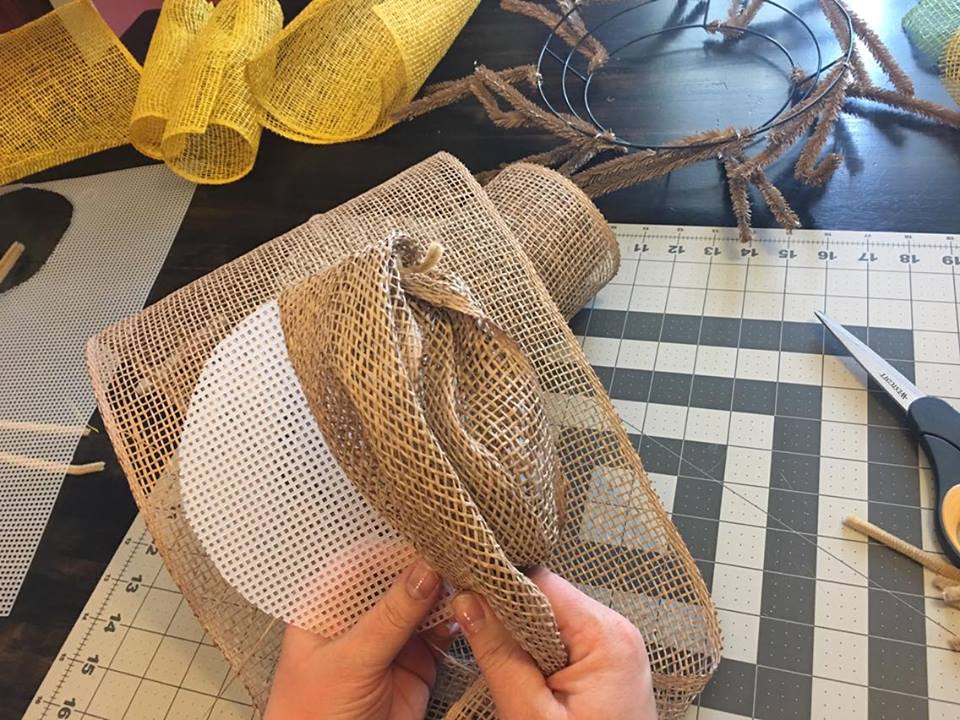
You will attach to the back side of the canvas and pull it over the front and then secure it on the backside of your canvas.
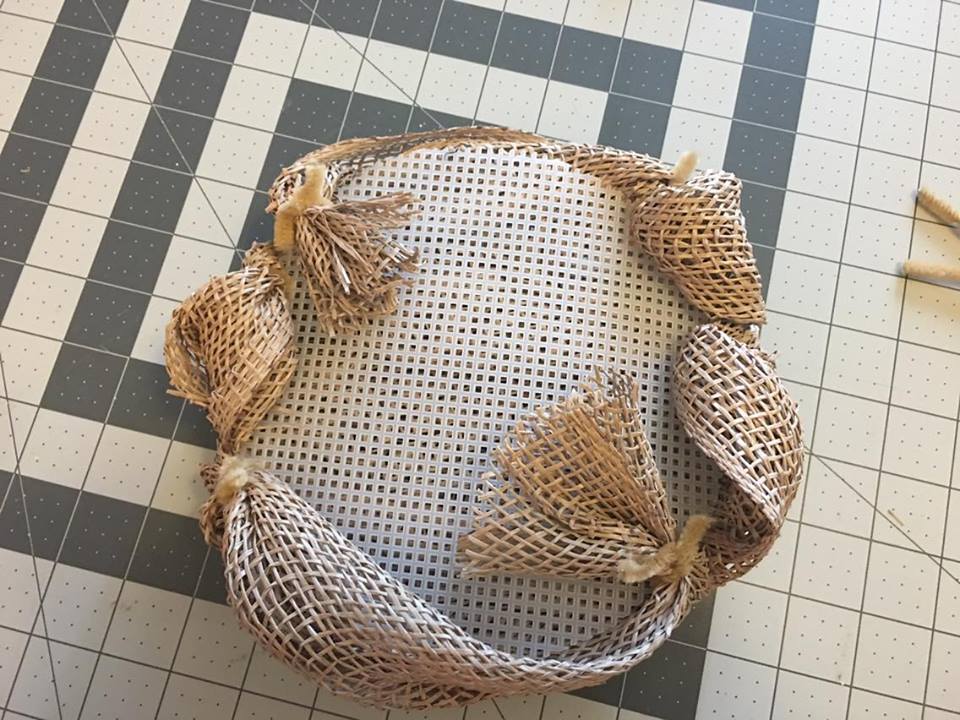
Keep repeating this process until you fill the whole canvas to achieve the desired look for your center.
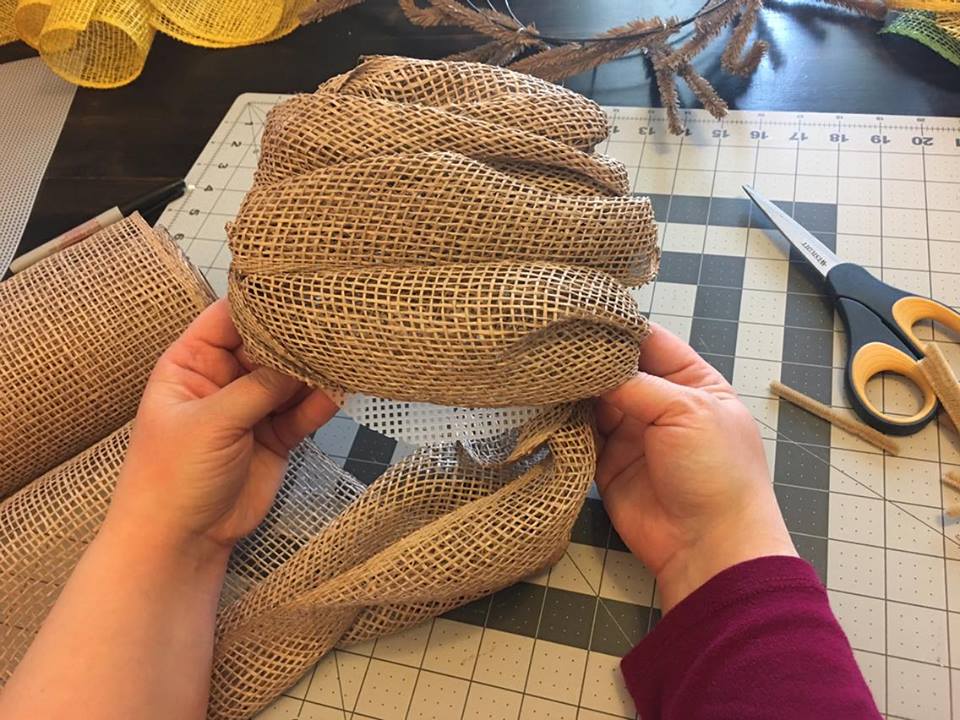
Take the 2 zip ties and thread them through the back of the canvas and attach it to the wreath frame.
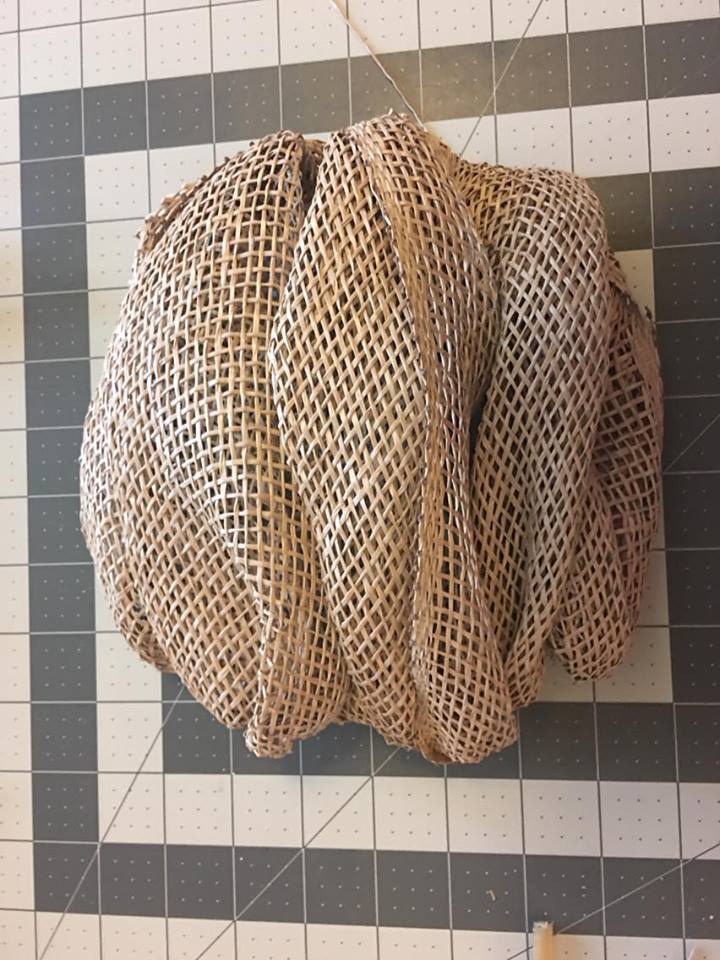
It is important to know that you can adjust your petals throughout your wreath creation. (I like to secure the leftover chenille stems on the back of the wreath to make my petals a little more secure).
You will also need to trim up your wreath because whenever this type of burlap is cut it will fray a bit.
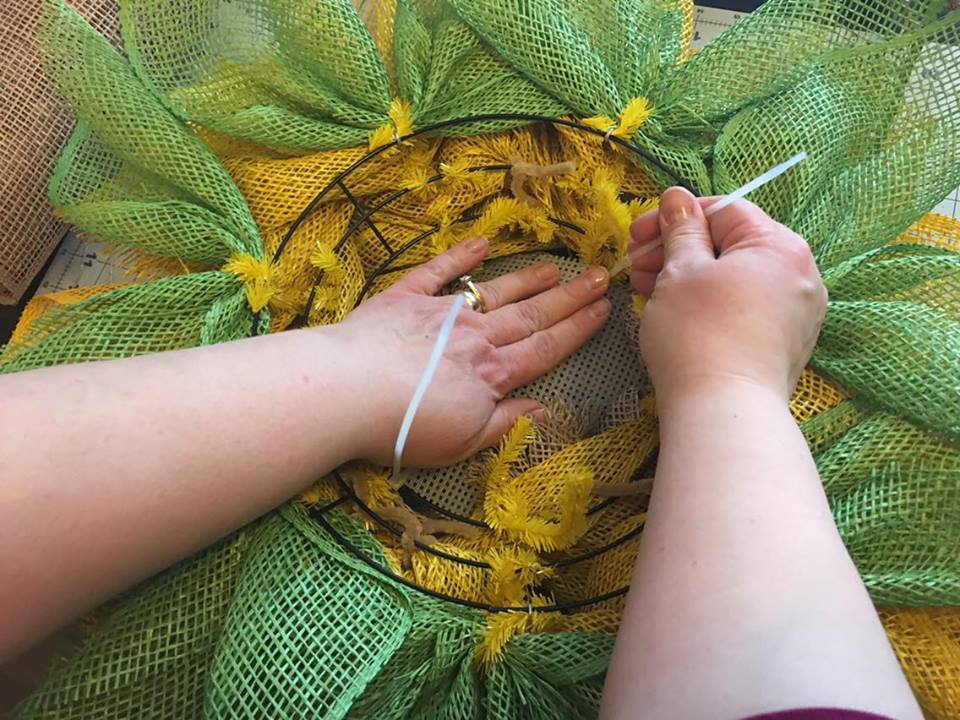
I use the Poly Burlap because it will hold up to the weather better than a regular burlap or paper mesh burlap. You can also make your own wreath frame using your own chenille stems and make the wreath larger. If you use a bigger wreath frame, just be sure you purchase more materials to make the flower bigger.
WATCH THE FULL VIDEO TUTORIAL!
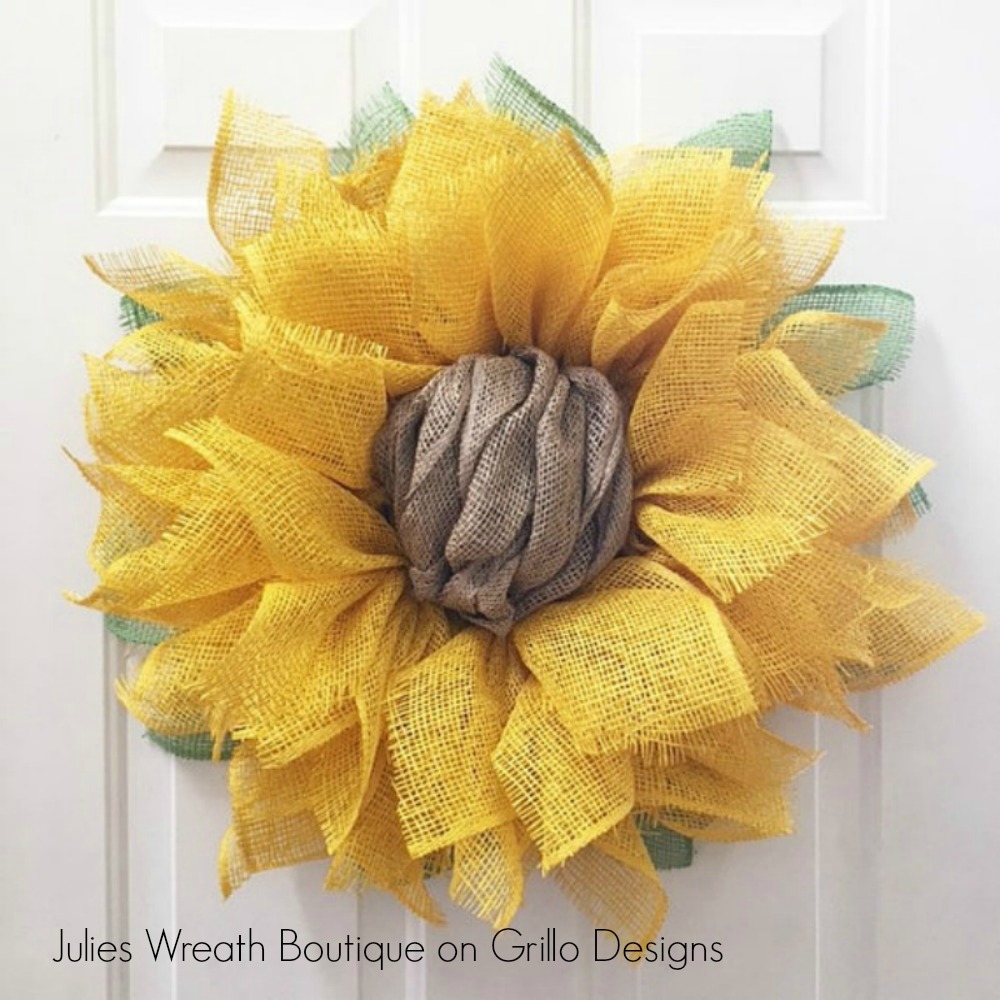
Purchase
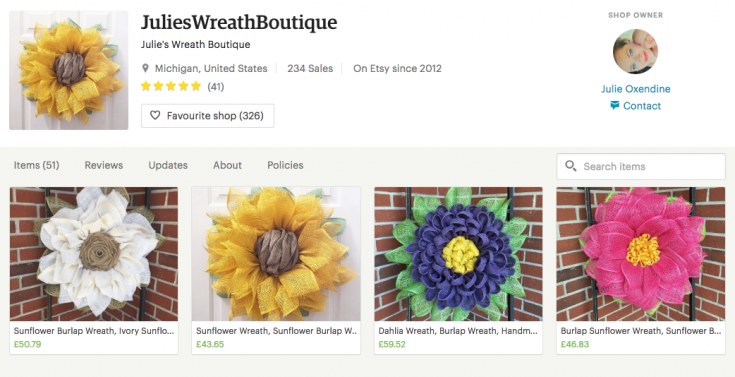
Guess what? You can visit my Etsy shop Julies Wreath Boutique and PURCHASE this wreath! You can also find me on my Facebook page here or at Julieswreathboutique.com as well, hope you enjoy your wreath!
– If you have any questions, leave me a comment below!
Julie Oxendine


YOU MIGHT ALSO LIKE THIS COLLECTION OF AMAZING WREATH IDEAS!

WE KNOW ITS A LITTLE EARLY TO START THINKING OF WINTER BUT THIS SNOWMAN WREATH IS TOO CUTE NOT TO TRY!

DO YOU WANT TO KNOW HOW TO MAKE AN EASY DECO MESH WREATH?


Original article and pictures take grillo-designs.com site
Комментариев нет:
Отправить комментарий