Hanging Bird Garland from the Flock Together Apostrophe S Craft Kit. Easy DIY craft tutorial idea for home decor, nursery decor or party decor.
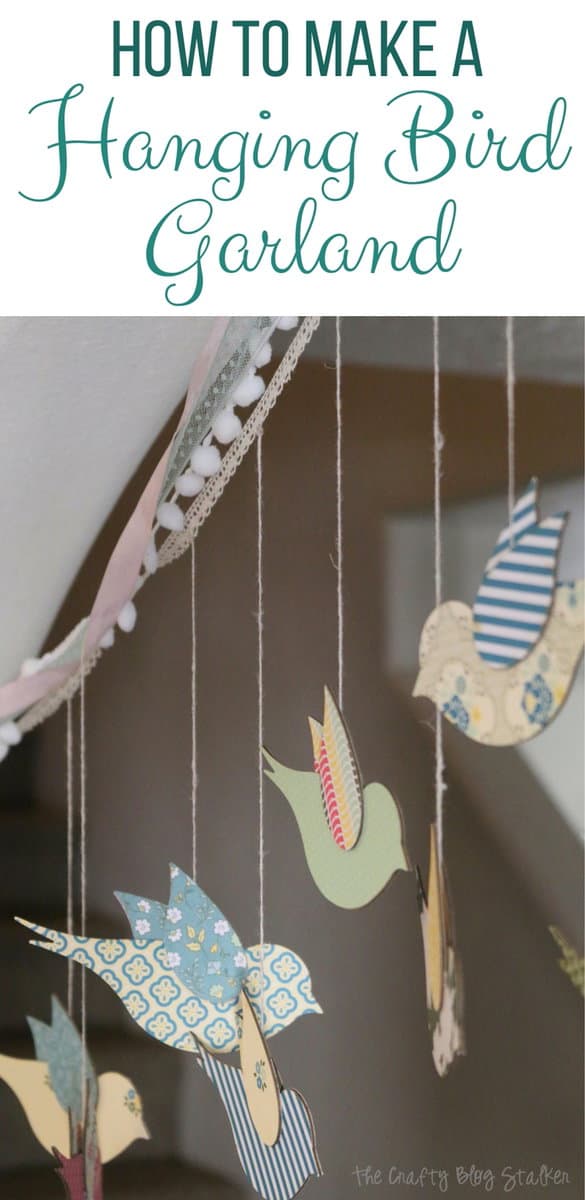
This beautiful hanging bird garland has so many uses! I have had many people contact me to say they’ve made this kit for a decoration in their baby’s room, and one person even had it as a craft at her baby shower and let her guests help put it together. I love that!
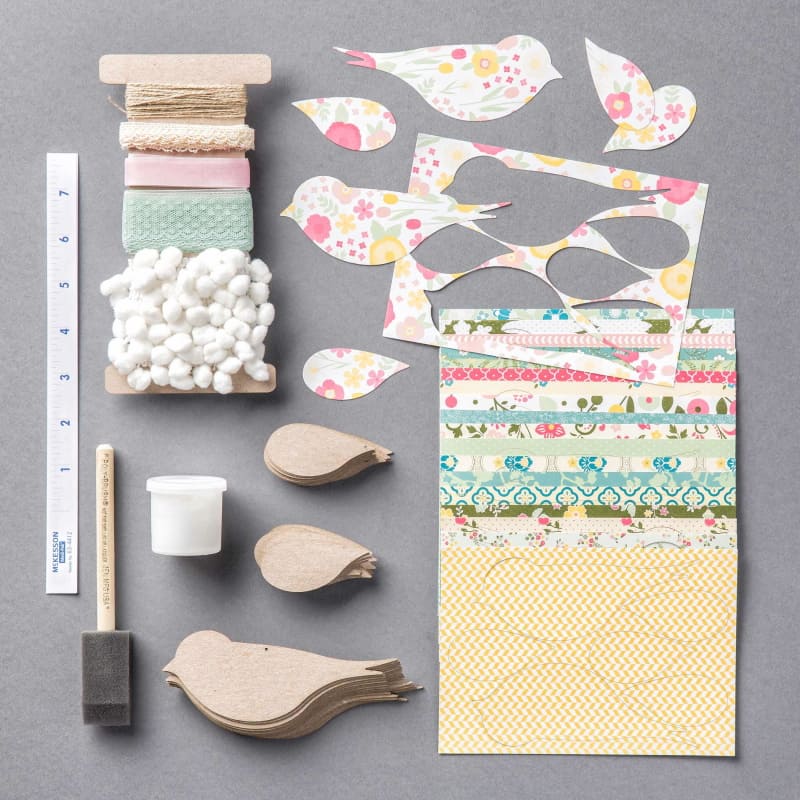
Everything you need can be purchased in this Flock Together kit made by Apostrophe S. (Kit is no longer available)
The kit includes almost everything that you need. All you need to provide is a pair of scissors and a couple of hours to craft. Easy Peasy!
I do have a video tutorial if you would prefer to watch the tutorial. If you like my video subscribe to my YouTube Channel so you don’t miss out on any future video tutorials!
How To Make A Hanging Bird Garland
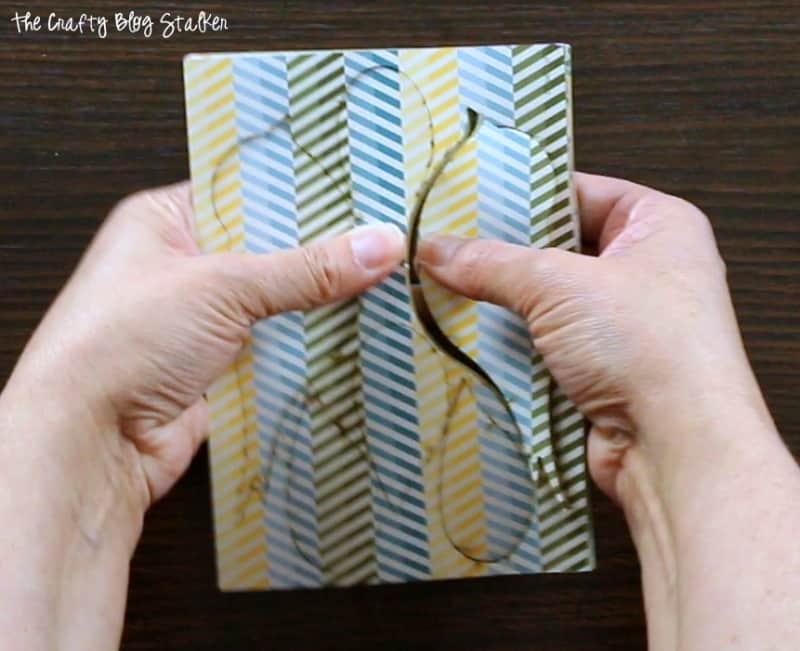
In the Flock Together Kit, you will get a pig stack of laser cut paper. Start by punching out the shapes. I found it easiest to keep the stack together and punch out all of the shapes at once.
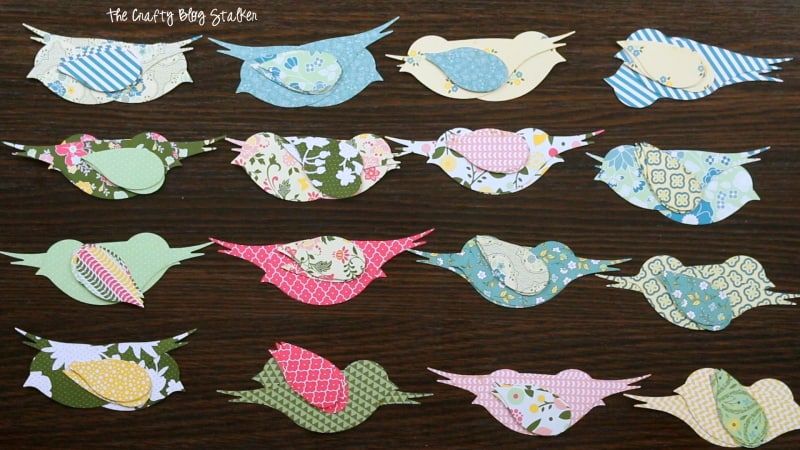
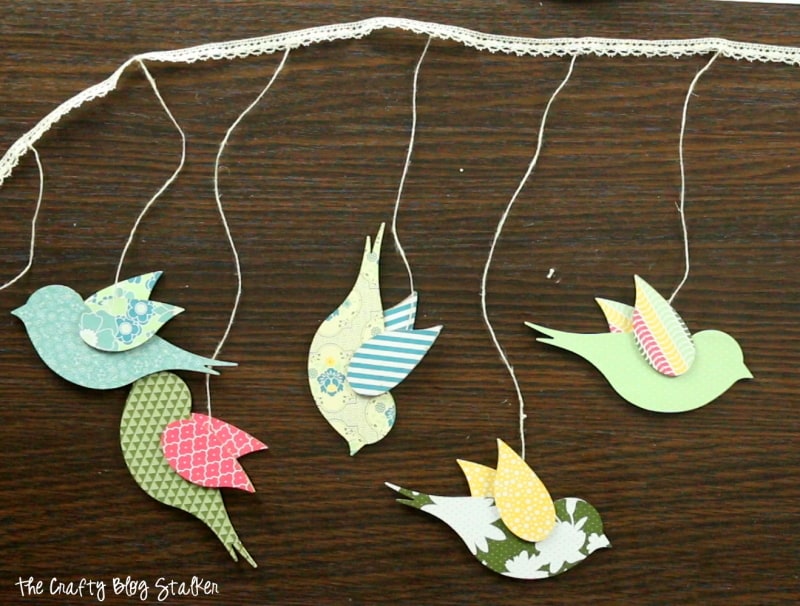
There is a total of 16 chipboard birds, but you have enough paper pieces to make 19. Before assembly, sort through the bird bodies and wings and put the pieces together you will want for each bird. You will need two bodies and four wings to cover the chipboard. Here are the combinations that I chose.
The kit will include the glue and foam brush for applying the paper to the chipboard pieces. Remember to cover both sides of the chipboard with the pattern paper.
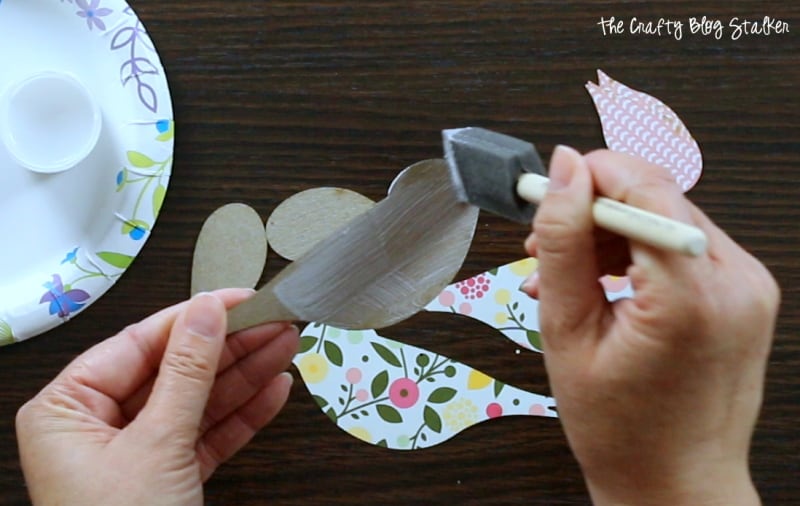
Tip: The paper bird bodies have a small hole at the top that can be pushed through with a paper clip or toothpick. Adhere the paper to the chipboard lining up the edges and the small hole.
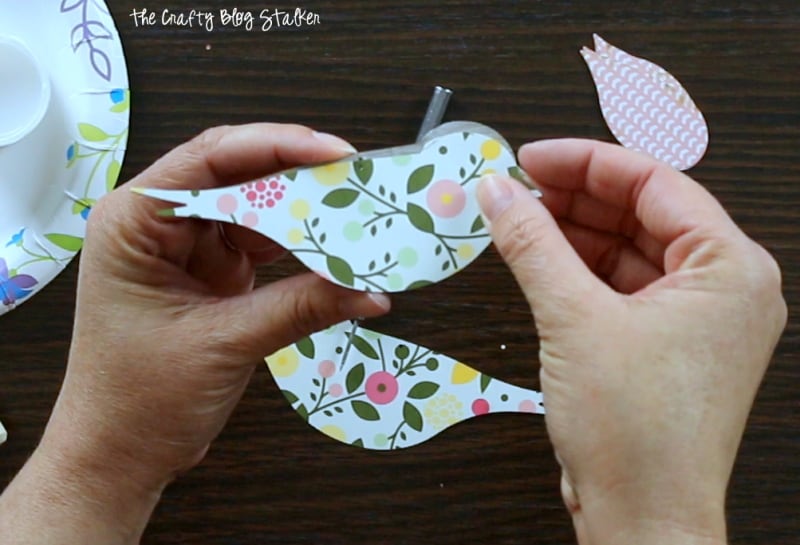
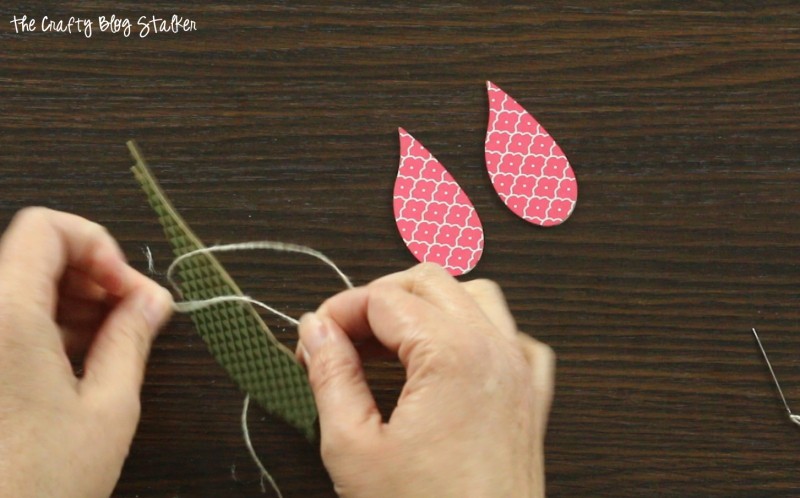
When all of the little bird bodies and wings have been covered, it is time to begin assembly. All of the birds will hang from the ribbon with a bit of twine. Using a needle and twine, go through the hole in the bird body, tie a knot and trim off the access. Measure 12-inches from the body and cut the length of twine.
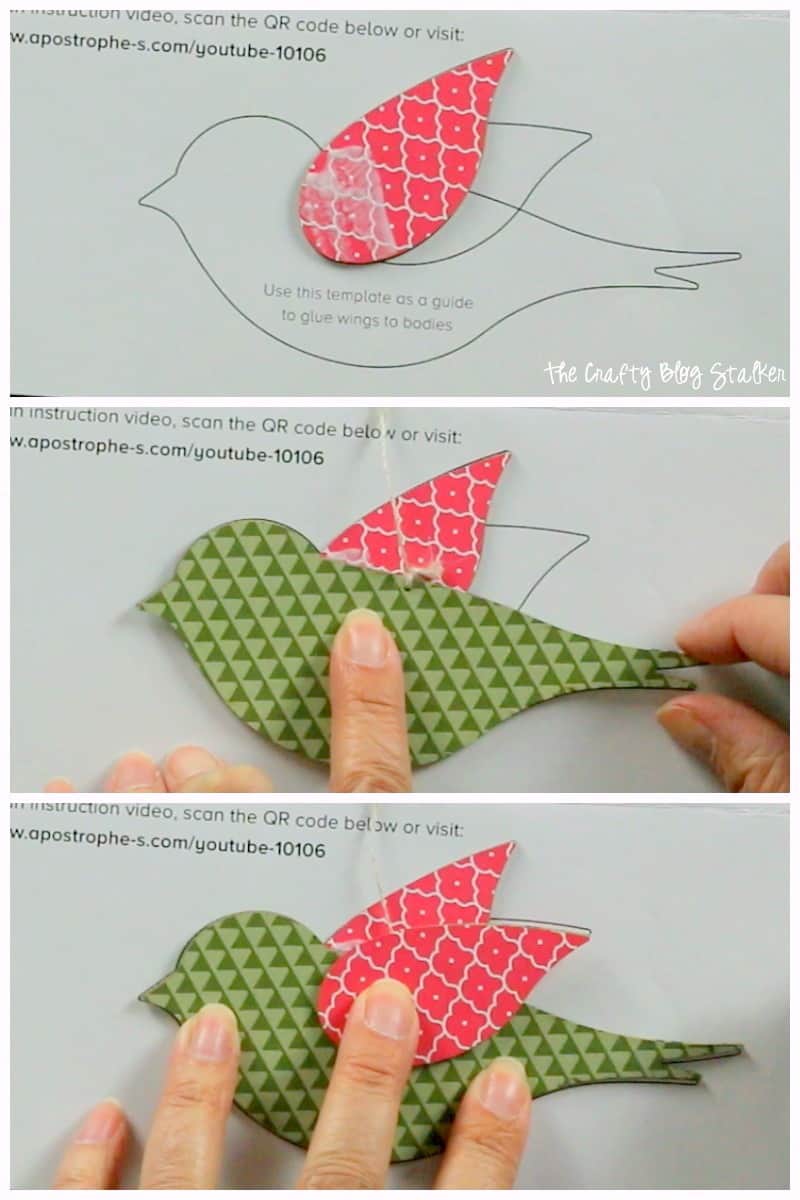
Weight distribution is very important so that the little birdies fly straight. To achieve that, use the included template for wing placement. Apply some glue to the bottom of the first wing and lay in the outline of the template. Take the bird body and align within the template, then adhere the top wing, keeping all pieces within the template.
When all of the birds are assembled and have their 12-inch piece of twine, it is time to begin tieing them onto the crochet ribbon.
I found it easier to do this part on the floor because the garland is so long. Find the center of the crochet trim by folding in half, make a note of the center with a pin or piece of tape. Unfold and lay flat on a large surface. The crochet ribbon has holes in it, and we can use these to help us before we tie the birds on. Pull the twine for one bird through a hole and find your placement. About every 3-inches pull another piece of twine through a hole.
You can easily move the birds up and down until you are happy with the lengths of all of the twine. I did one long, one short, one long and so on, but you can do it however you want. When you are happy with the lengths, tie the twine onto the crochet ribbon with a simple knot and cut off the access.
Unwind the other ribbons from the cardboard holder inside the kit and lay them all together. I tied them all together with a big knot at both ends to keep the strands together. Make sure to pull the crochet ribbon tight and leave the other ribbons loose because all of those birds will weigh it down a bit.

That is all there is to it! You will have a bird garland that will make beautiful home decor, nursery decor or party decor!
What would you do with a Flock Together Bird Garland? Share and leave a comment below!
SAVE HOW TO MAKE A HANGING BIRD GARLAND TO YOUR FAVORITE DIY PINTEREST BOARD!
And let’s be friends on Pinterest so you can see all the DIY projects I’m pinning!
You Might Also Like:
Original article and pictures take thecraftyblogstalker.com site
Комментариев нет:
Отправить комментарий