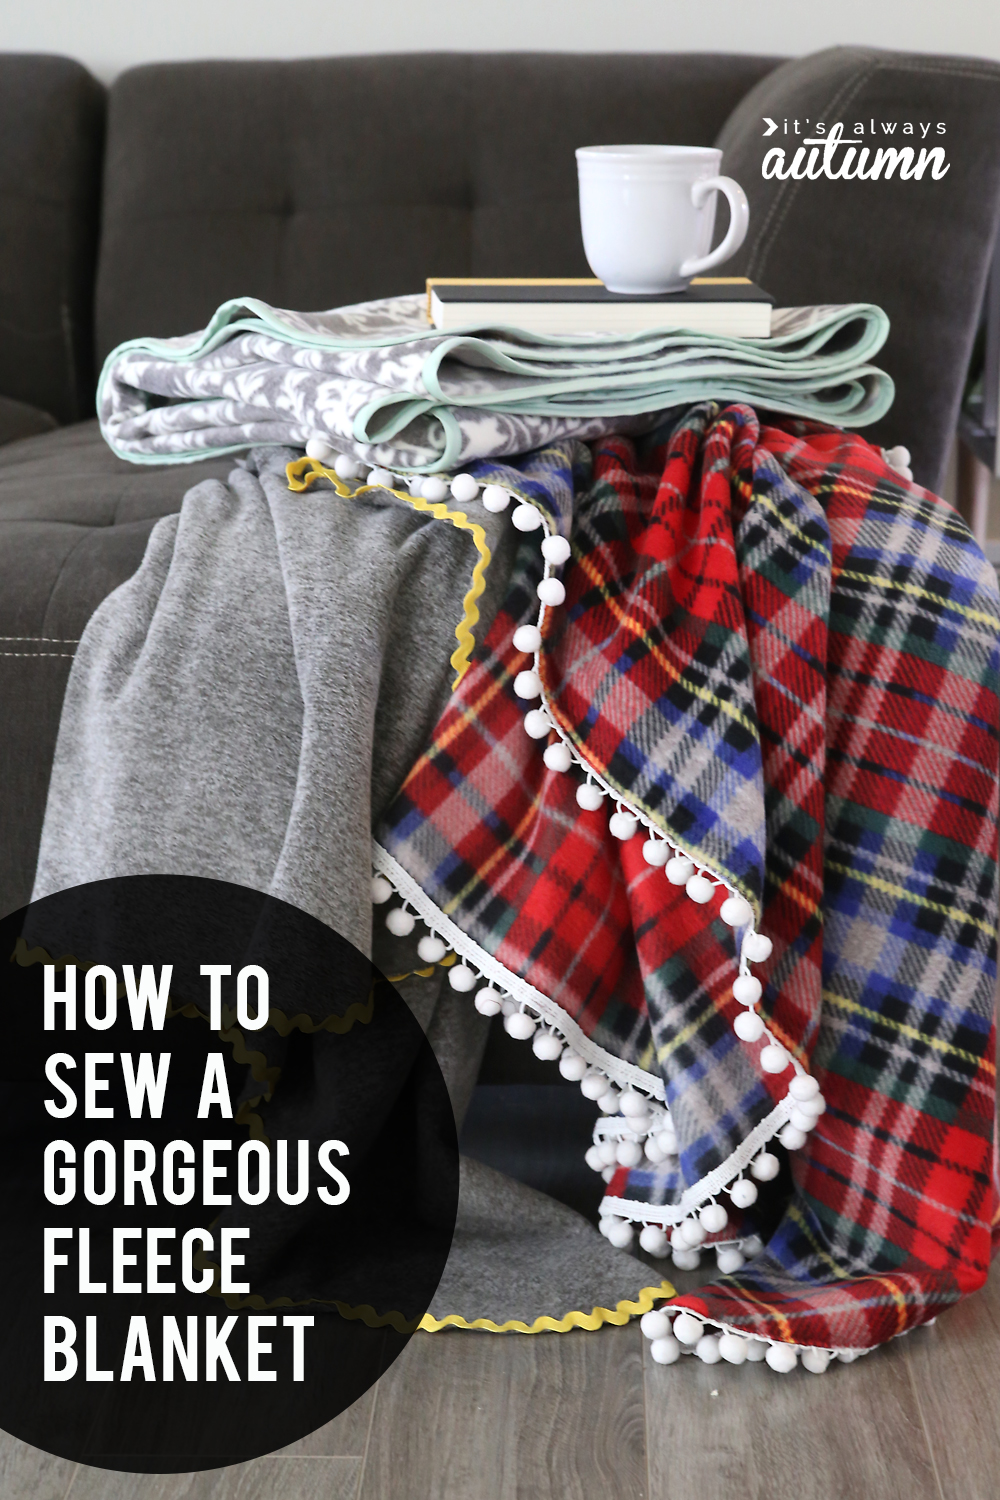
In today’s post: Learn how to make a truly beautiful fleece blanket with three simple DIY fleece blanket tutorials.
I was browsing my local Jo-Ann Fabrics the other day, waiting for my number to be called for the cut line. While helping my daughter figure out how many people were in between us (number 97) and the number currently being served (81), I noticed a section of new fabric–the softest, most beautiful fleece I’ve ever seen in my life! It’s called Luxe Fleece, and it’s super soft and comes in the most gorgeous plaids, prints, and solids. It’s quite dense, which really makes it feel luxurious. My daughter felt it and promptly tried to climb onto the shelf so she could take a nap on it right there in the store. There’s really no comparison between normal fleece and this deluxe version. It’s some seriously lovely stuff.
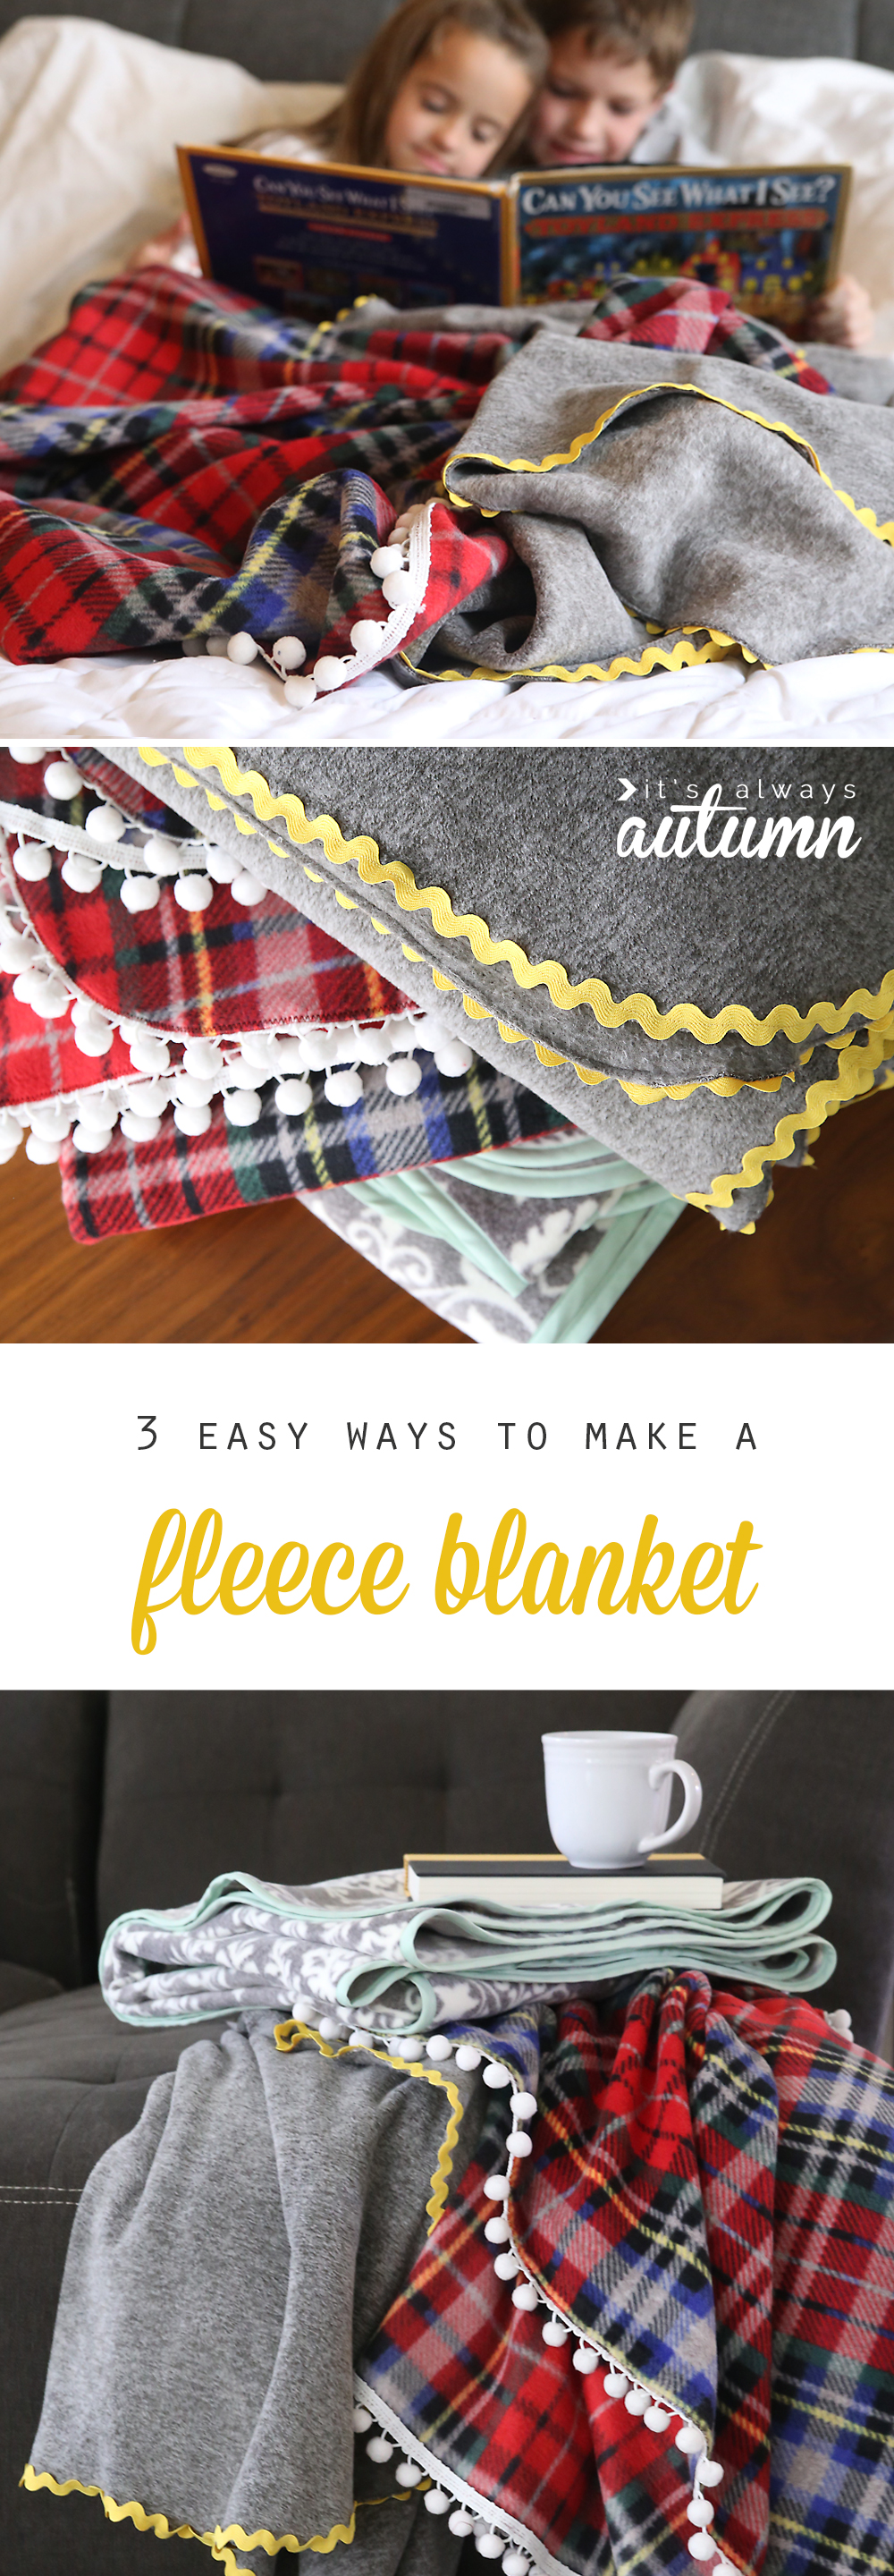
So I decided to make some seriously lovely blankets with it. You’ve seen fleece blankets before, where the edges are cut into strips and knotted or braided. They’re easy, fast, and cute. But they’re not terribly sophisticated. Today I’m sharing three more sophisticated methods to finish off a deluxe fleece blanket. Each method is quite simple (30 minutes should do it), but the result is a more grown-up, professional-looking blanket.
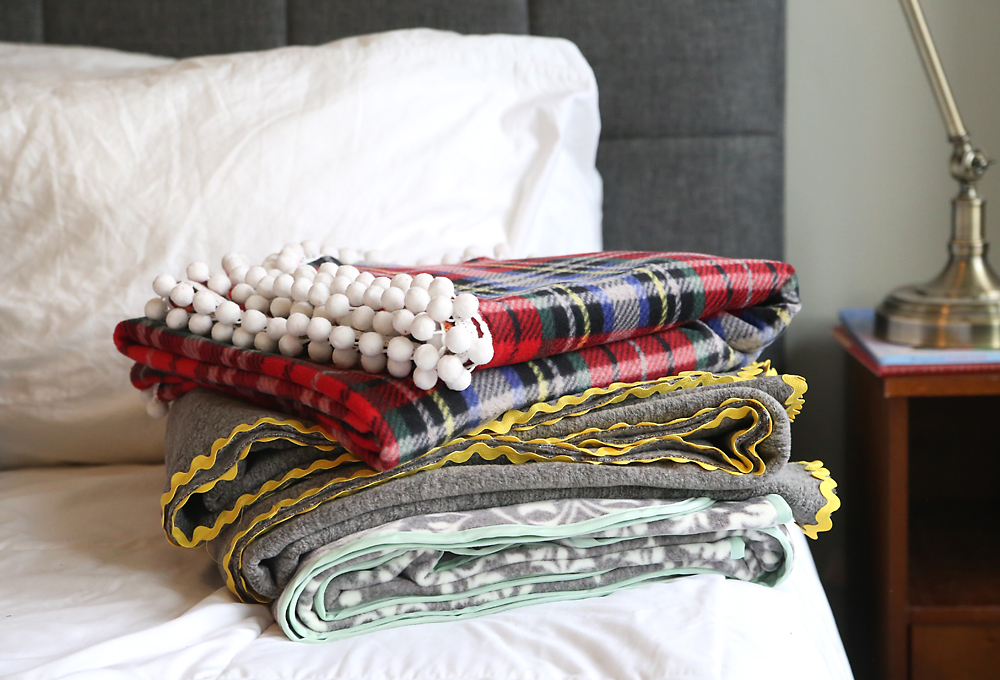
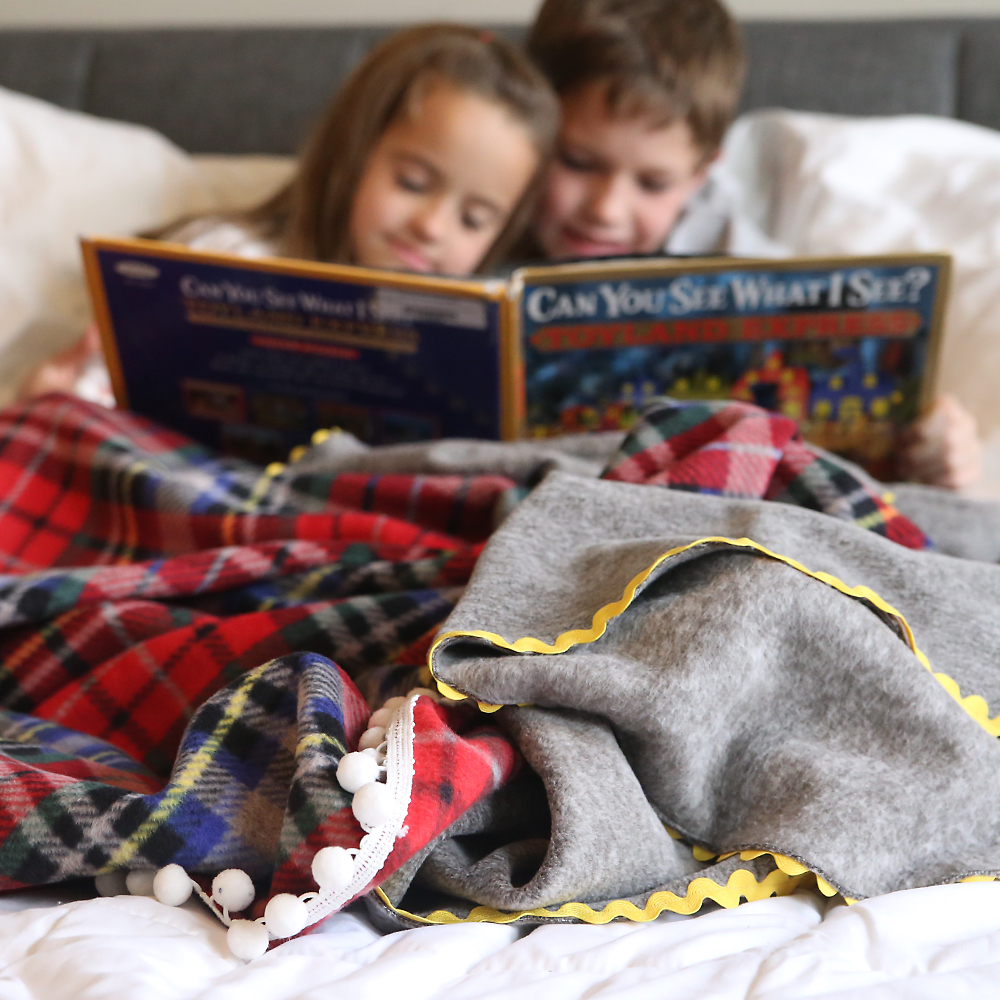
These are the perfect blankets for cuddling up in on a cold winter’s day. I’ve made three already and my kids keep fighting over who gets to use them.

Supplies for a DIY fleece blanket
For a standard throw size fleece blanket, you’ll need 1.5 yards of the Deluxe fleece. Two yards will make a slightly larger blanket, perfect for people who are on the tall side. This fabric isn’t cheap so you’ll definitely want to take advantage of sales or coupons when you buy your yardage. And just in case you’re wondering, no, this isn’t a sponsored post. I just fell in love with this fabric and thought I’d share!
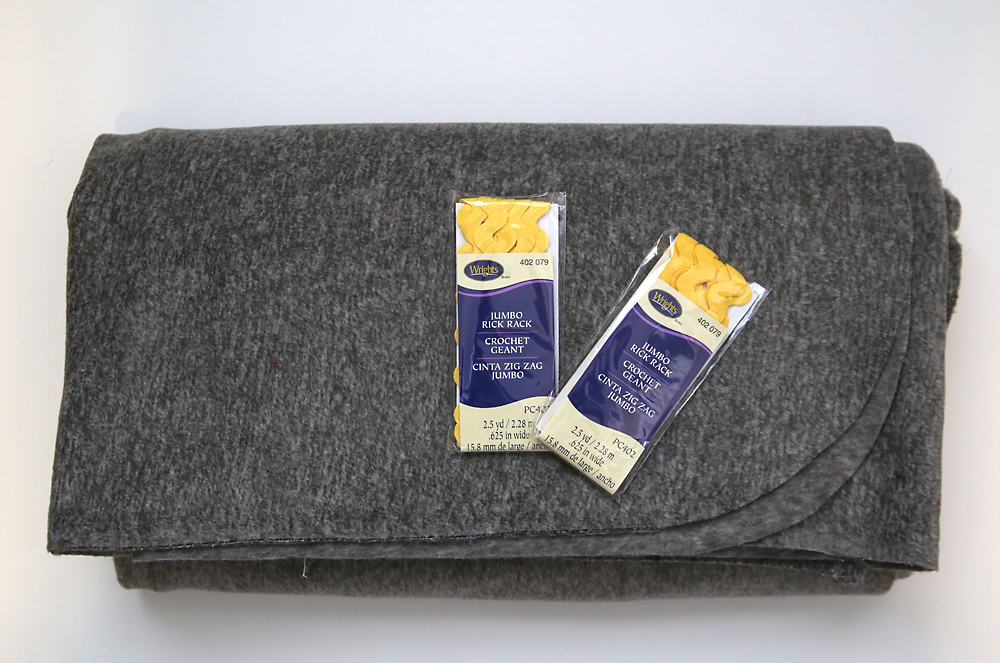
You’re also going to need some trim. I used three different kinds of trim for my blankets: bias binding, jumbo ric rac, and pompoms. For a 1.5 yard blanket, plan on 7 yards of trim (if you want to do all four sides). For a 2 yard blanket, you want 7.5 yards of trim.
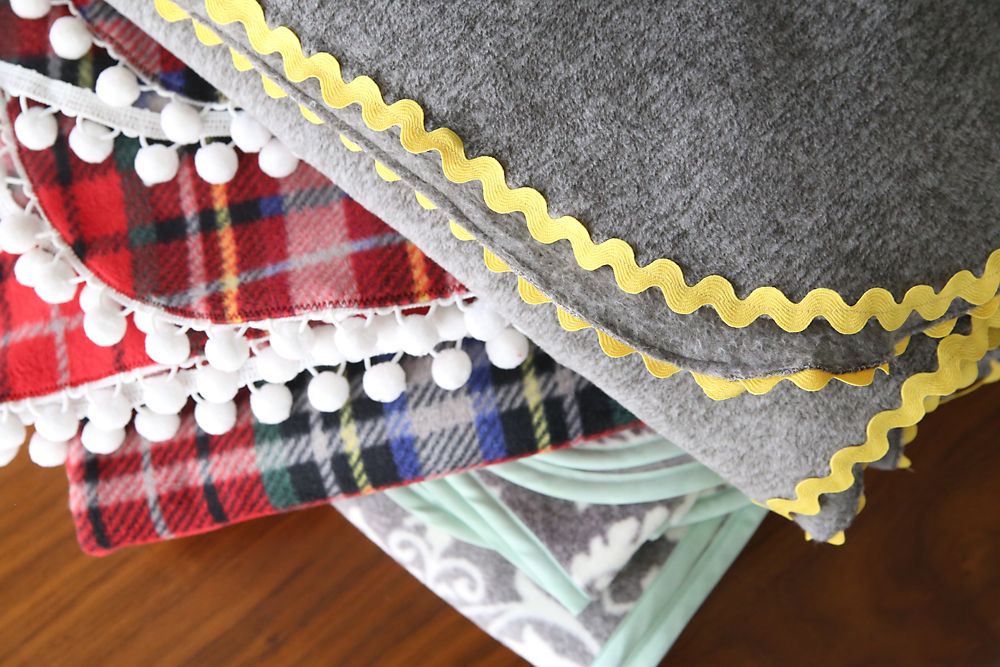
How to make a fleece blanket
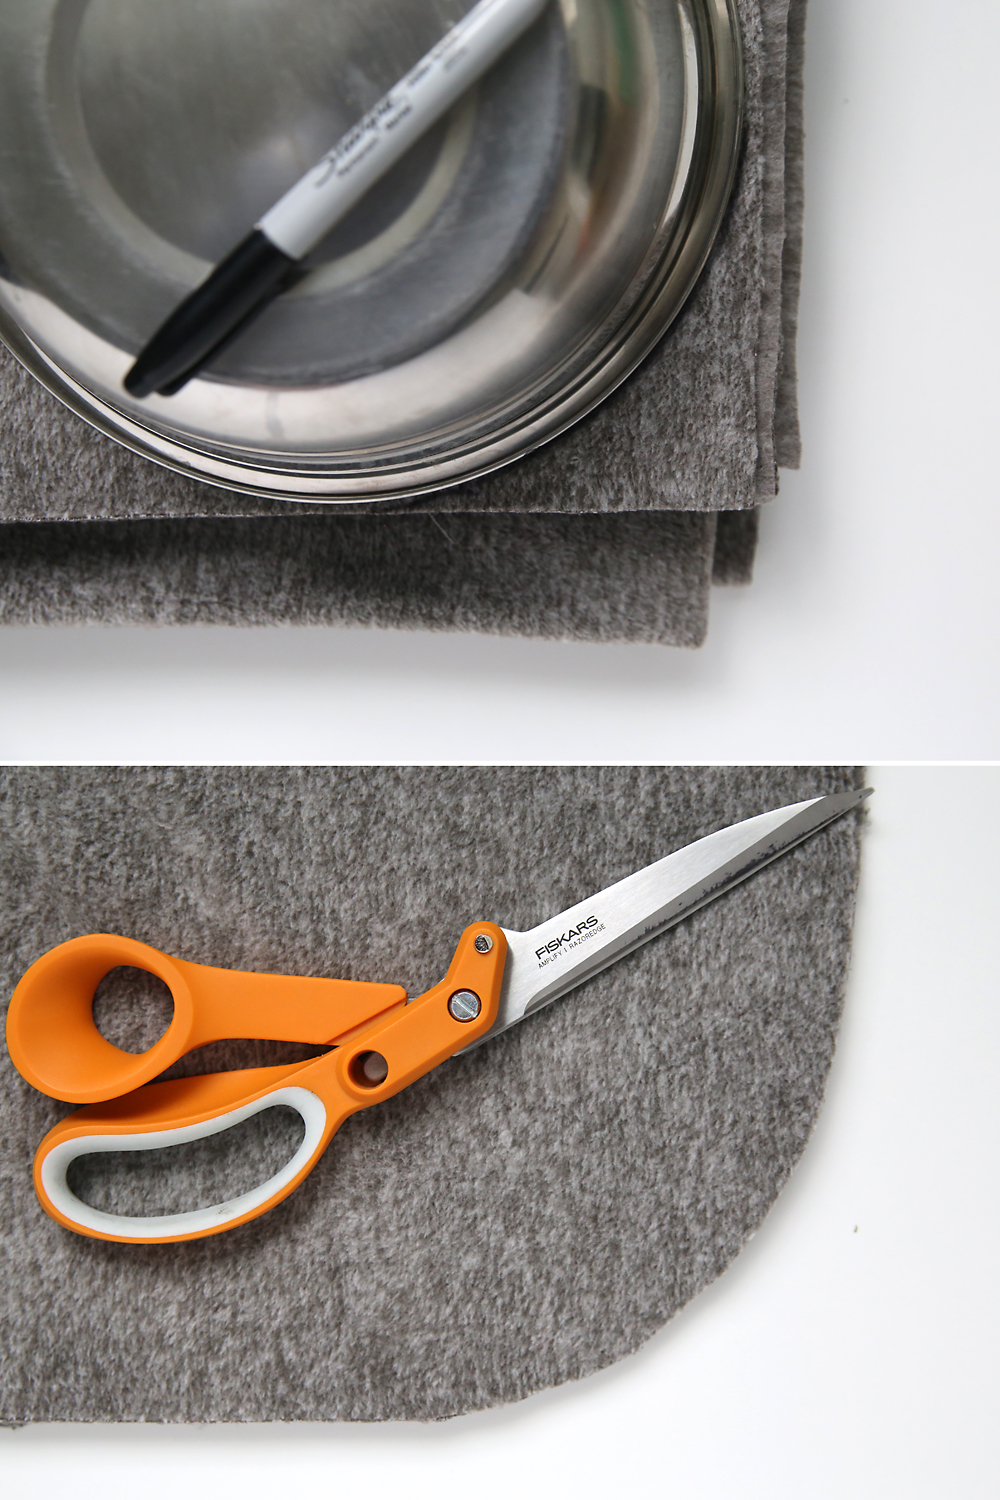
The first thing you want to do is cut the selvedge edges of both sides on your fabric. Make your cuts as straight as possible. Then fold your fabric and make sure the other two edges are cut straight as well. Finally, fold the fleece in fourths, matching the corners. Use a bowl to trace a curve onto a corner, and then cut a curved edge on all four corners.
Now you’re ready to start trimming!
How to make a ric rac trimmed deluxe fleece blanket
For a 2 yard blanket, I used 3 packages of jumbo ric rac (2.5 yards per package). You want to use thread that matches the ricrac for the top thread in your machine; for the bobbin thread you can match the fabric, although since the Luxe fleece is so dense the thread on the back is not very visible.
This is SUPER easy. All you need is a basic straight stitch. Starting anywhere on the blanket, line the ric rac up so that it covers the edge of the fleece. You want to see just a tiny bit of fleece showing under the ric rac at each bend, as shown in the photo below.
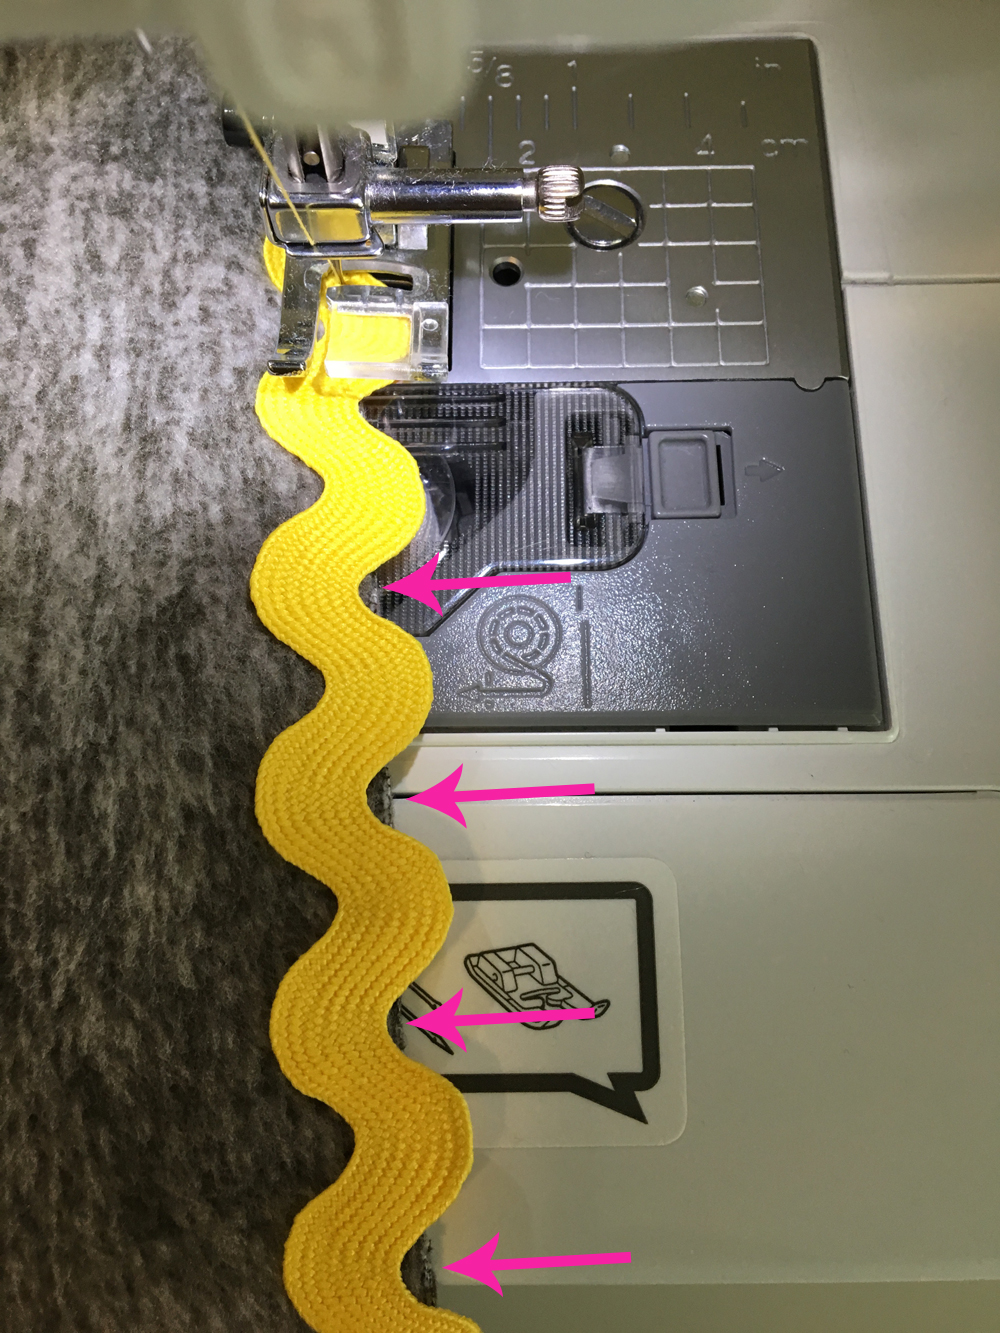
Start sewing down the middle of the ric rac with a straight stitch. As long as you can see just a tiny bit of fleece under the ric rac at each bend, you’ll be attaching the ric rac to the fleece as you sew. Continue sewing, going carefully around corners. When your ric rac runs out, just overlap more ric rac from a new package and continue to sew. When you get back to where you started, overlap the ric rac again, trim the excess, and sew across the overlap and then back stitch to secure.
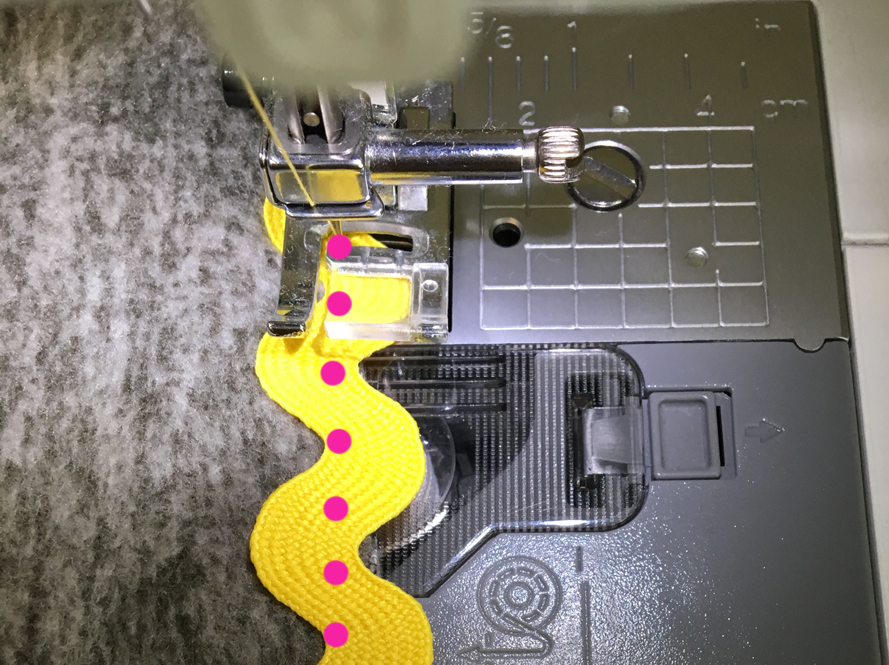
I don’t even pin the ric rac on first; I just overlap the ric rac onto the fabric as I sew. Going slowly it will take about 20-30 minutes to sew all the way around the blanket. You might be able to sew faster if you pin it first, but your total time commitment will likely be about the same.
Here’s what it looks like from the front and the back:
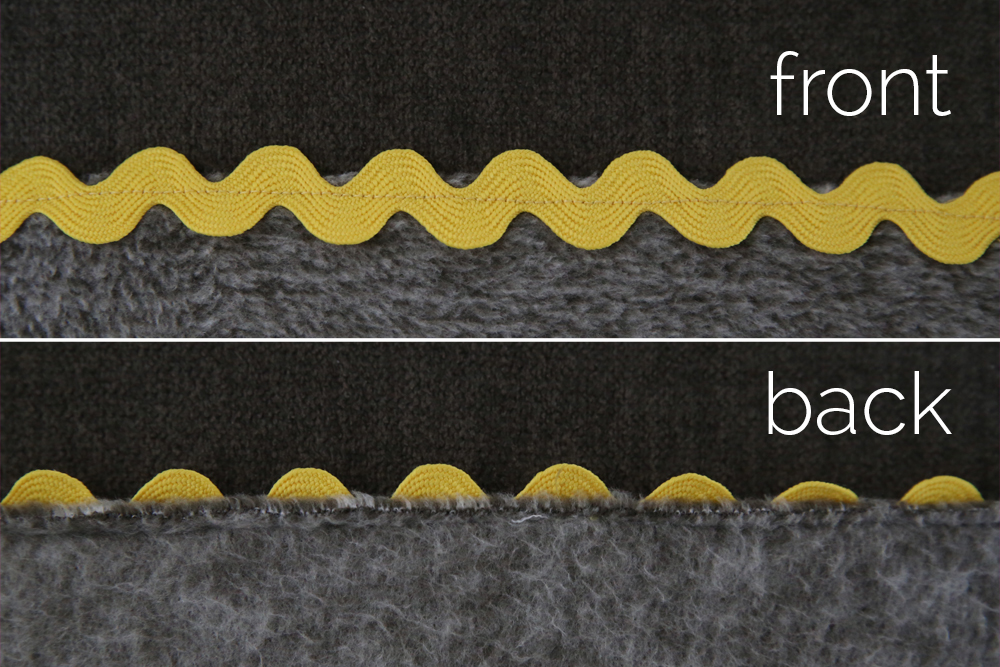
It’s really that easy, but there is one thing to pay attention to. Make sure when you are going around the corners that you are not stretching the fleece. If you do, you’ll end up with corners that don’t lie flat. So just be aware of that and make sure you are gently guiding the fleece into the sewing machine instead of letting it get pulled and stretched as you sew those corners. Here’s the finished DIY fleece blanket:
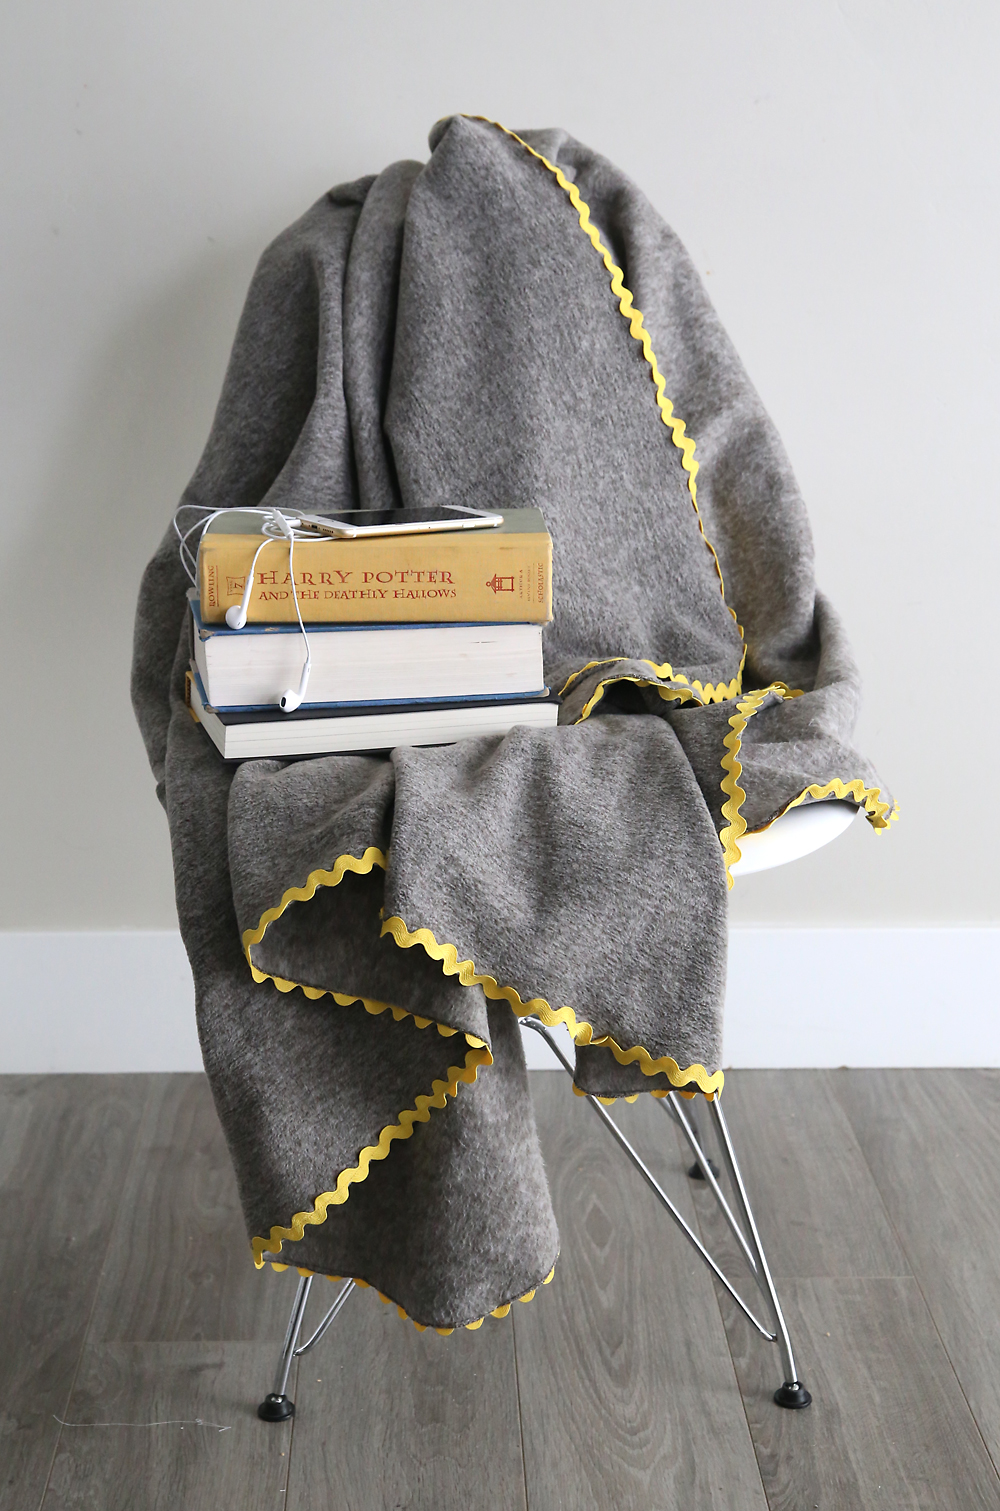
Ok, on to the next one!
How to make a bias bound deluxe fleece blanket
For a bias bound blanket, you’ll want 3 packages of extra wide double fold bias tape (3 yards per package). OR you can make your own bias tape. Each fold of the bias tape should be 1/2 inch wide. For this blanket, you’ll want thread that matches your bias tape in both the top and bobbin.
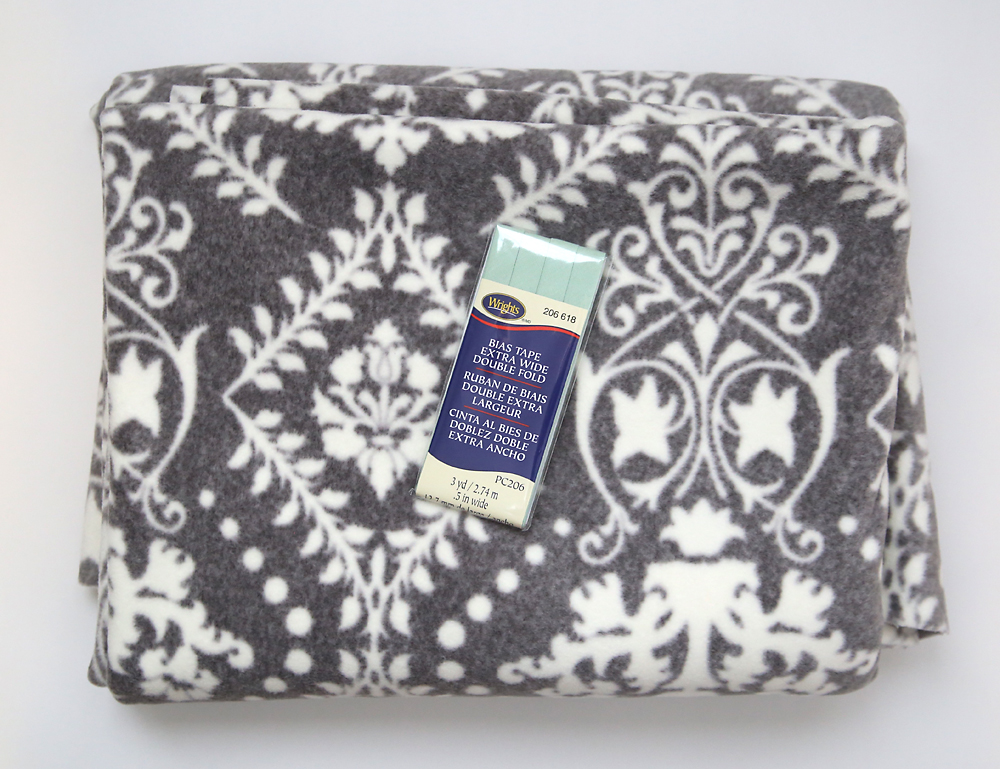
Start by opening your packages of bias tape and sewing them together to make one hug
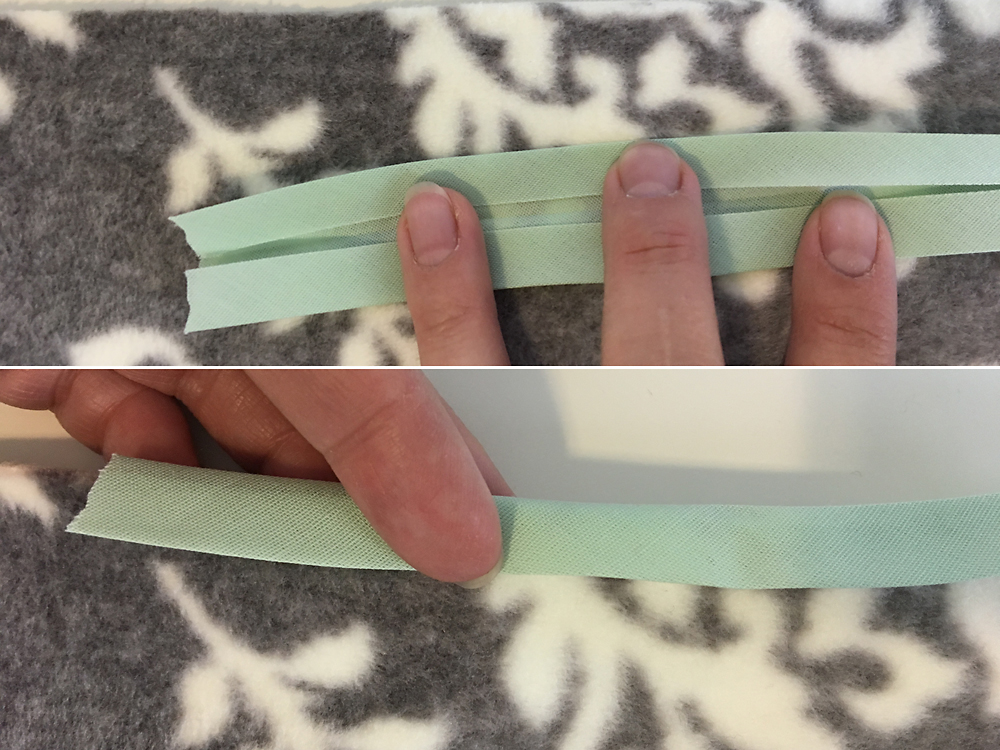
Bias tape is folded in the middle, and you’re going to sandwich the edge of your blanket inside that fold. One side of the tape is slightly narrower than the other side; make sure that side is up facing you.
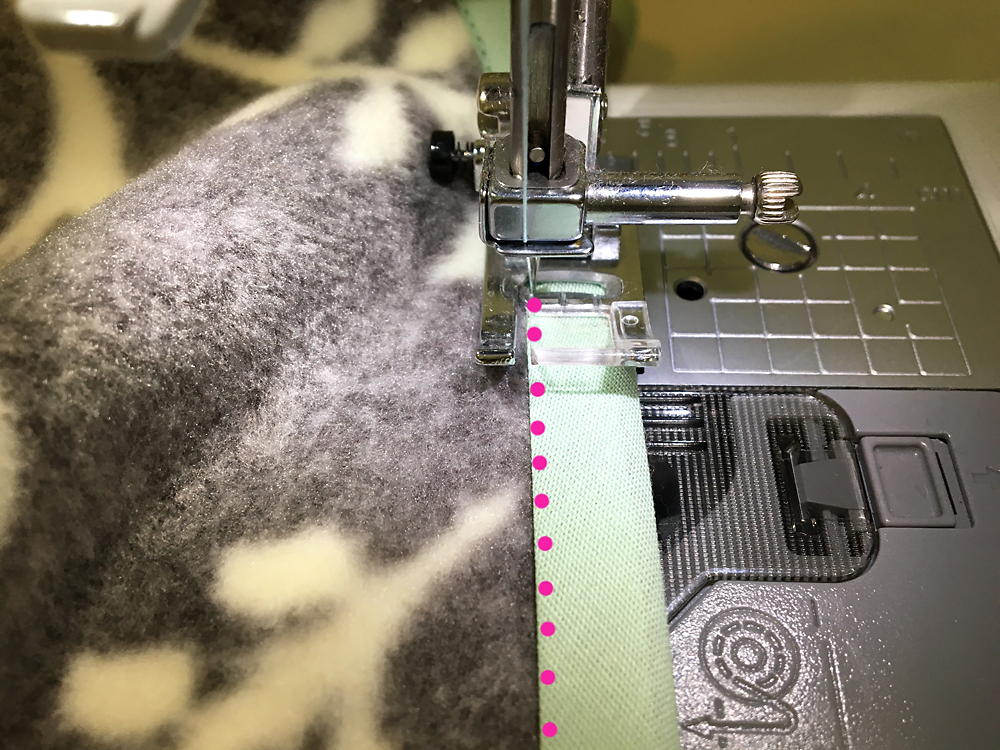
Starting anywhere on the blanket, sandwich the bias tape around the edge of the fabric. Sew a straight stitch very close to the edge of the bias tape. Just like with the ric rac, I don’t worry about pinning this first (although you certainly can if you want). Just go slowly and maneuver the bias tape into position with your hands as you sew.
When you need to switch to a new piece of bias tape, open the new bias tape all the way up and fold the short edge under about half an inch (and press it if you’re not too laze). Then just sandwich the new bias tape over the end of the tape you’re about finished with, and sew right across them both. Finish it in the same way.
Here’s what this one looks like from the top and bottom:
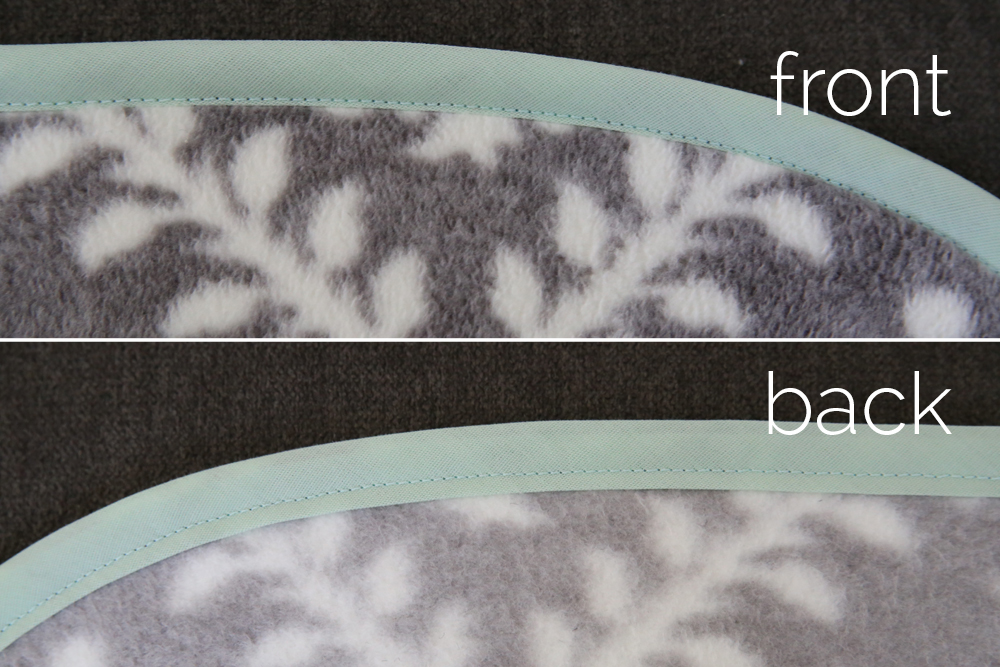
(Some of you are noticing that this is the total cheater method for applying bias tape. The traditional method, found here, will look a bit tidier. It just takes twice as long, and I notice no one pays attention to how tidy my bias tape is anyway.)
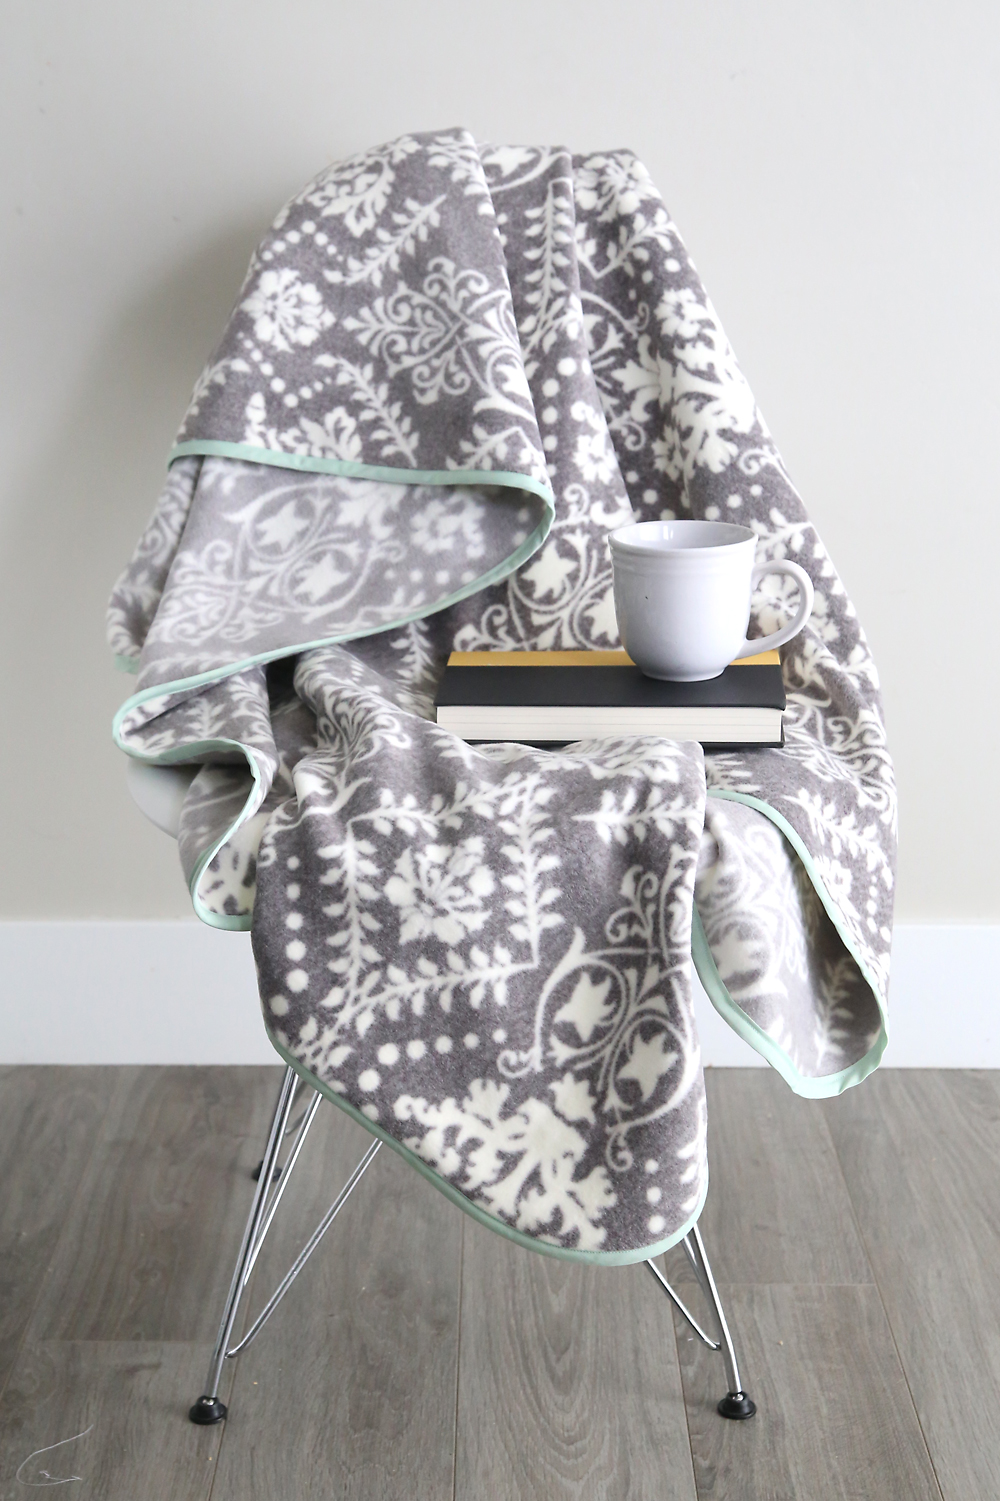
Here’s this finished fleece blanket DIY:
How to make a pom pom trimmed deluxe fleece blanket
Ok, now for my favorite one: the pom pom trimmed fleece blanket. This blanket is the most expensive one, seeing as you need 7 yards of pom pom trim. Using 50% off coupons for both the trim and fabric, the total cost on this blanket was $30, but I think it was worth every penny. If you’re concerned about cost or don’t have a coupon, you could absolutely add pom pom trim to just the two shorter ends of the blanket. Since this fleece is so nice, you wouldn’t even need to finish the longer ends at all.
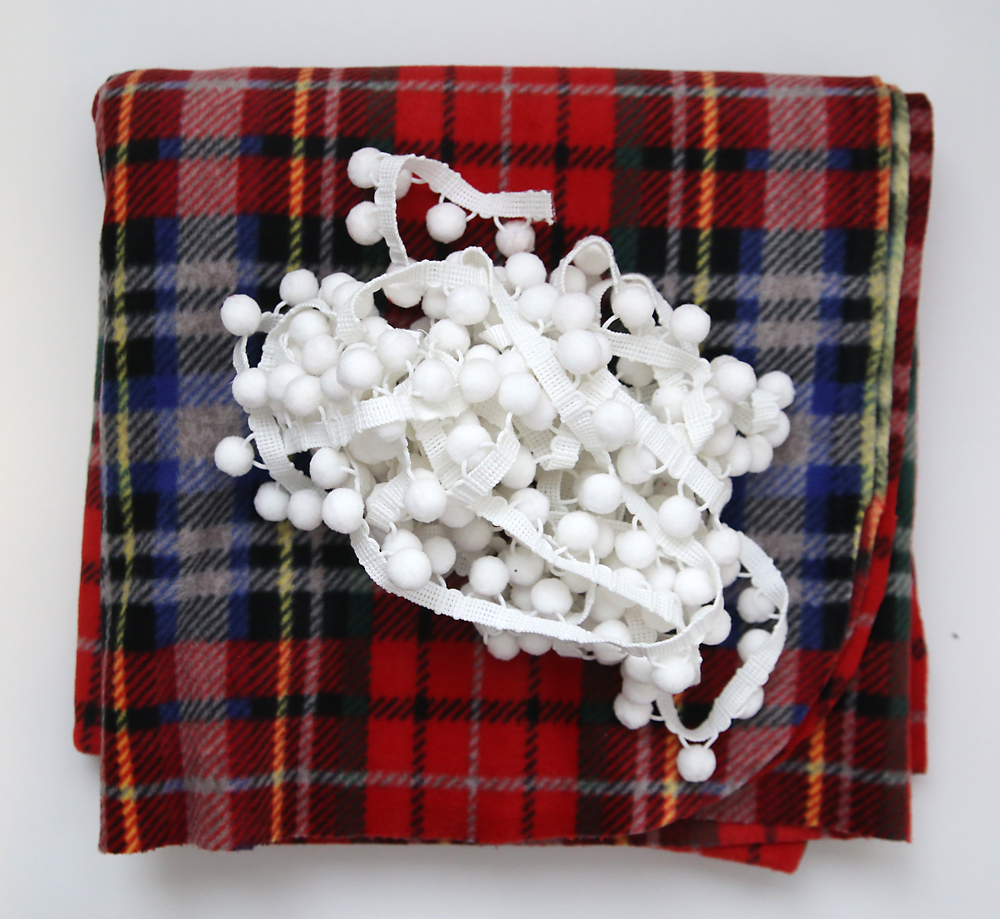
For this blanket I used thread that matched my poms in the bobbin, and thread that matched my blanket on top (although I actually think I could have used white in both and it would have looked fine).
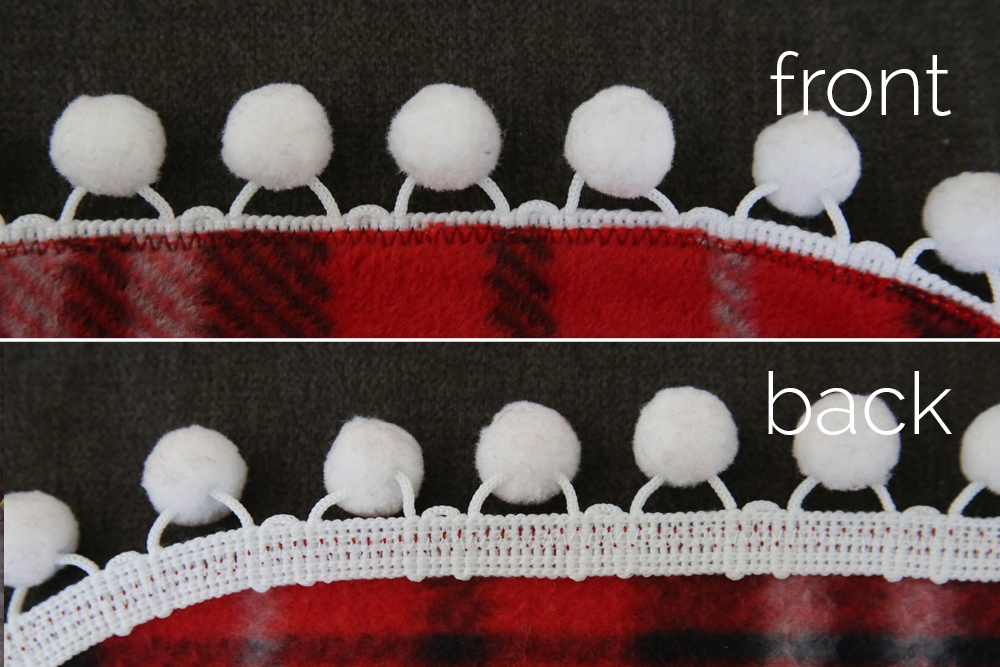
Starting anywhere, line up the pom trim UNDER the edge of your blanket. You’re going to sew it to the blanket with a wide zig zag stitch. Just sew all the way around, overlapping the trim and folding it under when you get back to the beginning.
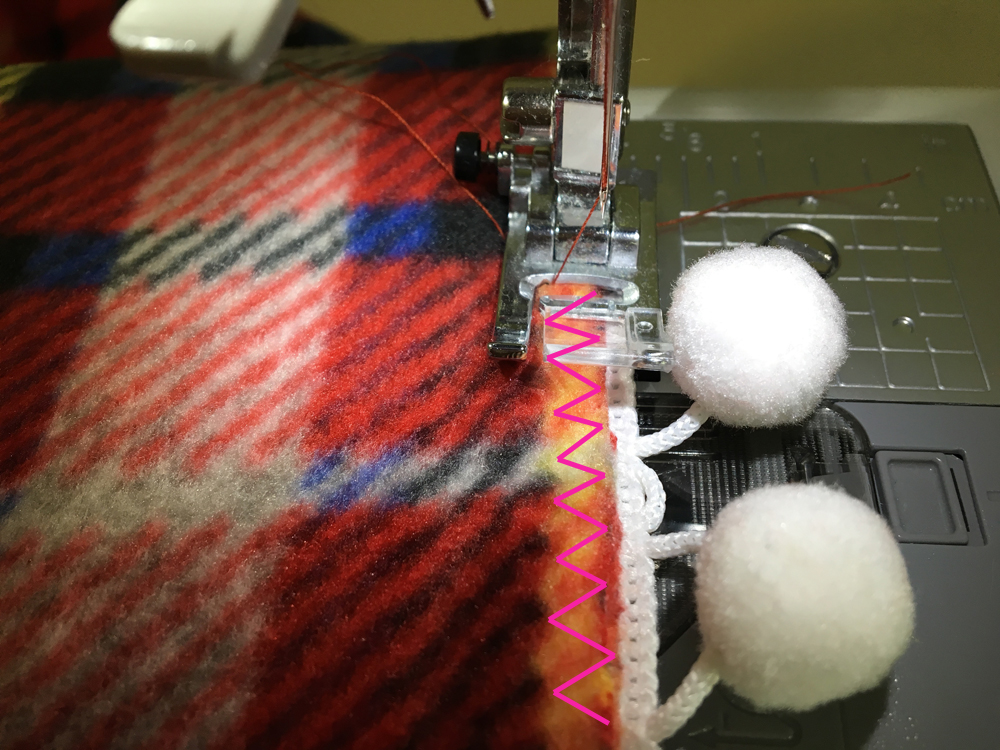
Here’s what it looks like from the top and bottom:
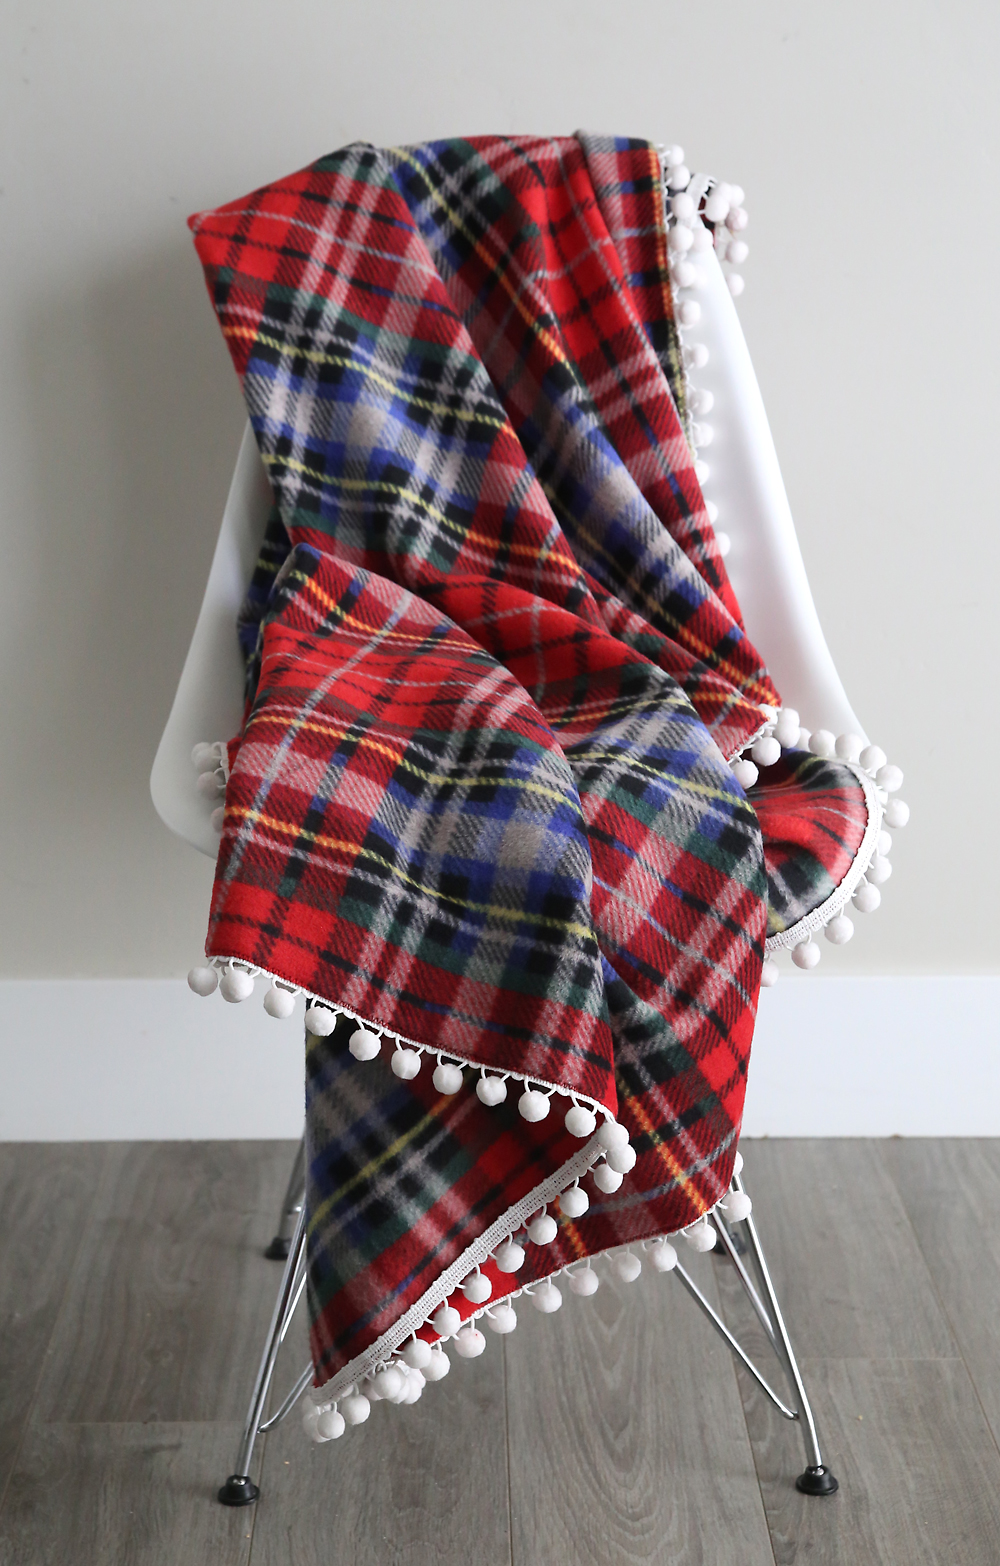
And the finished DIY fleece blanket:
I also have a tutorial for a pretty fringed fleece blanket, and a fringed flannel throw blanket. And click here to learn how to make a denim quilt.
Looking for more handmade gift ideas? Visit these posts:
25 homemade Christmas gifts you can make in 15 minutes
Original article and pictures take www.itsalwaysautumn.com site
Комментариев нет:
Отправить комментарий