You know what is even more exciting than colourful gemstones, sparkling diamonds and beautiful geodes? Making your own! I read a number of different tutorials on how to make a crystal egg geode before trying it myself. Today I will share with you what I’ve learned from the experience.
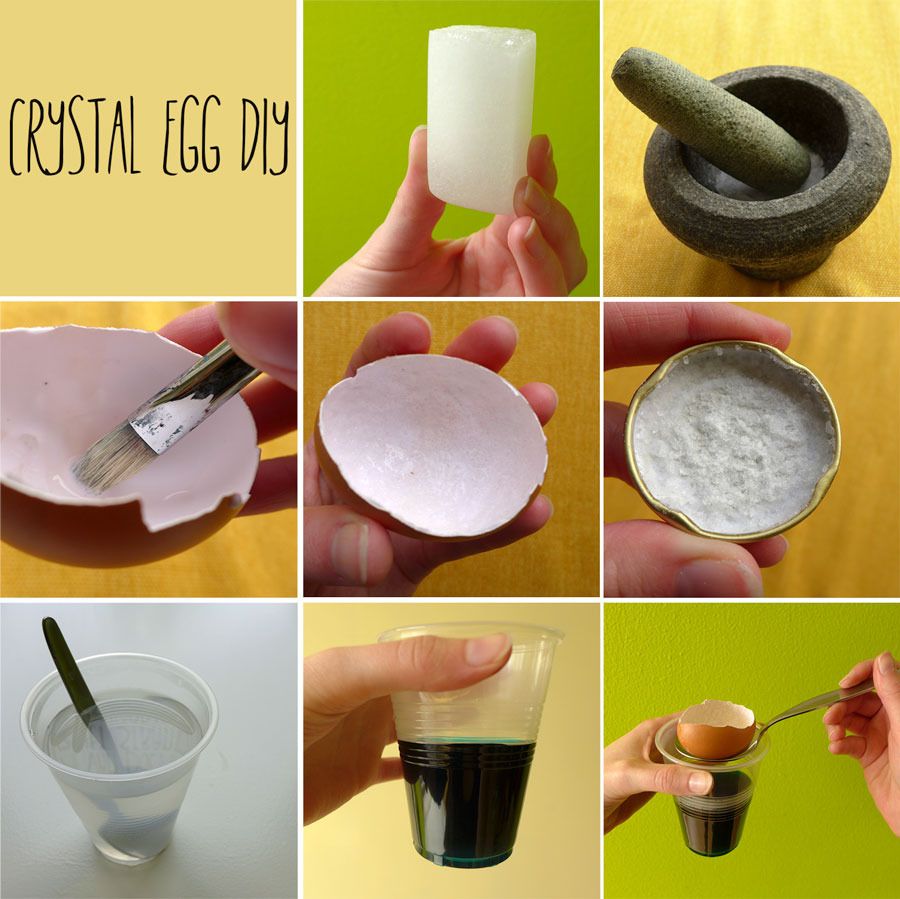
1. You need alum powder. Alum is a type of salt. I found a block of alum in the drugstore. One of the uses of alum is to stop shaving wounds from bleeding. Apparently you can also use sugar or normal salt for this project. However, these will make your crystals cube-shaped instead of hexagon-shaped.
2. Because I bought a block of alum, I needed to crush it to make a fine-grained powder.
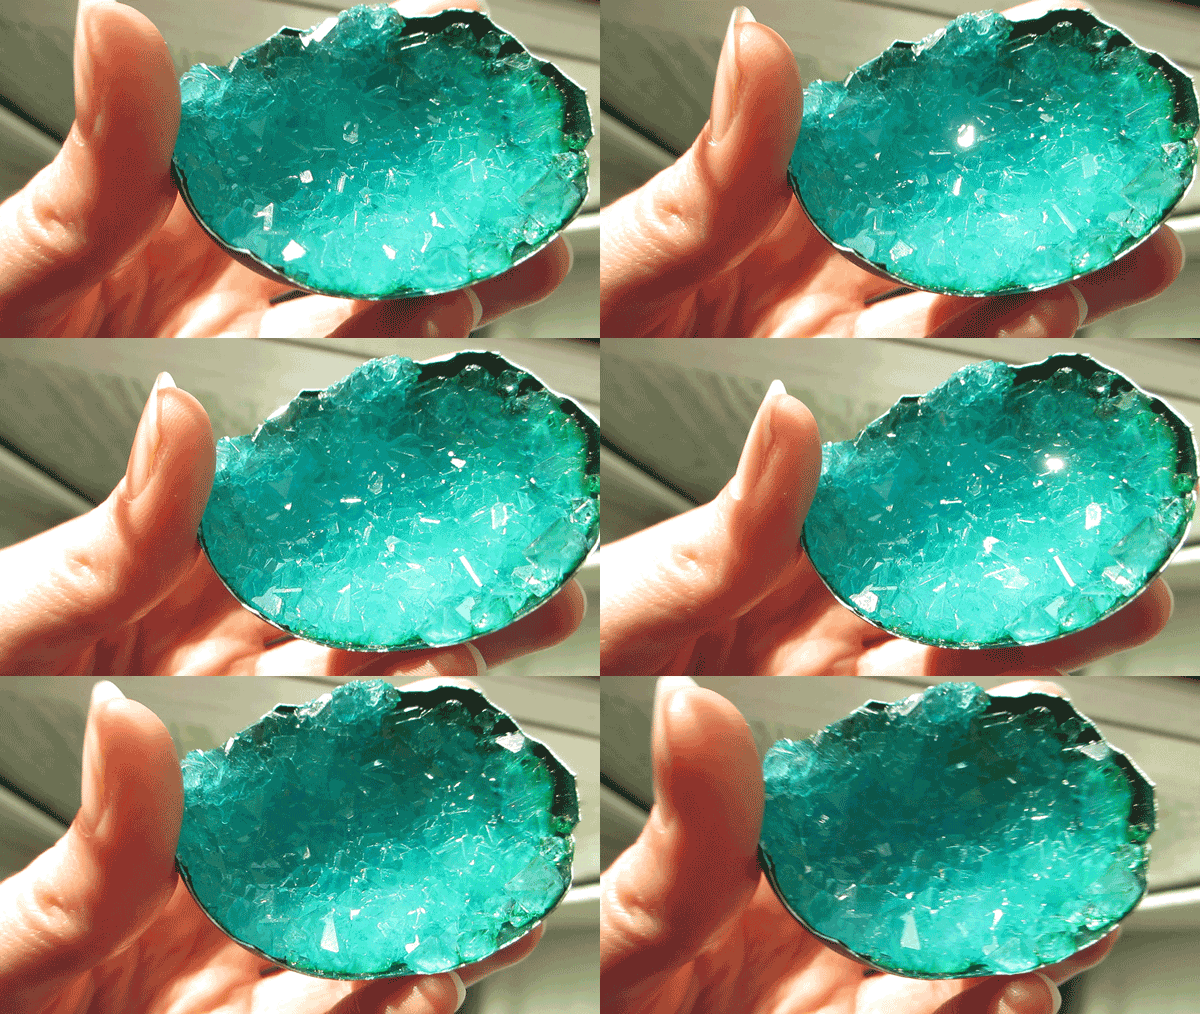
3. You need an egg. Different tutorials advice you to blow your egg out first. I tend to want to do things the quick and dirty way. So I skipped this time-consuming step and simply crushed my egg, hoping it would break in half the way I wanted. It did. Clean it and let it dry. Now apply white glue on the inside of your egg.
4. Sprinkle some of your alum powder over the wet glue until you covered the inside thoroughly. Let it dry for a couple of hours.
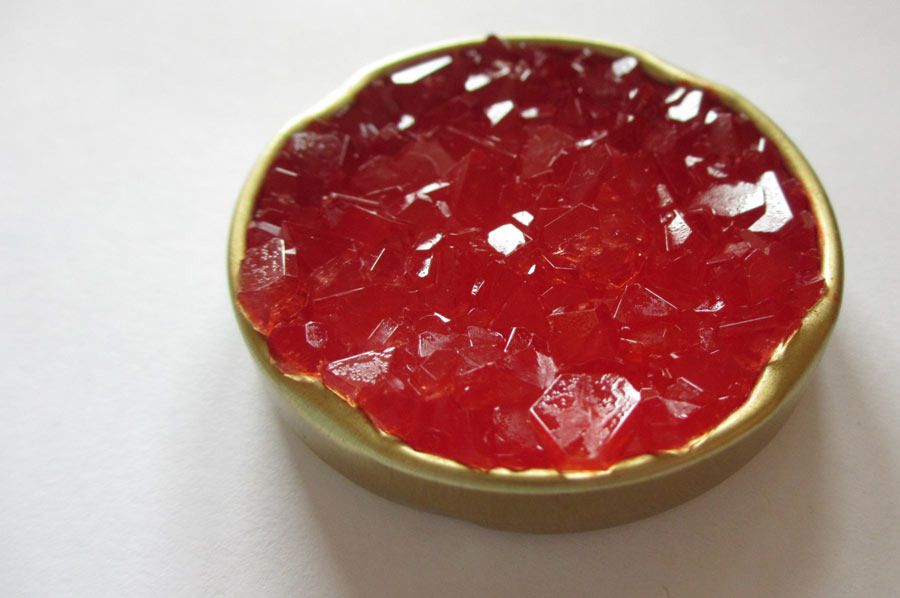
5. I repeated the glue and alum powder process for a small lid. I was curious to see if it would work just as well on a different surface. (It did.) I imagine you can be creative with what you let your crystals grow on.
6. Take some very hot water from the tap. Now try to dissolve as much alum powder in it as possible. Stir well. You don’t want to leave small undissolved parts on the bottom of your cup, otherwise crystals will start to form on them as well. I found that heating the solution in the microwave helped to dissolve the last bit of alum powder.
7. Add food colouring. Note that the crystals won’t actually absorb the colour. They only look a certain colour because the surface they are attached to does take the colour (like the egg shell).
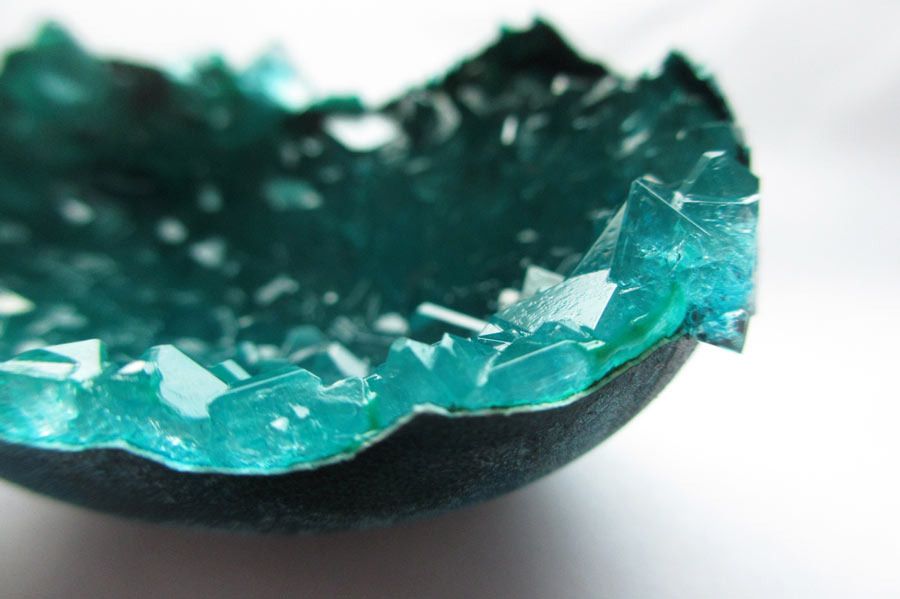
8. Add your egg to the cup and carefully let it sink to the bottom (alum side up). I used two cups with different food colouring: one for my egg and one for my lid. Put it on a safe place and don’t touch it for a day or so. The time you have to wait to get the result you want may vary. In my case, after a day I still wasn’t quite content with the result. So I added some extra alum (heating it up again to dissolve) to the solution and waited another day. When your egg geode is ready, simply take it out and let it dry. The wet crystals can still be somewhat fragile, so be careful.
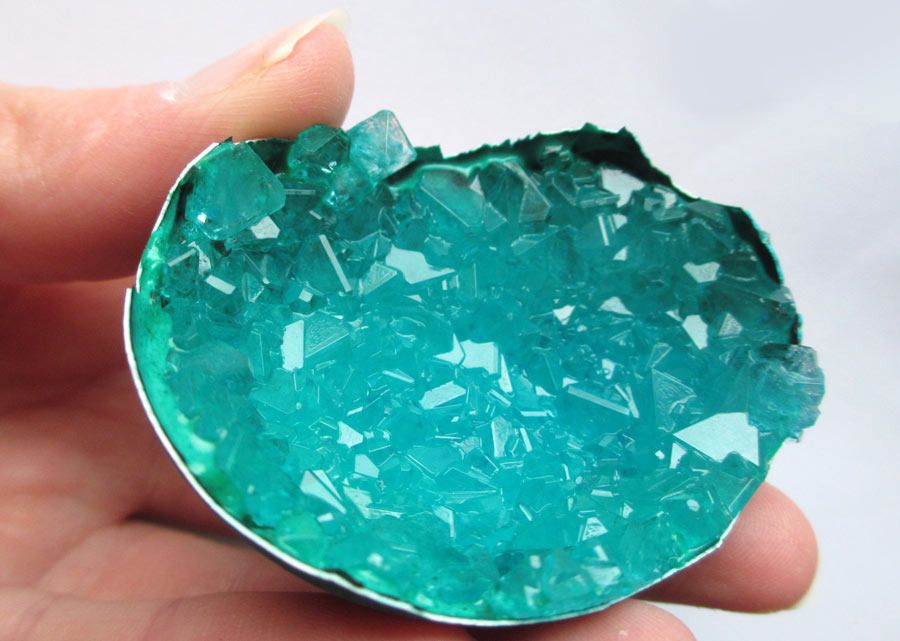
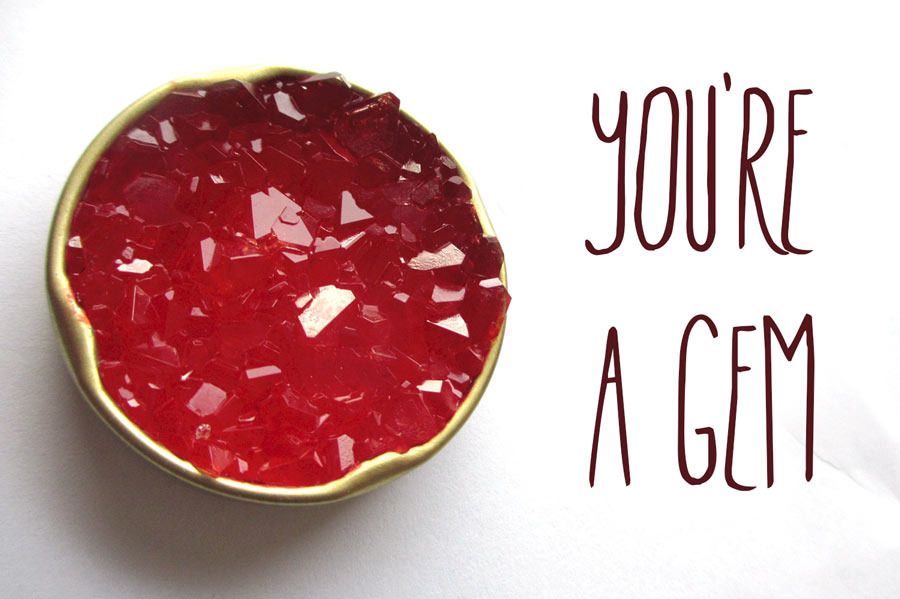
I think this would make a great science project for kids, or just a fun project to experiment with yourself. You could take it a step further and add a sprinkle of kindness to this project. You could give it to someone with for example a little note saying ‘you are a gem’ (alternatives ideas for texts: ‘diamond in the rough’, ‘shine bright like a diamond’, ‘a sparkle to make your day’). After all, who doesn’t like colourful sparkling things with kind messages?
Original article and pictures take www.magicaldaydream.com site
Комментариев нет:
Отправить комментарий