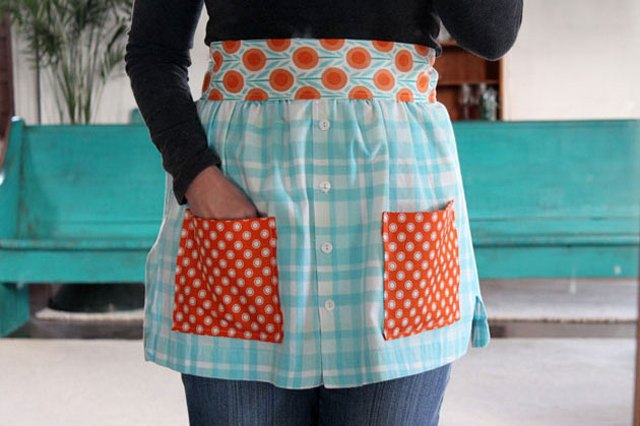
Whether you're a beginning sewer or an experienced seamstress, you can look cooking-show chic while you cook. Refashioned from an old button-down shirt, this apron features coordinating pockets and a colorful waistband for a fashionable twist. Go for flair when choosing the accent fabrics.
Things You'll Need
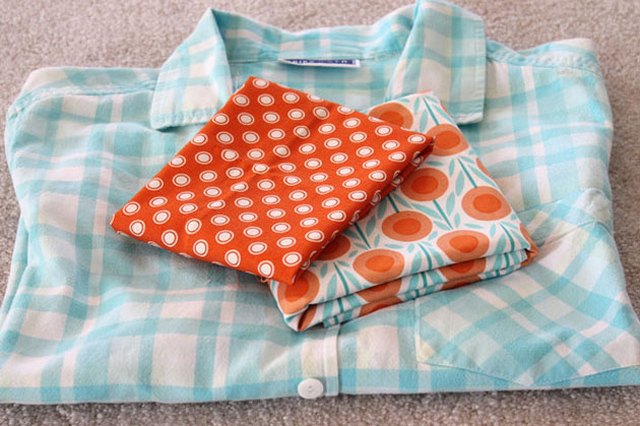
- Large button-down shirt with a pattern you like
- Seam ripper
- Iron and ironing board
- Measuring tape
- Coordinating fabric for waistband, 3/4 yard
- Coordinating fabric for pockets, 1/4 yard
- Washable marking pen
- Fabric scissors
- Sewing pins
- Coordinating thread
- 90/14 medium-weight universal sewing machine needle
- Sewing machine
Step 1: Remove the Pocket
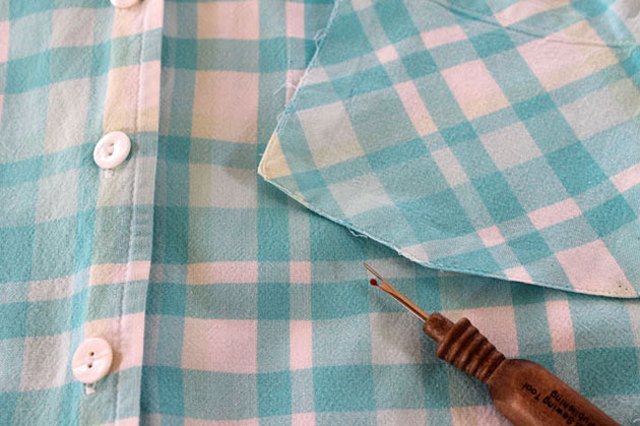
Use a seam ripper to remove the pocket from the button-down shirt. After removing the pocket, press the area with a hot iron to close any holes in the fabric from the stitching.
Step 2: Create the Apron Front
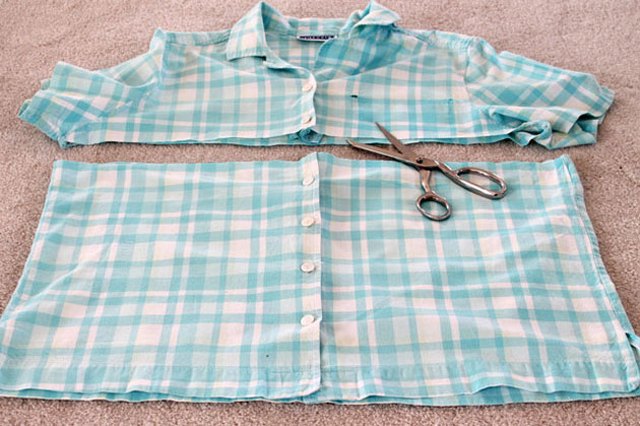
Use the bottom portion of the shirt to make the apron. Measure 15 inches up from the bottom of the shirt using a measuring tape. Mark this distance across the shirt with a washable marking pen and cut along this line. Flip the shirt over and cut up the center back so you can lay the shirt out flat.
Flip it again, and now measure and mark 30 inches across the front of the shirt. Center the button placket when you mark. Cut the new sides.
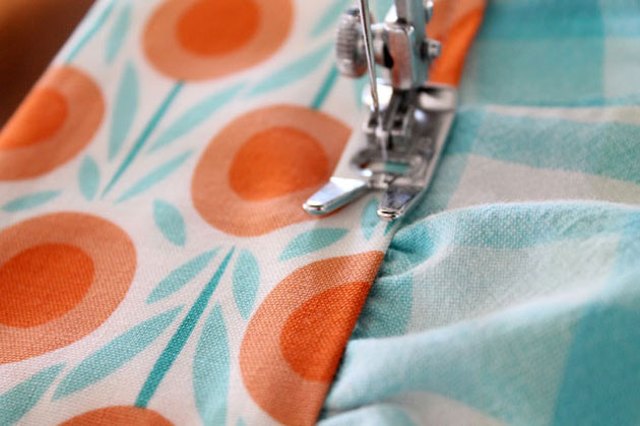
Step 3: Pin and Sew the Sides
Fold 1/4 inch of fabric under on each side and press with a hot iron. Fold another 1/4 inch under and press again. Pin in place. Sew with a medium stitch length and a medium-weight 90/14 universal needle. Remove the pins as you sew.
Step 4: Baste the Top Edge
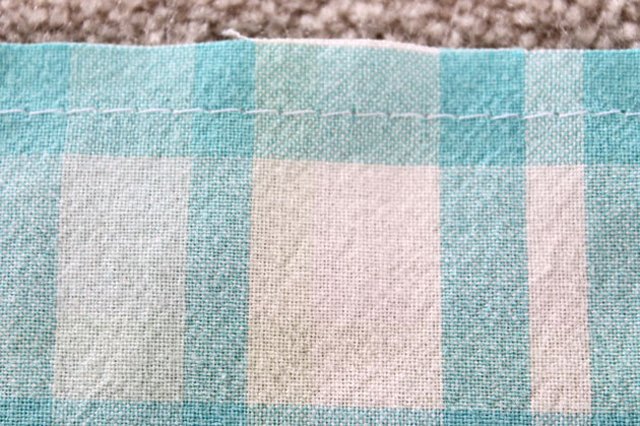
Set your sewing machine to the longest stitch length and sew 1/2 inch in from the edge all across the top raw edge of the apron.
Step 5: Gather the Top Edge
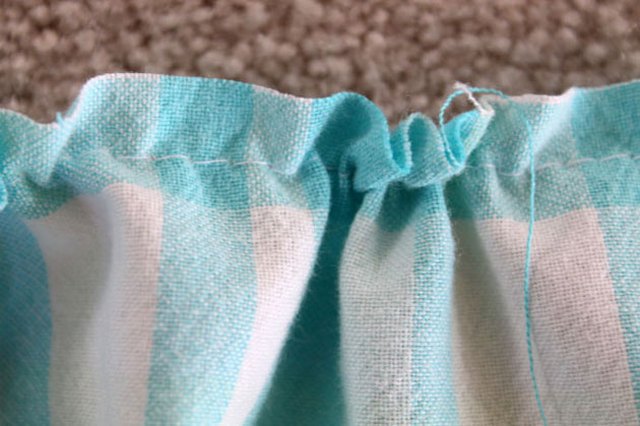
Pull slightly on the bobbin thread of your basting stitch to gather the top of the apron. Set the apron aside.
Step 6: Cut the Apron Waistband
Cut out a 12-by-60-inch piece of coordinating fabric to use for the waistband of the apron.
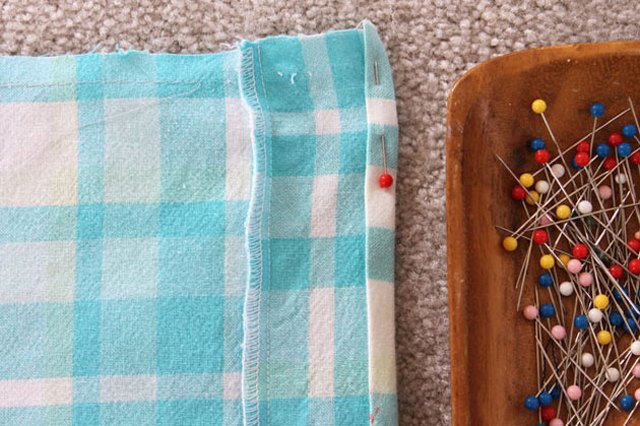
Step 7: Press the Sides of the Waistband
Press the side edges under 1/4 inch on both sides of the waistband.
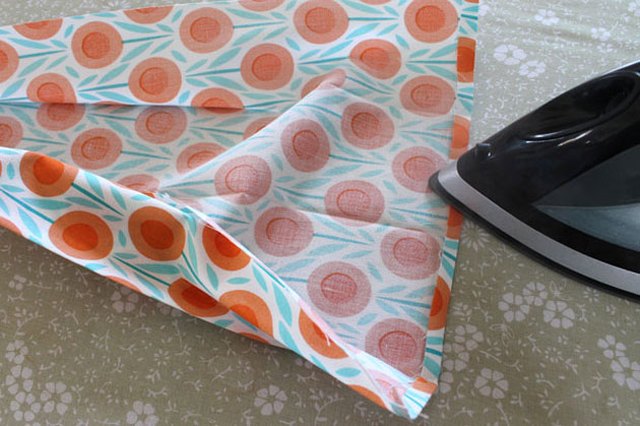
Step 8: Press the Apron Waistband Into the Center
Fold the top and bottom of the waistband horizontally into the center and press with a hot iron.
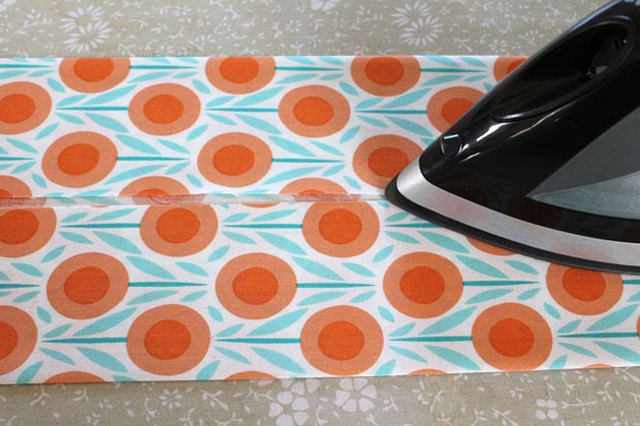
Step 9: Press the Apron Waistband in Half

Fold the waistband horizontally in half and press with a hot iron.
Step 10: Tuck the Apron Front Into the Waistband
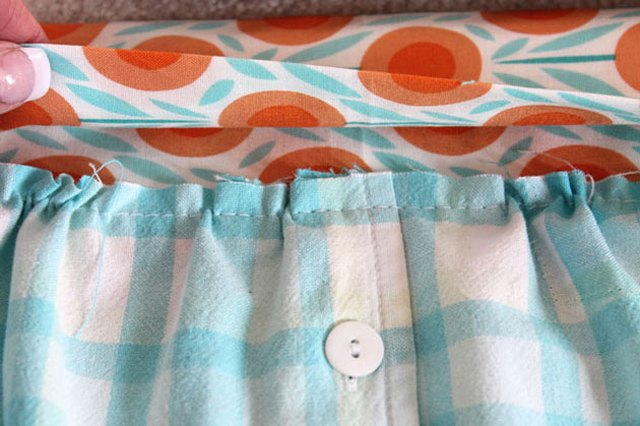
Mark the center of the waistband with a washable marking pen. Tuck 1/2 inch of the gathered edge of the apron into the waistband. Match the center front button placket to the center front mark of the waistband.
Step 11: Pin the Apron Front Into the Waistband
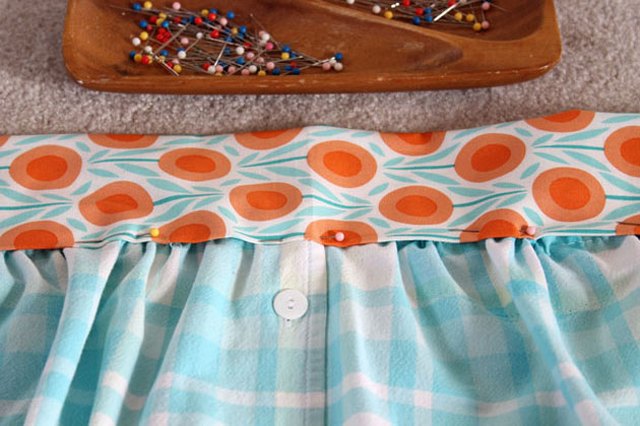
Pin the gathered edge of the apron into the waistband, pinning all the way around it.
Step 12: Sew the Waistband
Start to sew on one end of the waistband. Continue to sew all around the waistband, removing the pins as you sew.
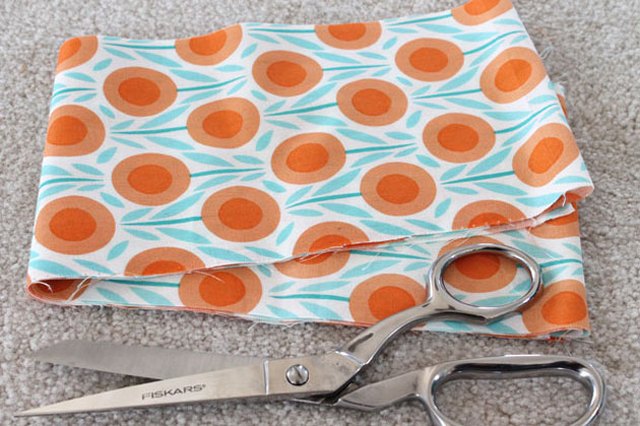
Step 13: Cut and Press the Pockets
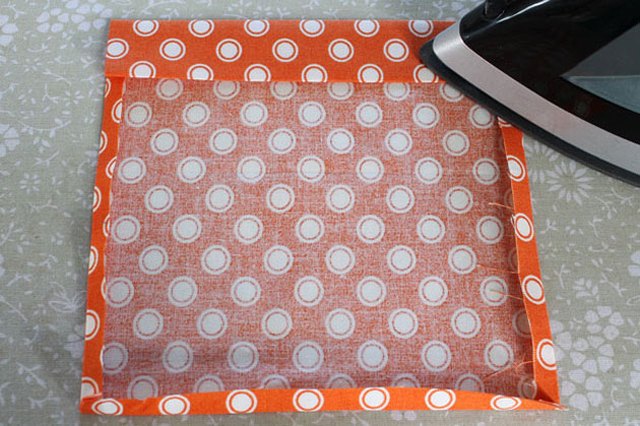
Cut out two 7-by-8-inch pieces of coordinating fabric. Press 1/4 inch under on all sides, and then press under another inch on the top of the pockets.
Step 14: Pin and Sew the Pockets
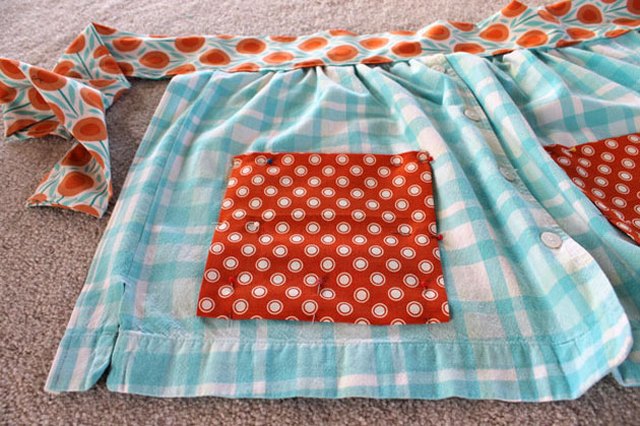
Place the pockets evenly on each side of the apron. Pin and sew the pockets.
Finished Apron
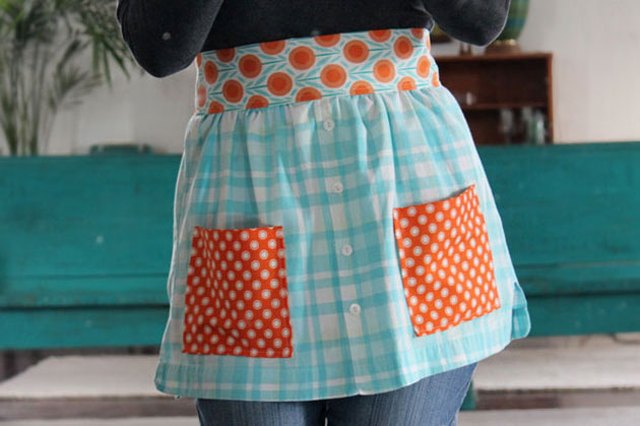
Tie the waistband around your waist, pour a glass of wine, turn on some music and get cooking in your fabulous new apron.
Original article and pictures take v5-static.ehowcdn.com site
Комментариев нет:
Отправить комментарий