Have you ever been inspired by a creative idea that you really loved and you wanted to try for yourself, but it took ages for the right piece to come along?
And finally, maybe you didn’t have the exact right piece yet, but something else appeared and you knew it would be perfect to practice the technique on?
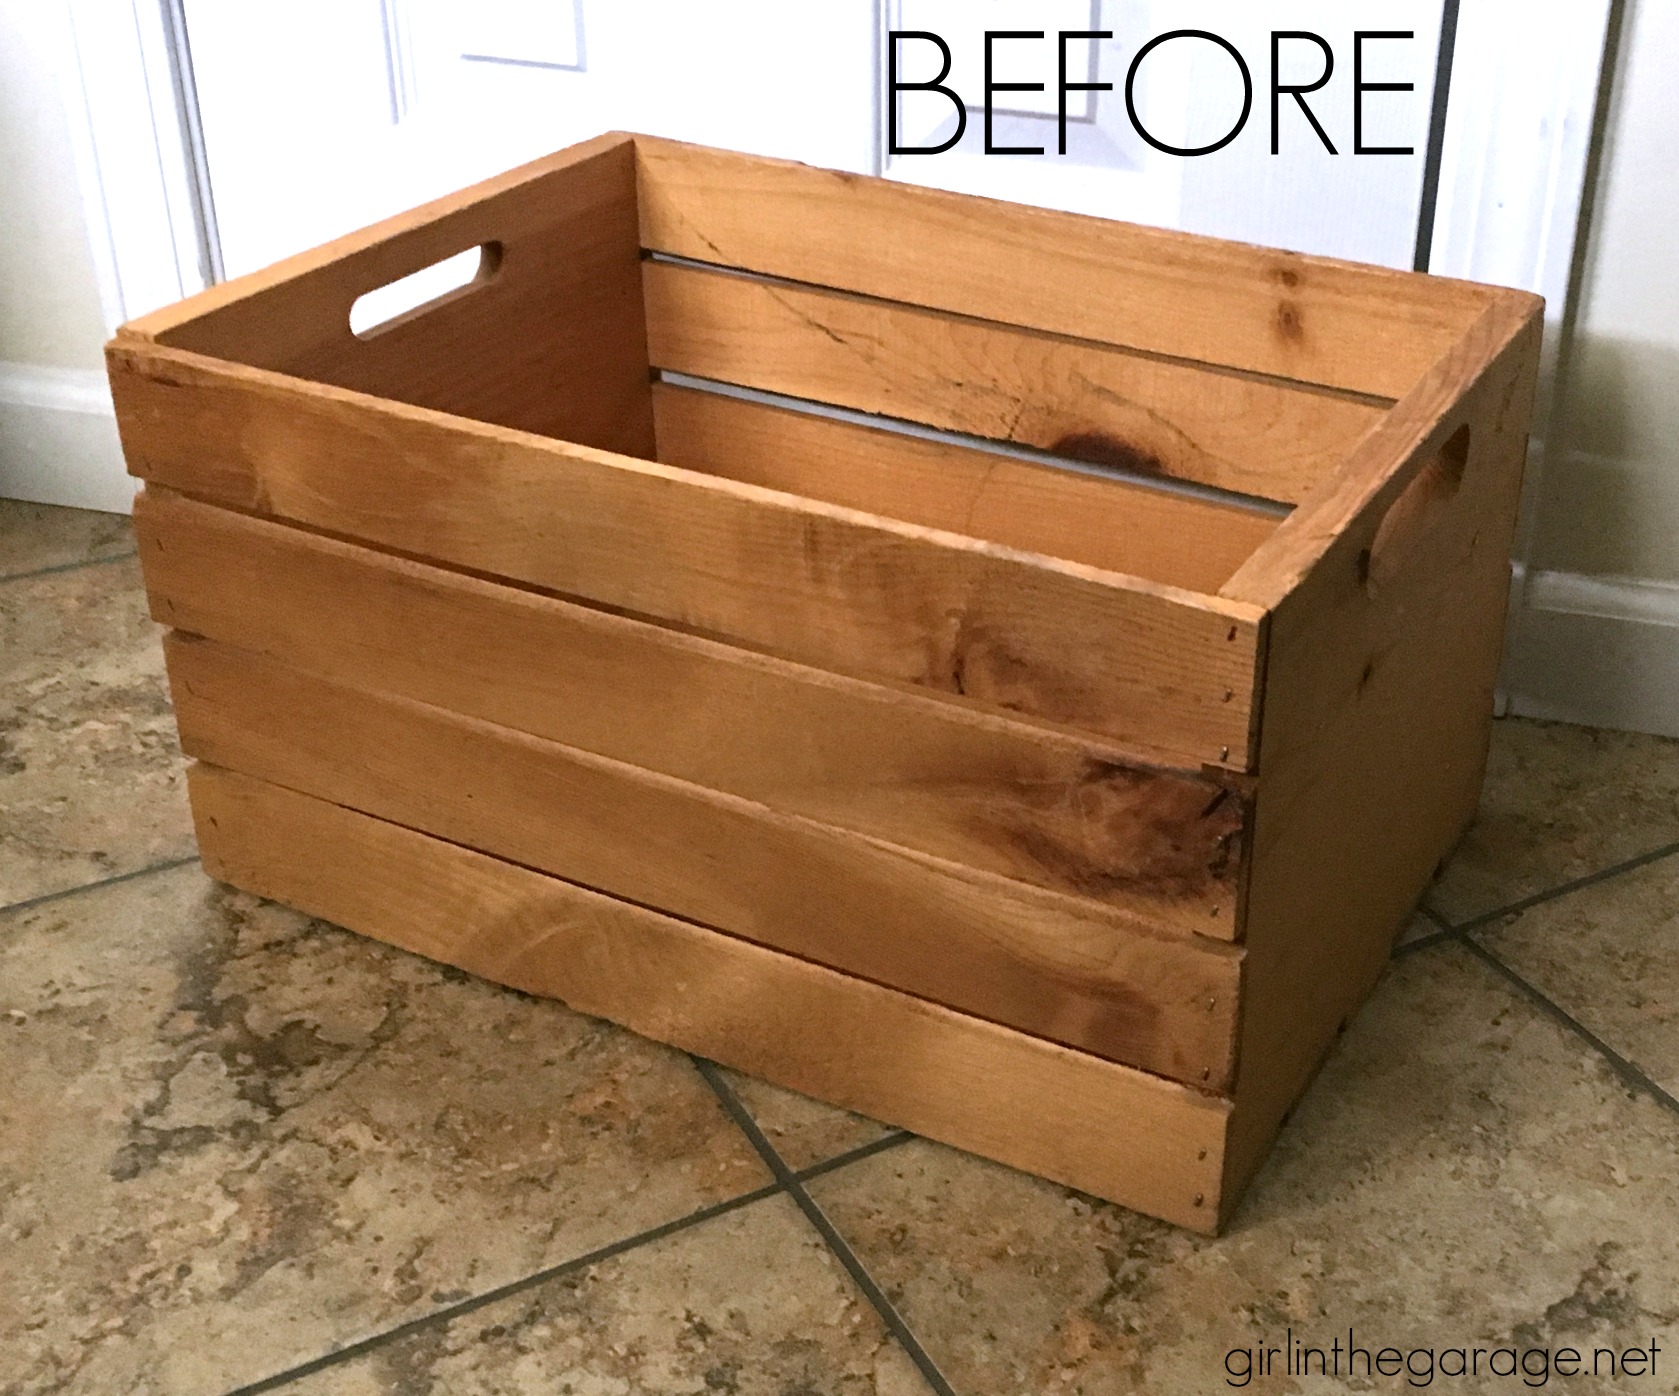
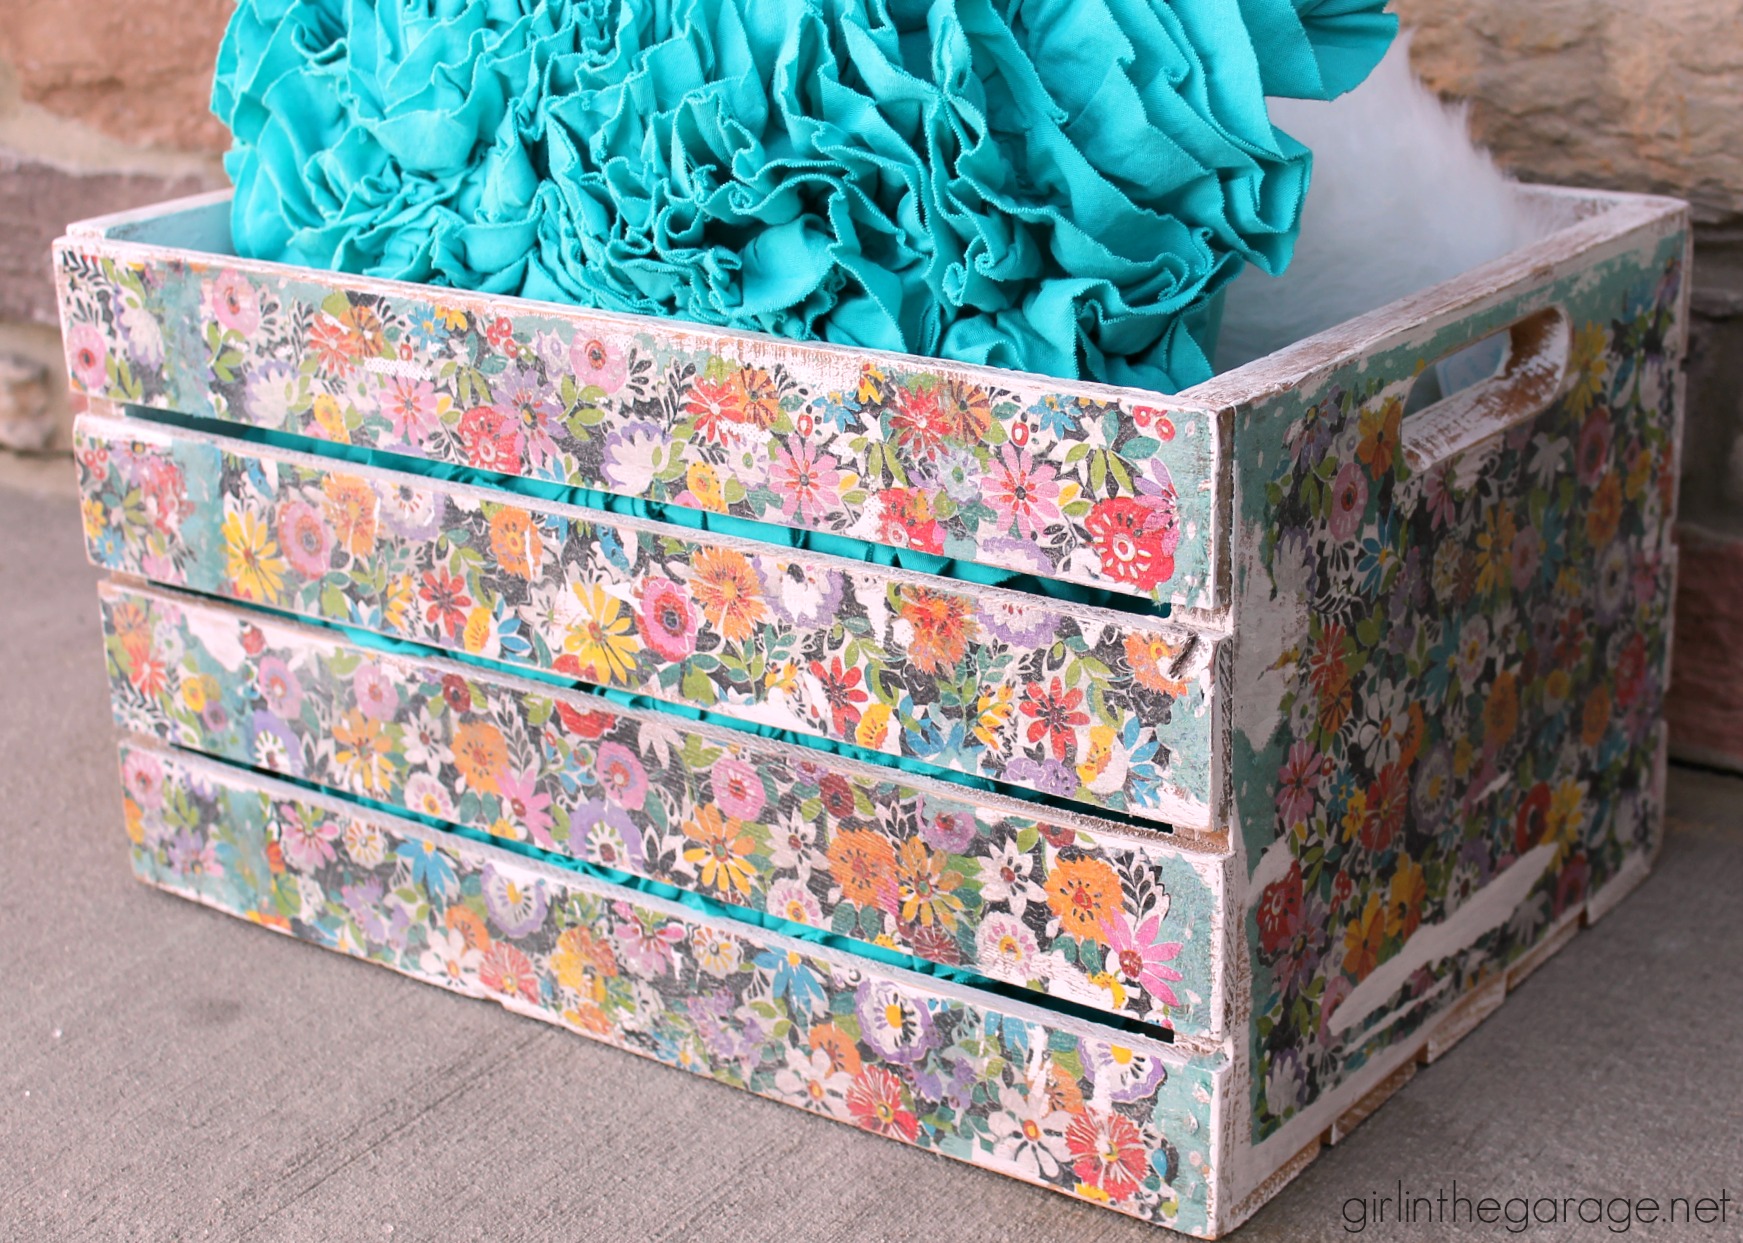
Meet this little wooden crate that I recently found secondhand.
This post contains affiliate links so that you can easily find the same or similar products to do this project yourself.
I’m no stranger to decoupage, but there’s a certain kind that I’ve never tried before. And I knew this would be a perfect makeover for Trash to Treasure Tuesday (you can visit my friends’ makeovers at the end of this post).
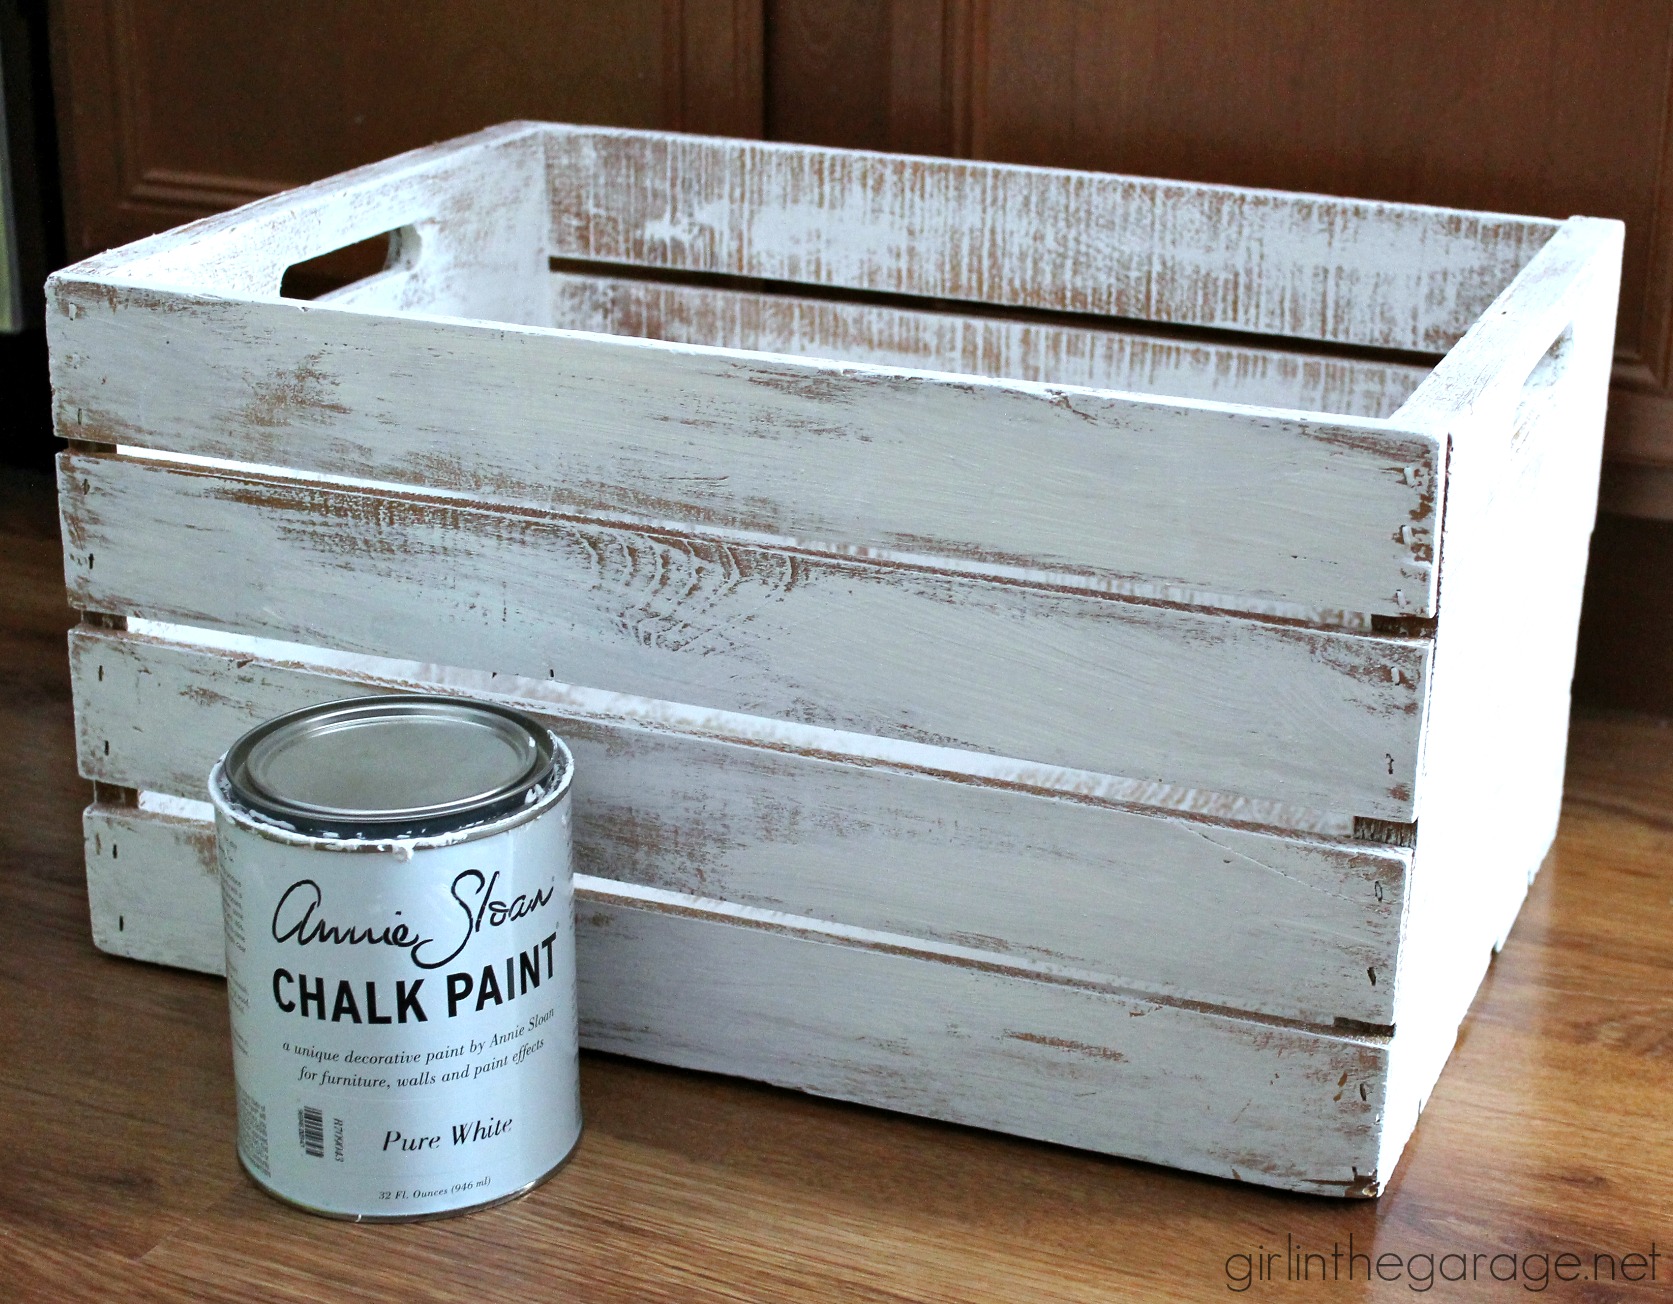
However, first I wanted to paint the wooden crate white. (I left it rustic and distressed on purpose… you’ll see why soon.)
Then it was time for some fun.
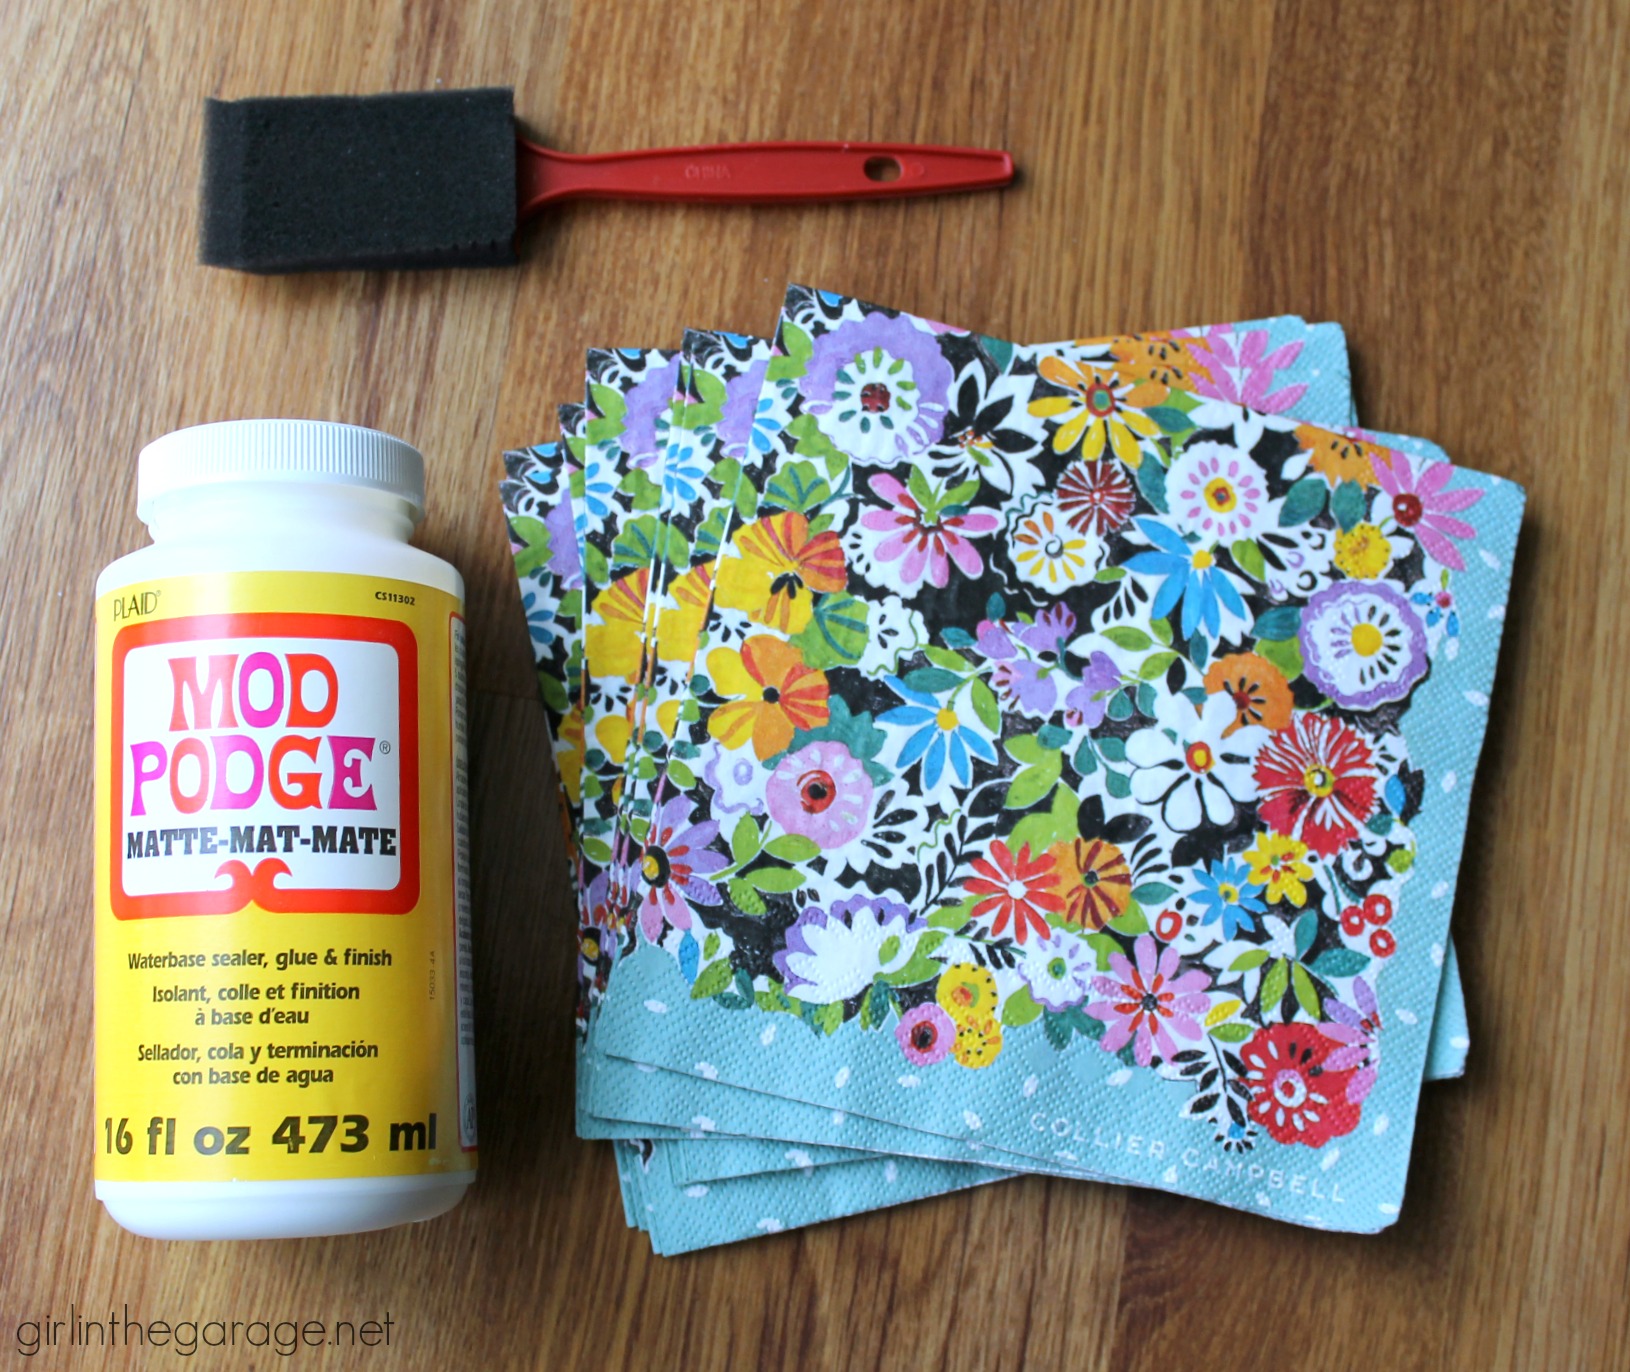
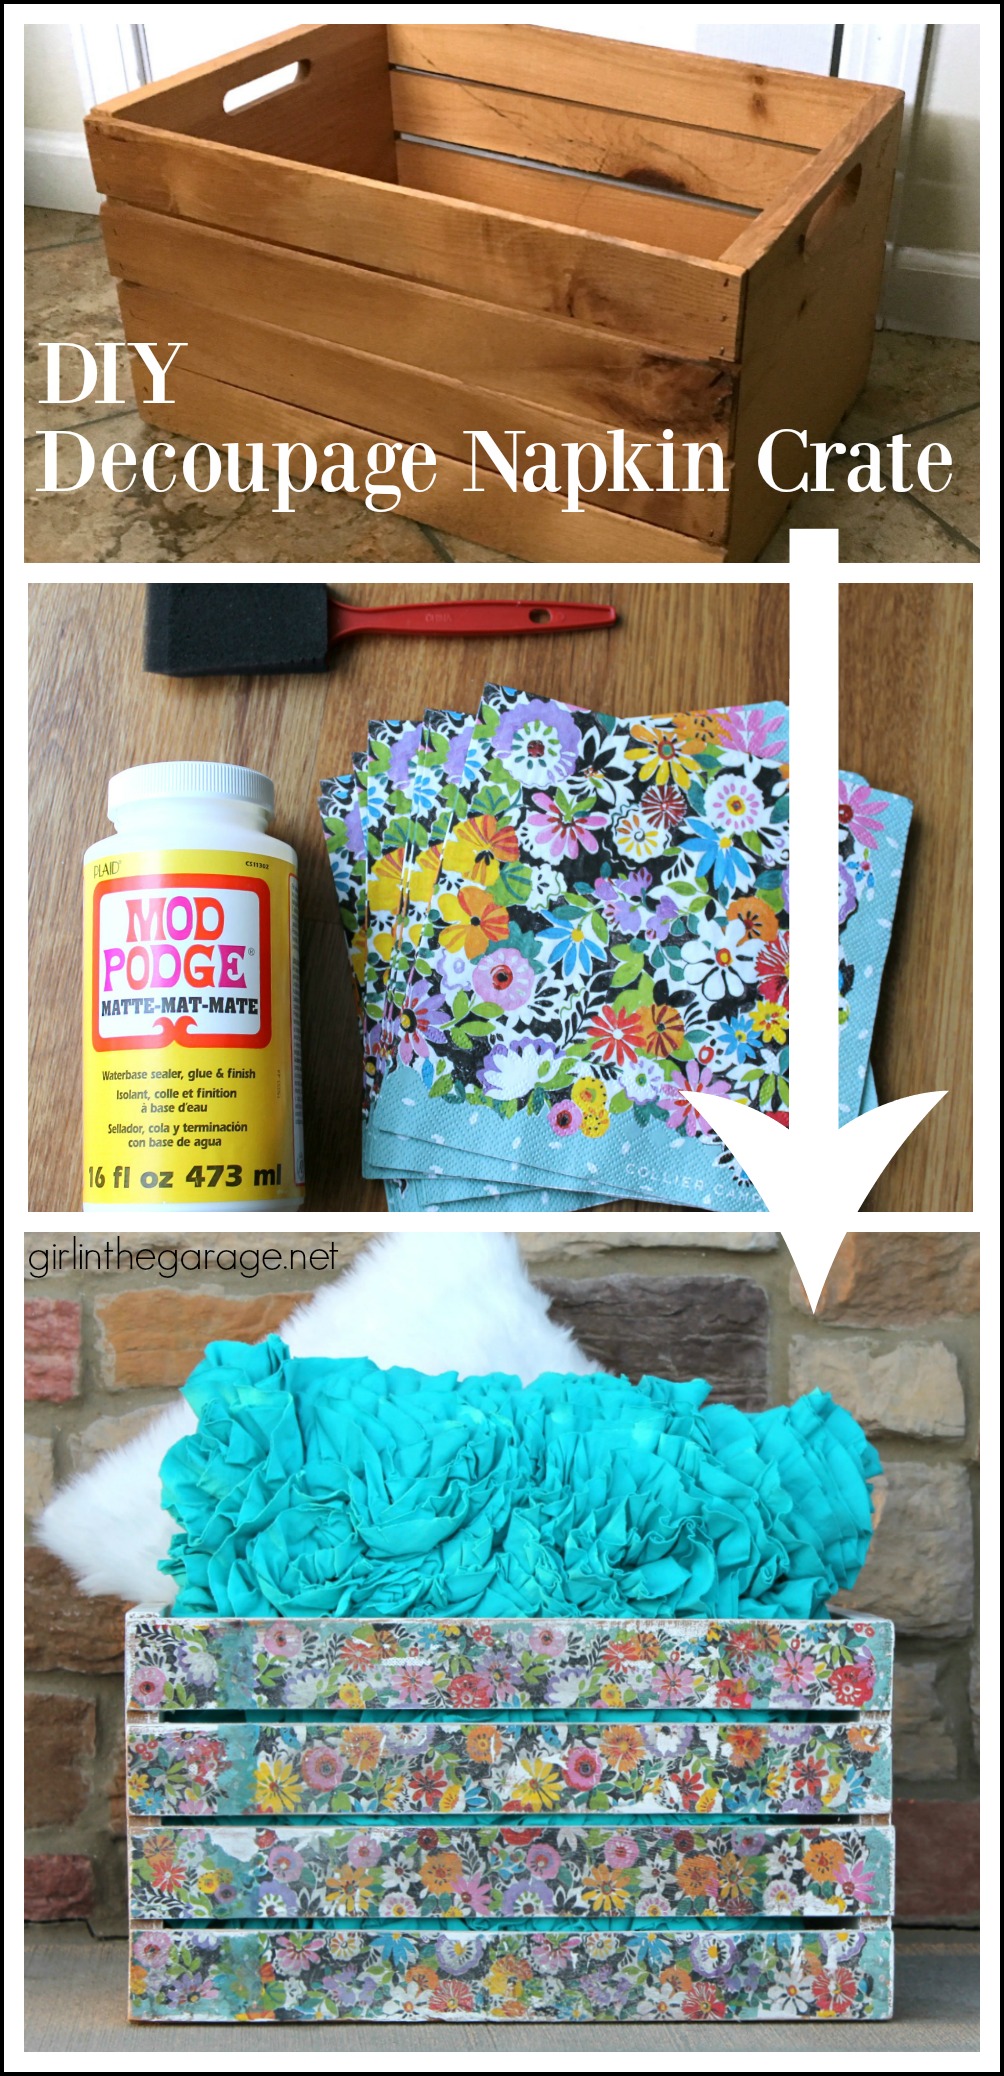
These napkins have been in my possession for almost a year, and I have been dying to decoupage them onto a piece! Aren’t the colors bright and gorgeous?? (Find these and other colorful napkins on Amazon HERE.)
The first step is to remove the two layers of white tissue paper from the back. It may seem like there’s only one white layer at first – the second layer will be trickier to get off.
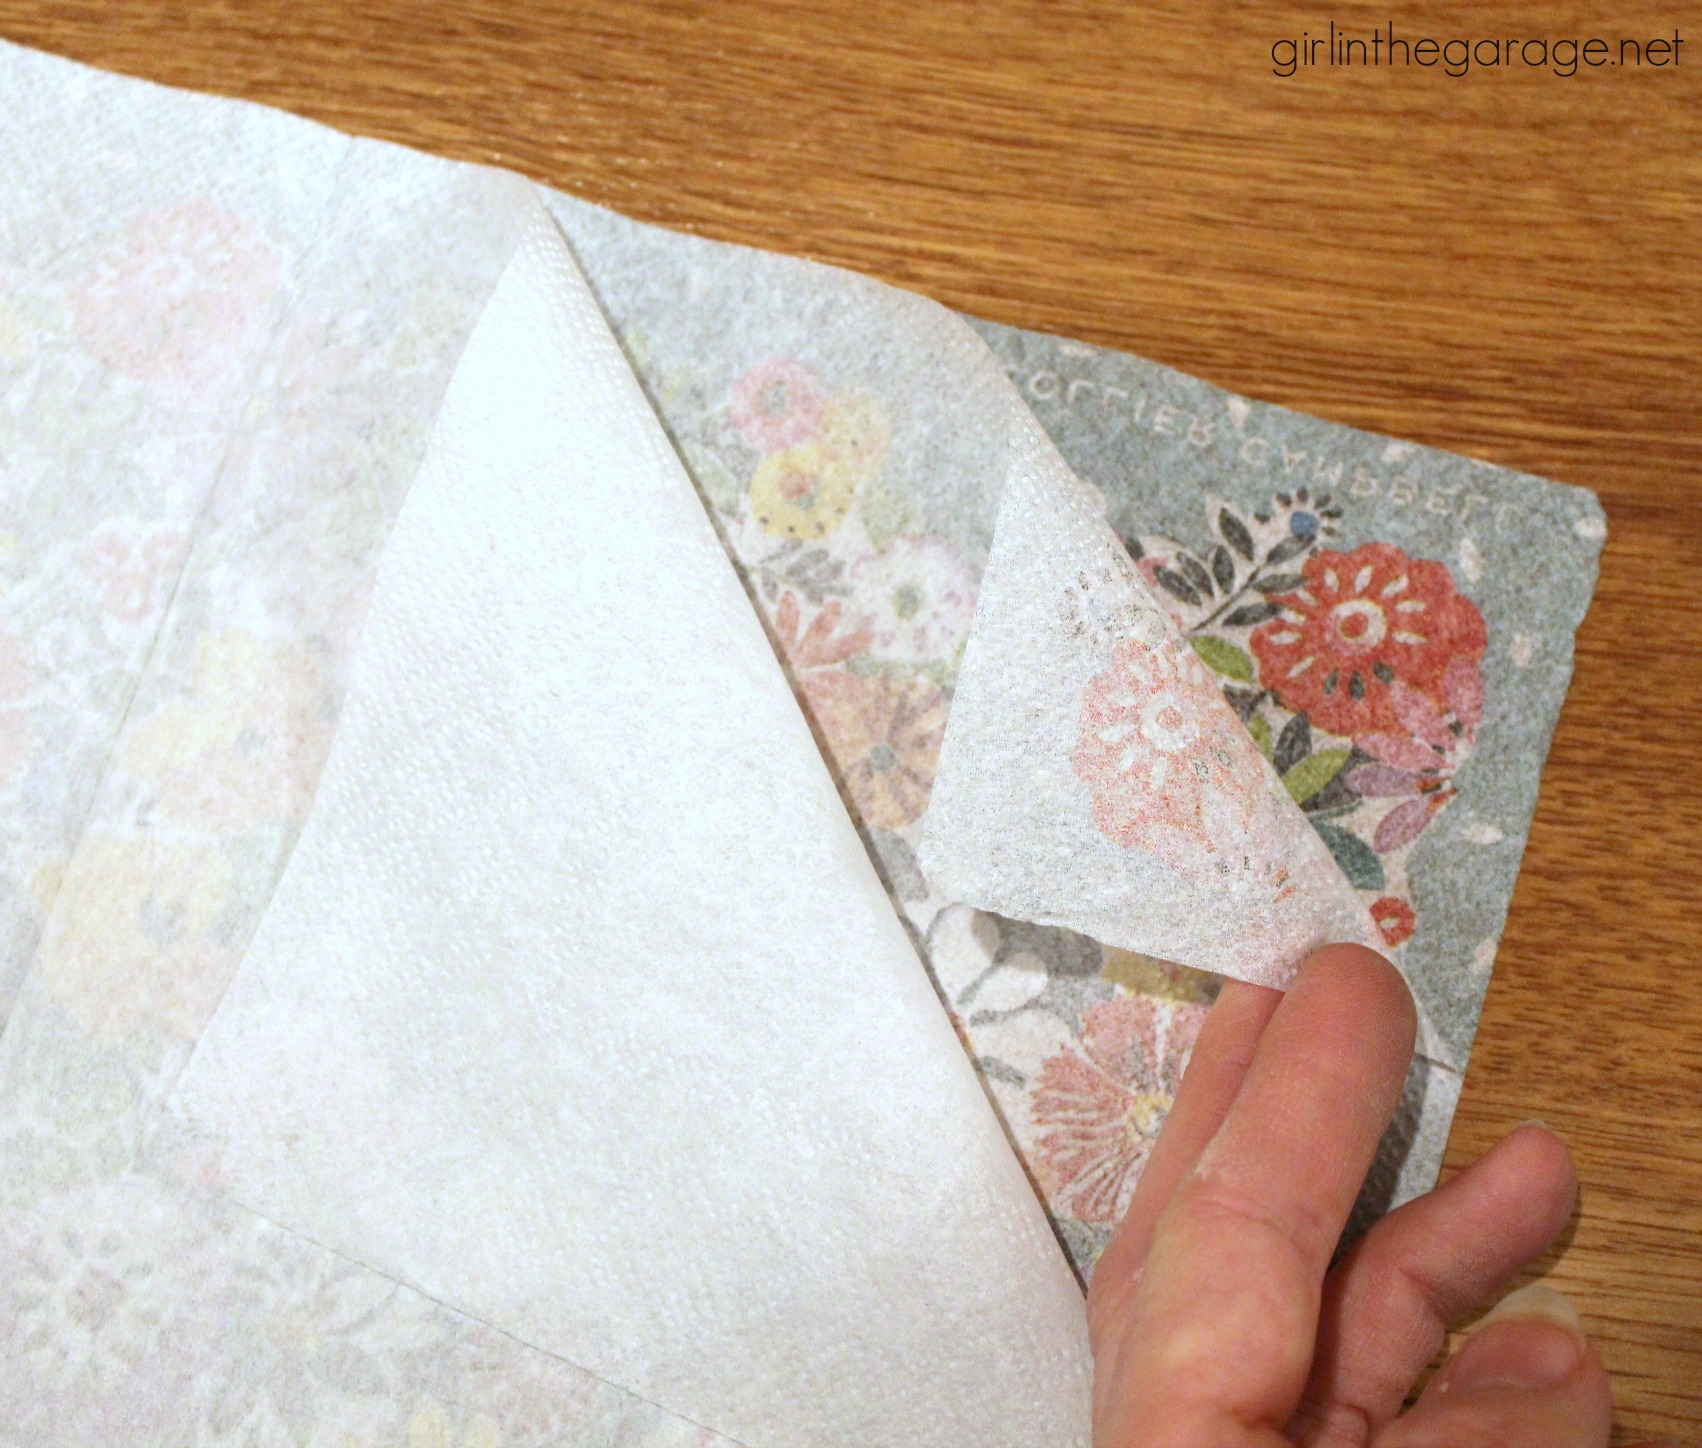
Once you have just the top layer, place it over one side and cut or rip it to the right size. It doesn’t need to be perfectly lined up – we are going for imperfect anyway.

Dip a foam brush into matte Mod Podge and cover the entire side… don’t skimp, but don’t puddle it either.
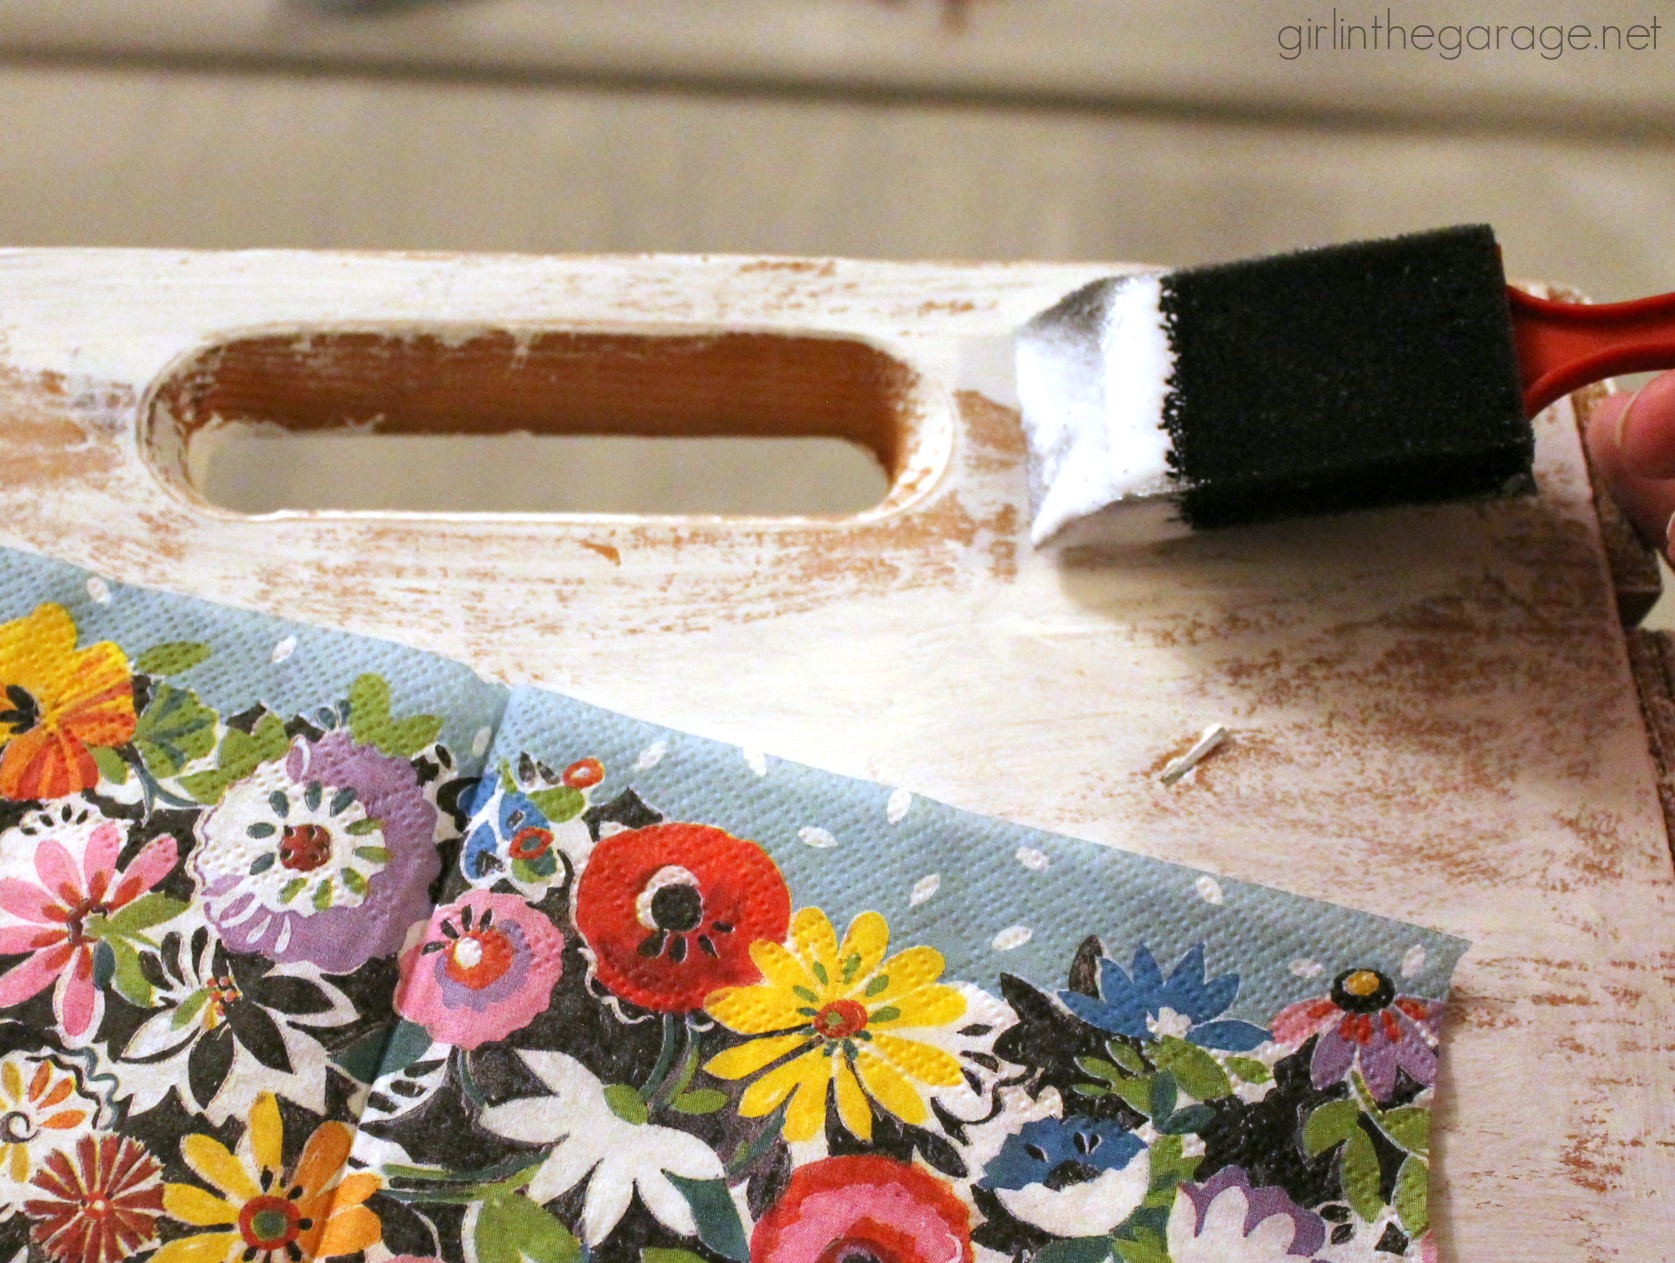
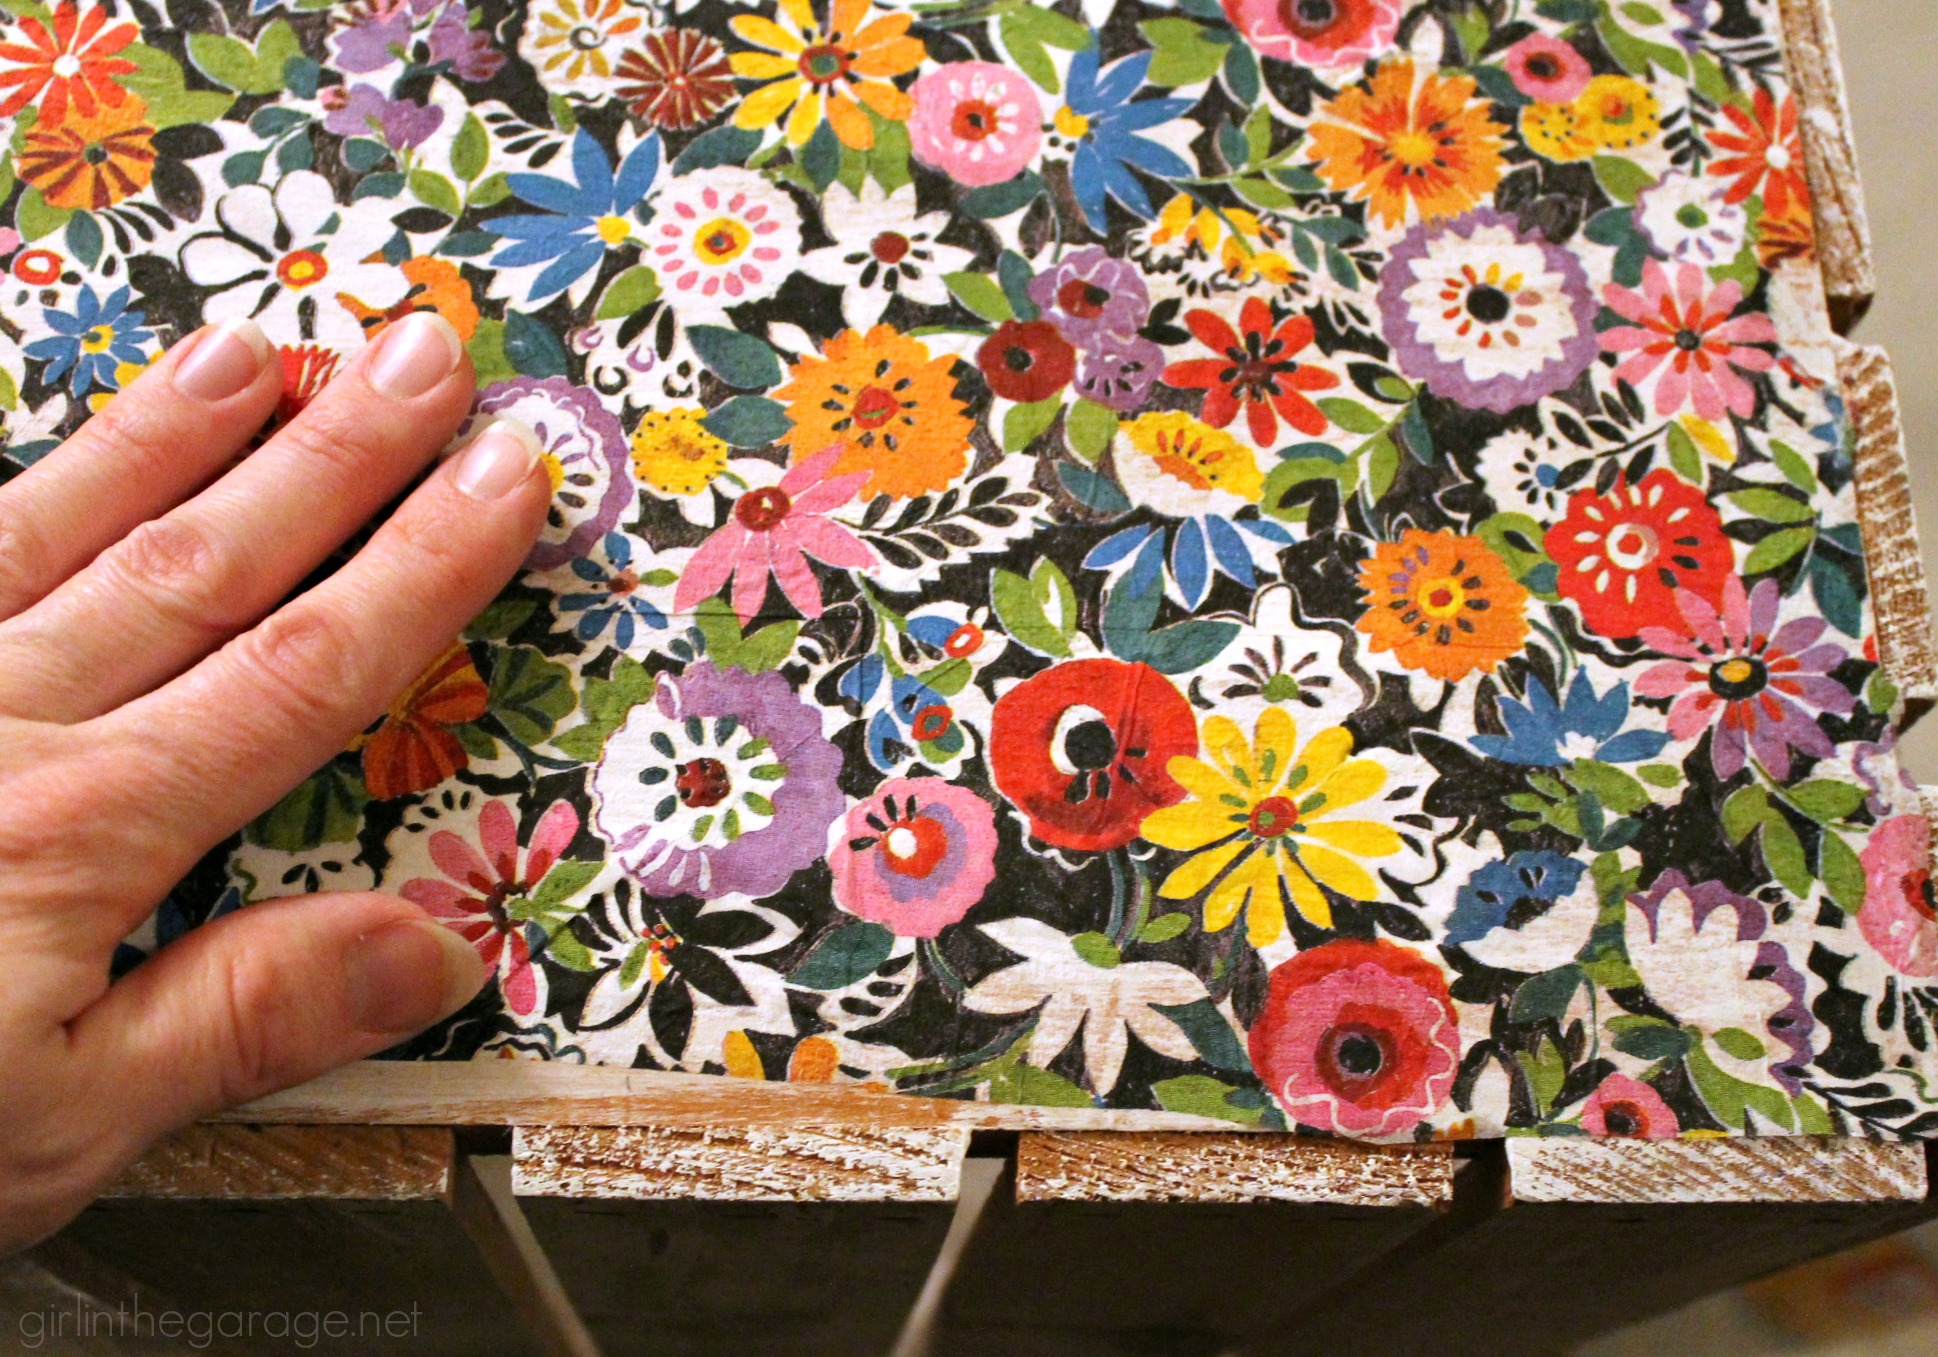
Press the napkin onto the wood, lightly rubbing and pushing the tissue into the woodgrain. Do not apply Mod Podge over the top. Also, don’t worry if edges overlap or hang over – you’ll fix those later.
Would you like a free printable tutorial of this project for easy reference? Click Here.
For the sides with the slats, I centered the napkin and glued it on like this, with smaller pieces on either side.

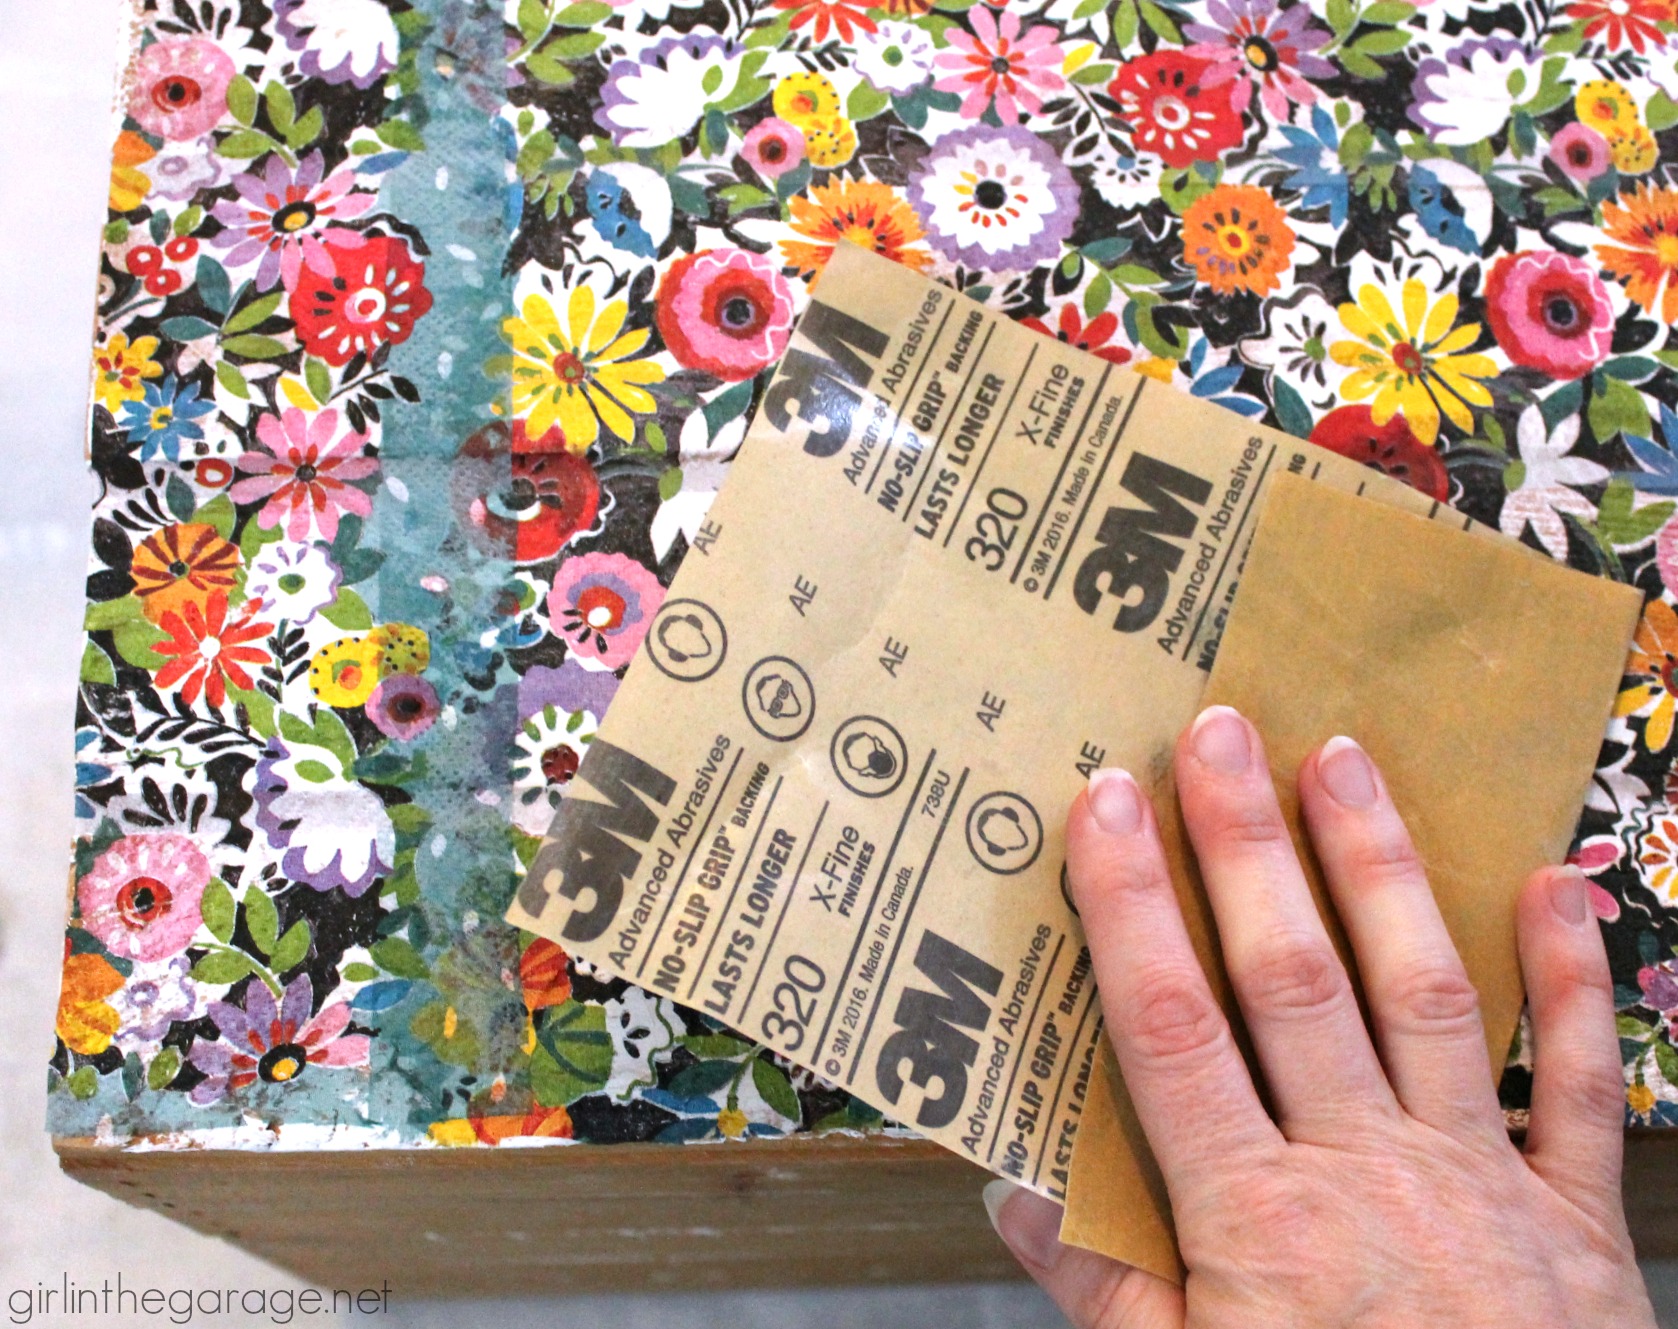
Let the glue sit until dry, probably overnight. Then you can use an electric hand sander (although it’s way too cold here to use power tools outside), a sanding sponge block, or any sandpaper you have already. I grabbed the closest to me which was 320 grit by 3M, usually used to create a soft, smooth finish on pieces you’re almost done with. (Next time I do this type of project I’ll probably use a grit in the 200 range so it will rough up a little more quickly.)
Sand till your heart’s content. You want to wipe away the excess tissue between the slats, over the handles, near the edges, and anywhere else to give it a distressed, worn look.
Here’s a closeup so you can see the imperfect edges and the woodgrain peeking through.
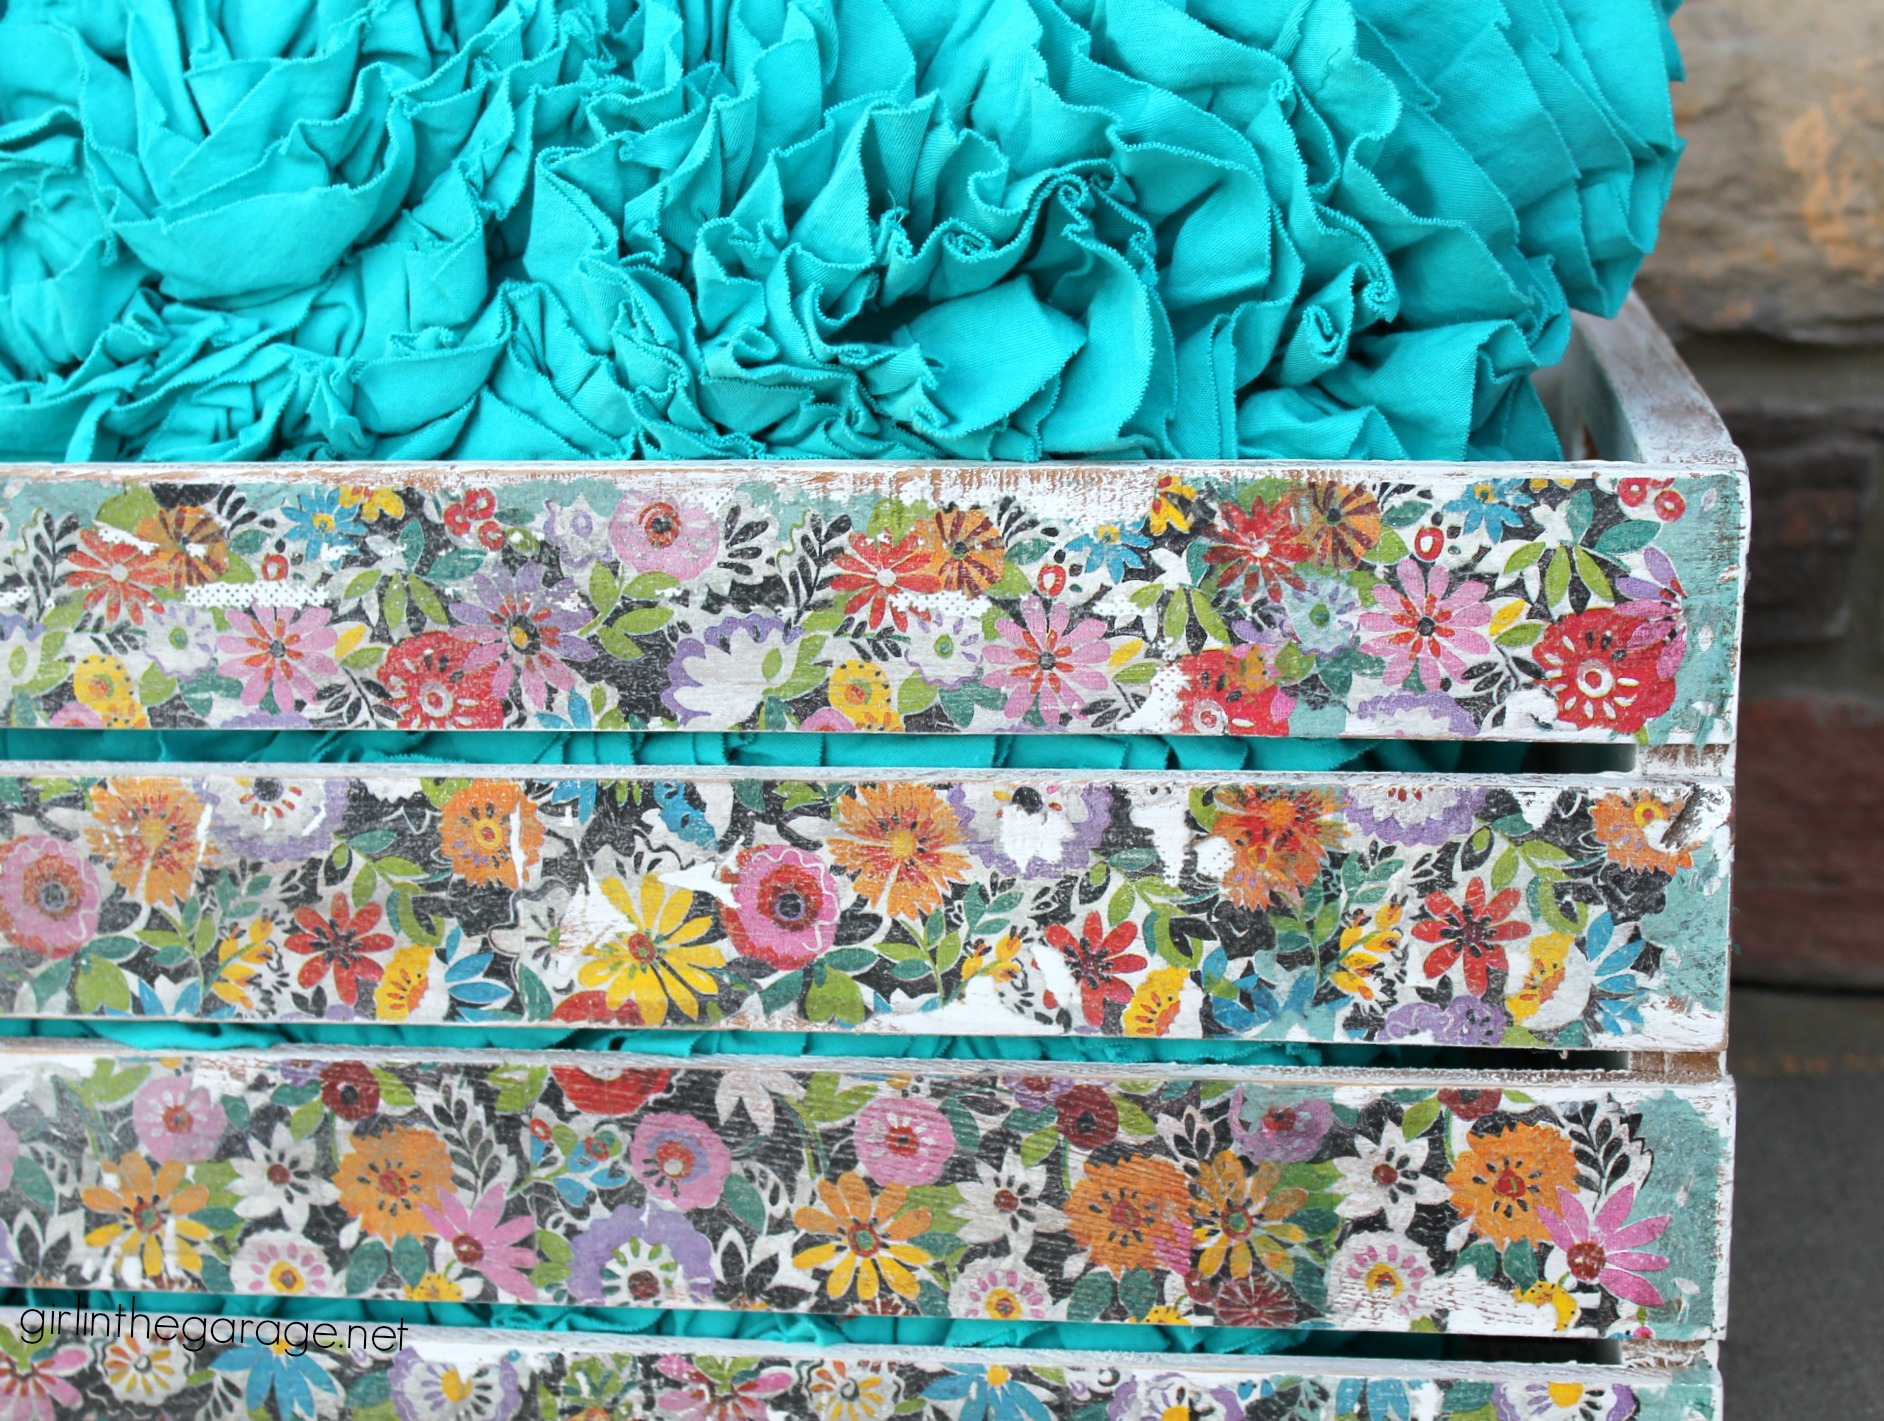
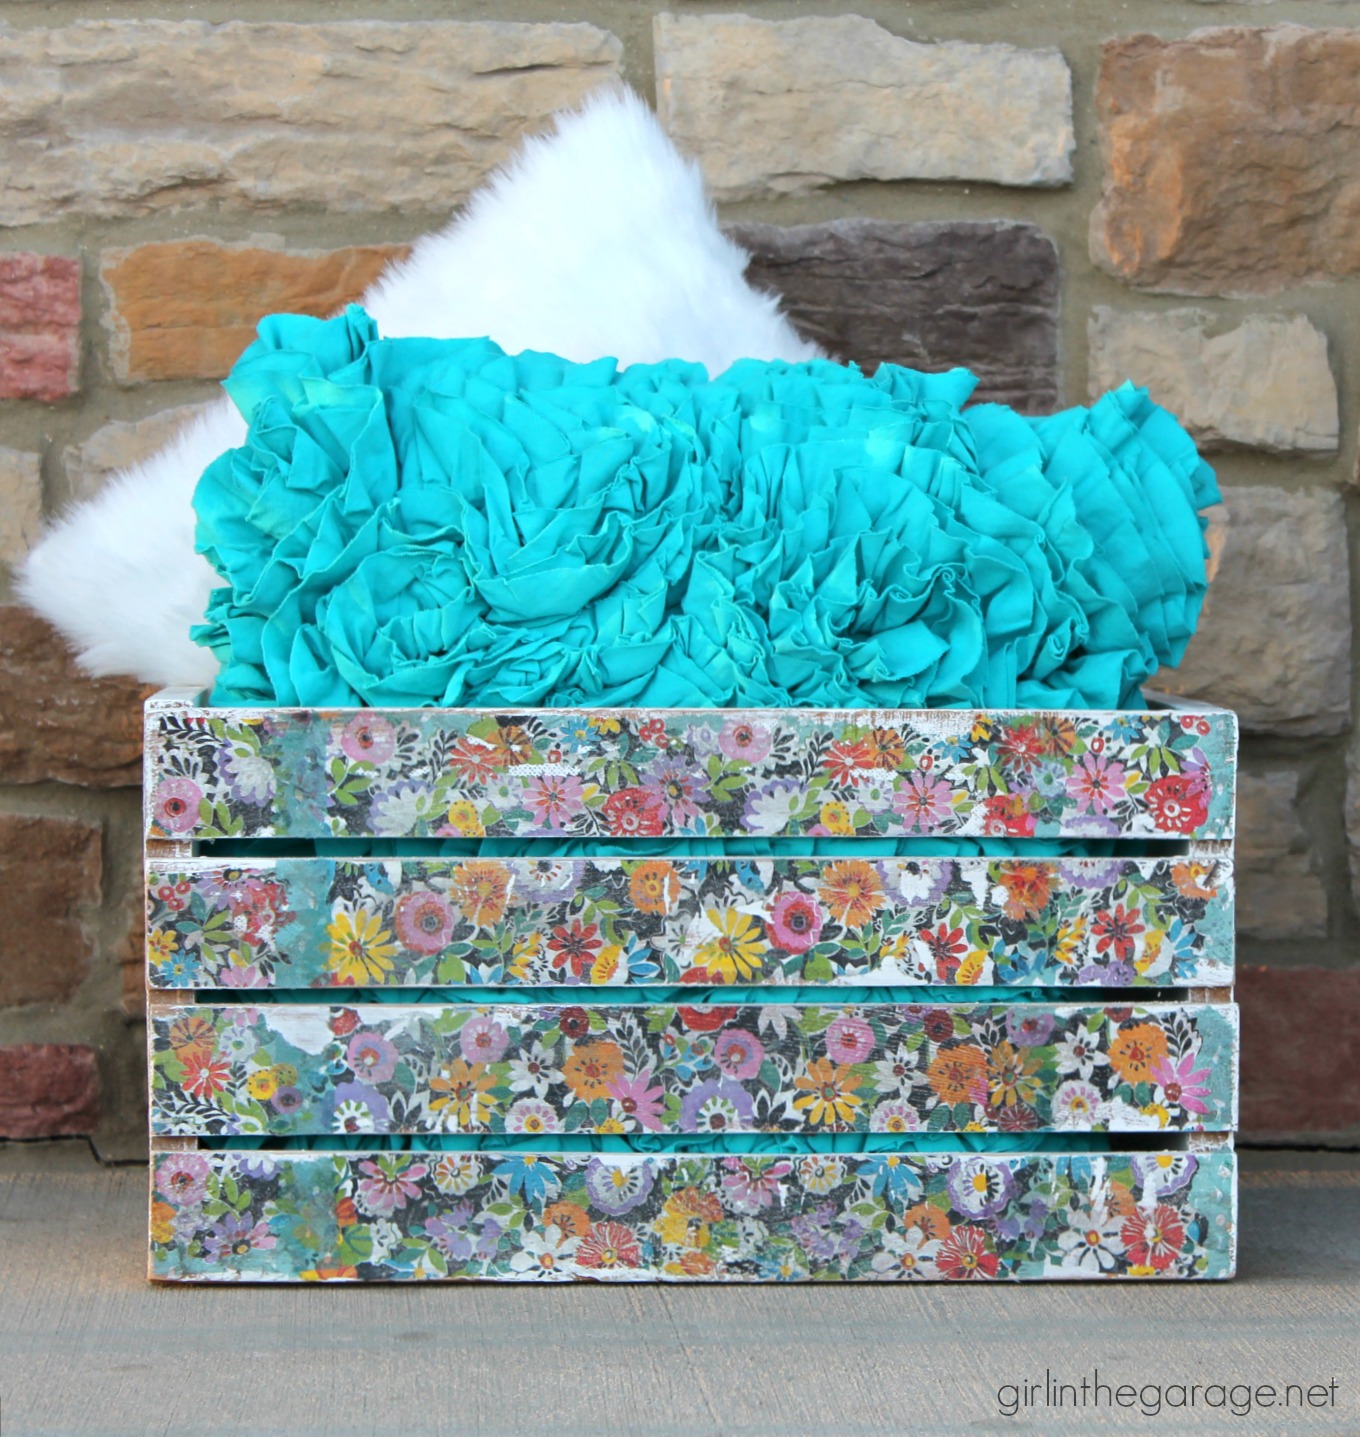
I could’ve easily done this without painting the crate first, but I think the white background really makes the flowers pop even more. For a more subtle look you could leave the wood unfinished or stain it a darker color first.
The side is a little more distressed, since a couple chunks came off during sanding. The Mod Podge must’ve missed those areas. Oops.
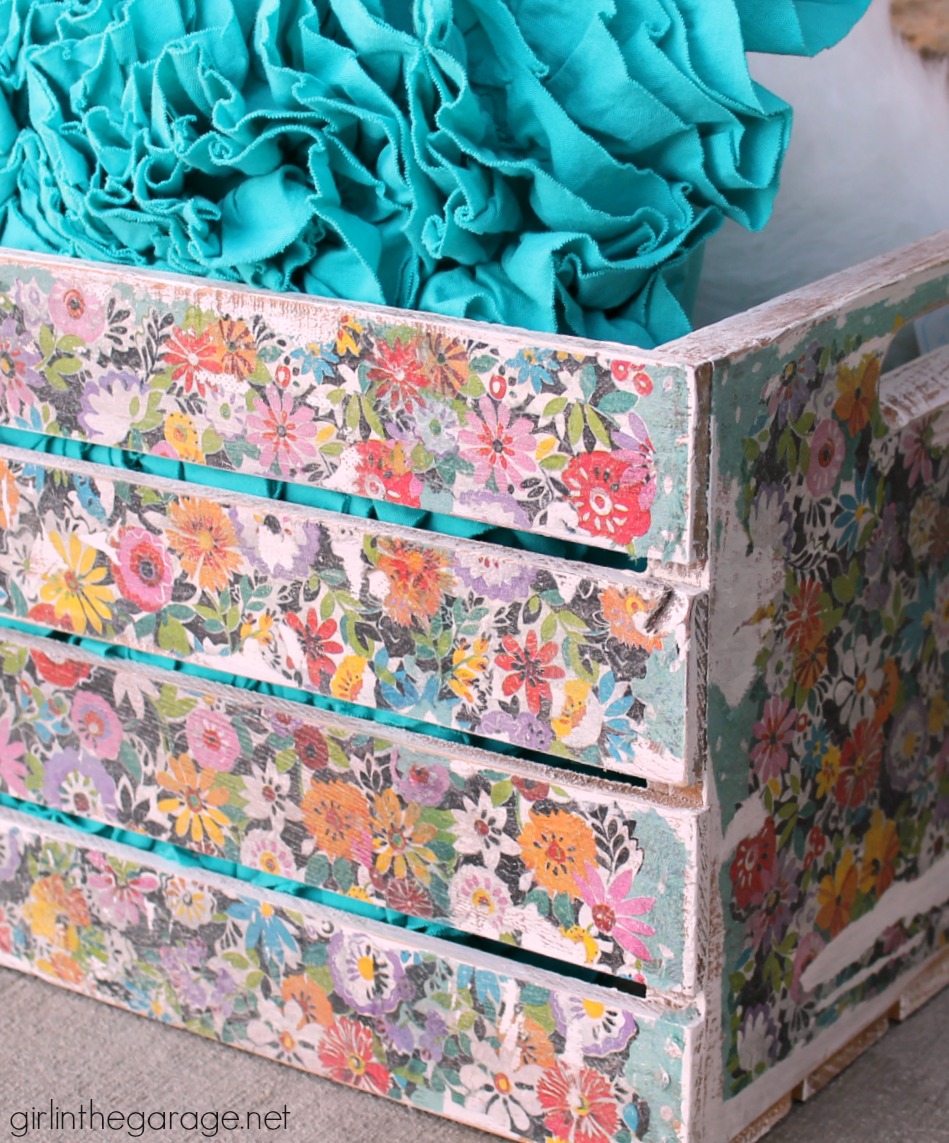
Another closeup:
If you like this project, here’s a handy before-and-after collage to Pin and save for later:
Would you like a free printable tutorial of this project for easy reference? Click Here.
Annnnnnd it’s Trash to Treasure Tuesday with my friends!
This is seriously one of my most favorite days every month. I love seeing everyone’s creative transformations and being inspired. (You can view my T2T makeovers from other months HERE.)

Below are the Before photos – click the links below to see the After pics and the full tutorial on their blog.

One last thing – share your best Trash to Treasure Makeover on Instagram with the hashtag #trashtotreasuretransformation – make sure you’re following me and the other 4 hosts – we’ll choose our favorite this weekend to feature on all of our feeds – AND Fusion Mineral Paint will provide two pints of paint to the lucky winner! Woot!
Head over to my Instagram HERE (@jen_girlinthegarage) for more details.
Jen
Original article and pictures take girlinthegarage.net site
Комментариев нет:
Отправить комментарий