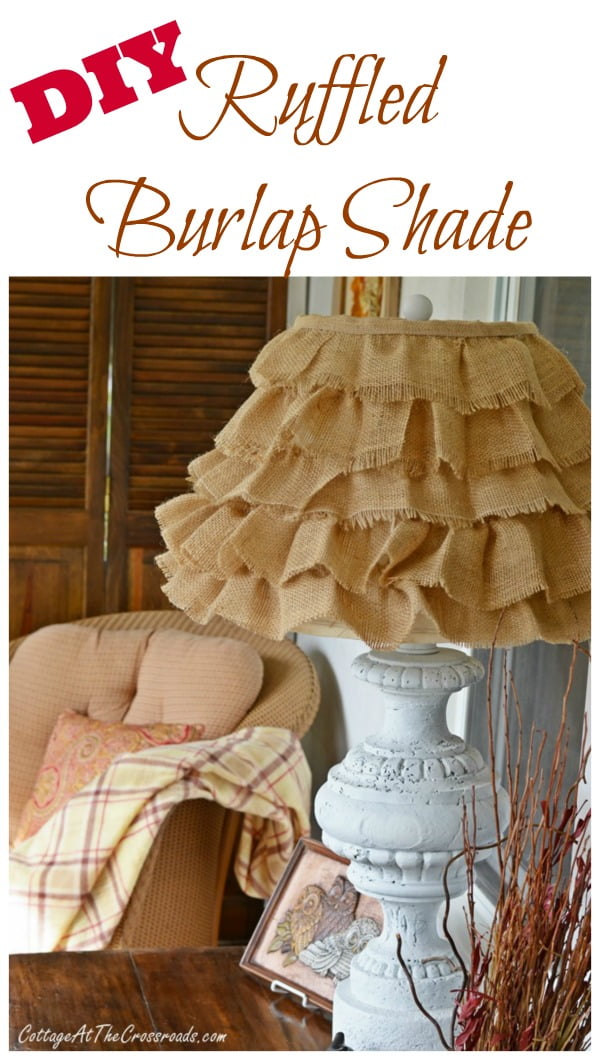
I’m back, as promised, with a tutorial on how I made this DIY ruffled burlap shade.
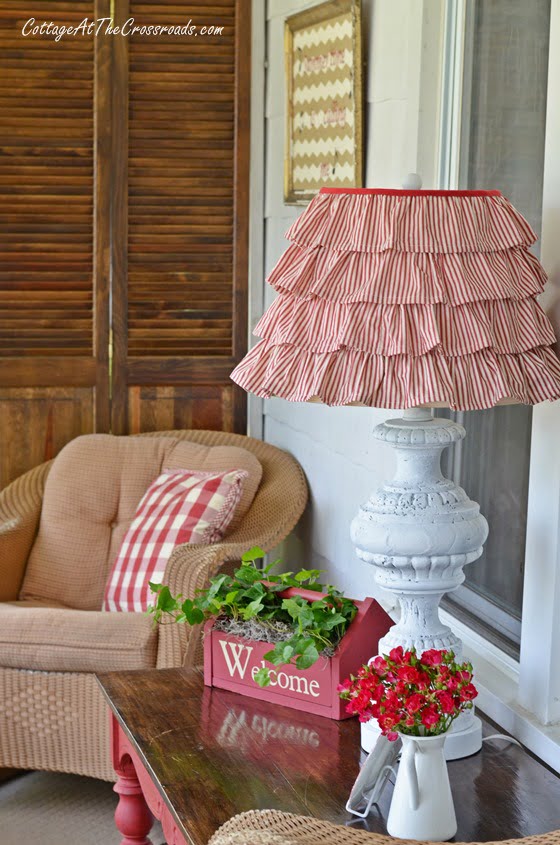
Earlier this year when I showed the red ticking ruffled shade on our summer porch, many of you asked how I had made it. Well, I already had the ruffles that I removed from some curtains that I was no longer using so I just hot-glued them to an old shade. Recently when I showed our fall porch, some of you asked how I had made the ruffled burlap shade. So here’s what I did.
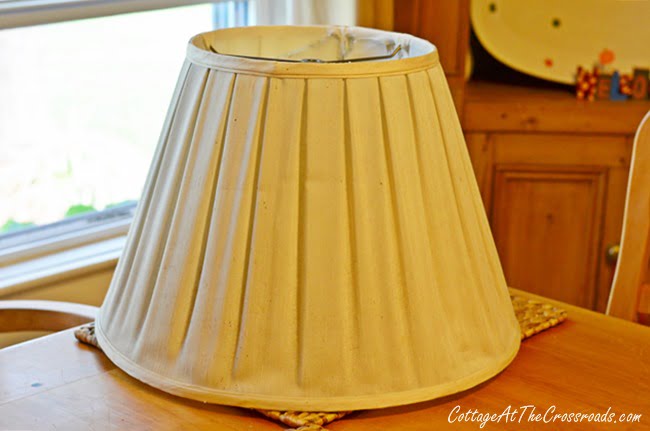
First, I found an old shade the size and height that I needed at the auction that Leo and I attend every Monday. It was a little dirty and ripped in a few places so I was able to get it for free because no one else wanted it! Nothing better than free, folks!
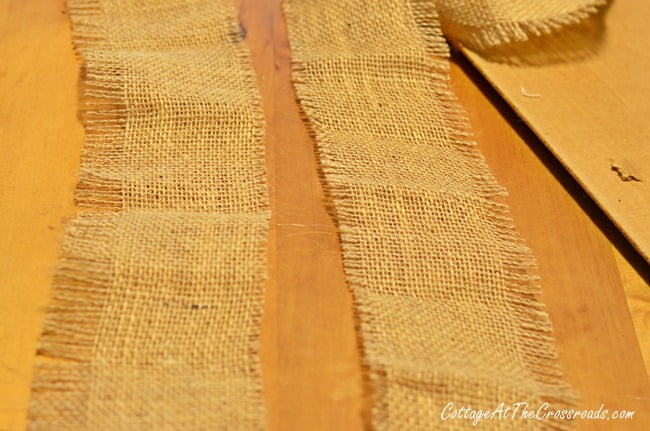
Next, I got out some strips of burlap that I already had from where I had made a burlap mantel garland a couple of years ago. I had cut them from 2 yards of fabric so they were nice and long, probably at least 72 inches, and they were 4 inches wide. Some of the sides were “fringed” and some weren’t.
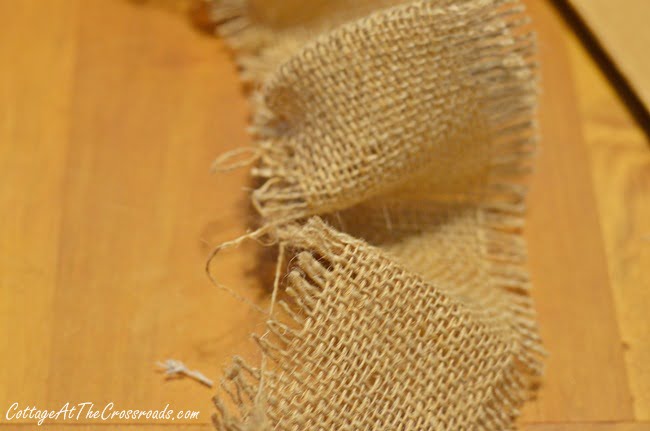
To make the ruffles, I just pulled a string from one end and continued to pull and push the fabric down the string until I had some ruffles. If I thought it was too ruffled, I just moved the ruffles down the string in the opposite direction to loosen them a bit. If the string broke while I was pulling it, I just saved the ruffles that I had and cut the strip.
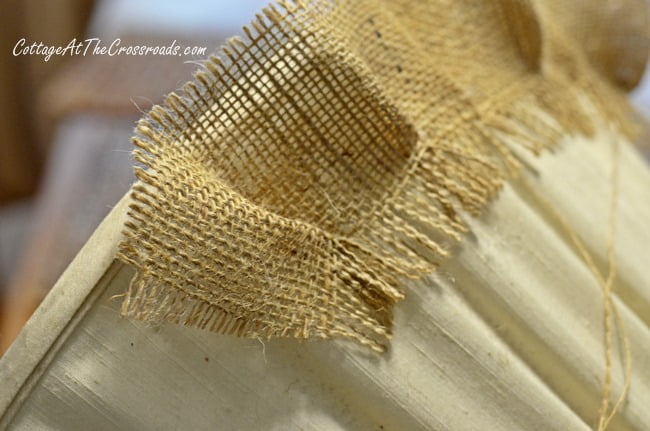
Once I had a long strip of ruffles, I attached the strip to the bottom of the shade making sure that the edge of the ruffle hung over the bottom of the shade. I started by hot-gluing the end onto the shade (I had to double it over to create a little ruffle on the end) and continued to hot-glue it all around.
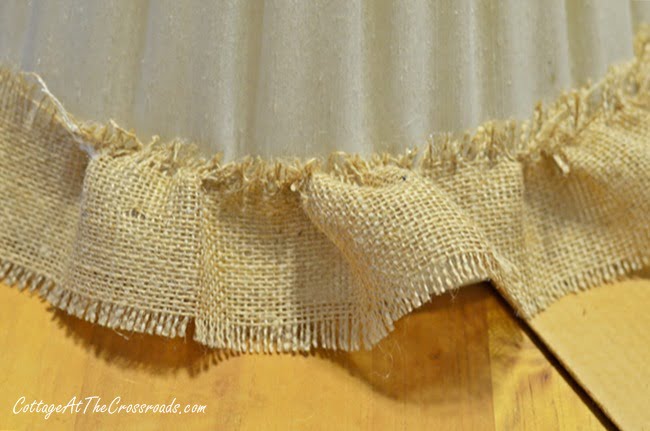
Here is what it looked like with the one ruffle on the bottom.
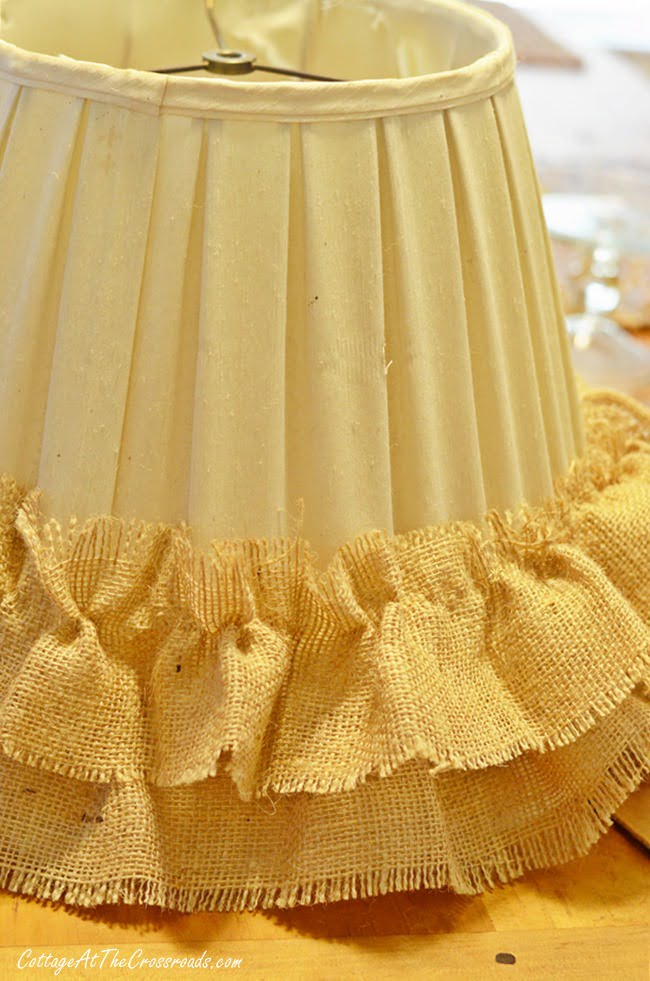
Then I added the next row in the same way making sure to overlap them so that the top didn’t show.
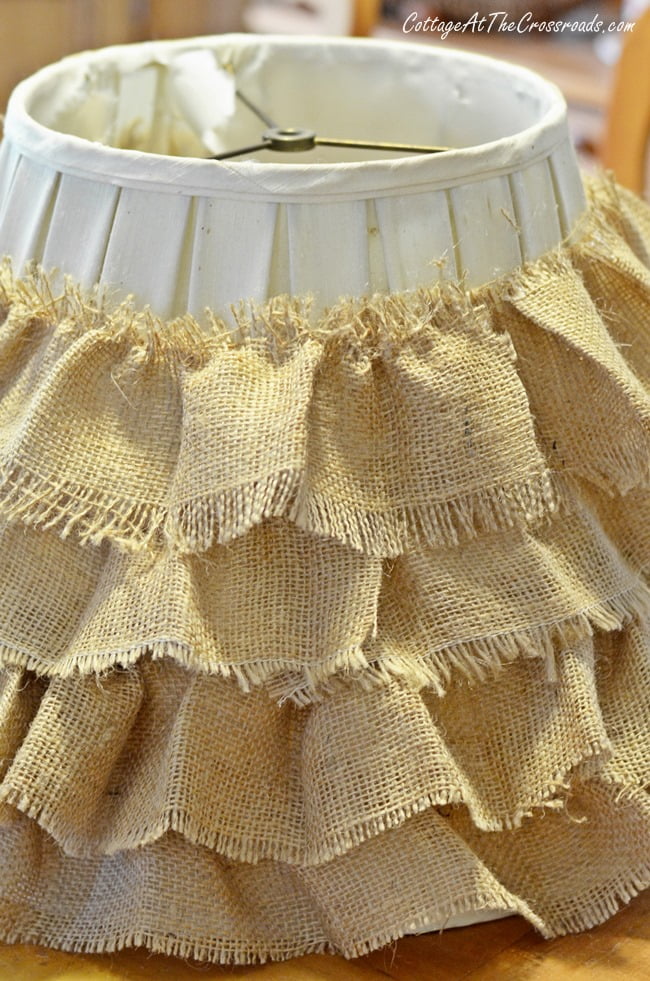
Here it it with 4 ruffles attached so that you can see how I overlapped them a little better.
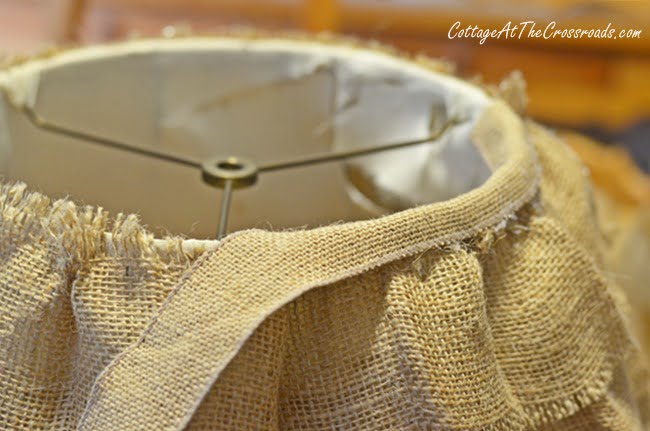
When I got to the top, I knew I didn’t want the ragged edges showing so I found some burlap ribbon that I already had to place at the top.
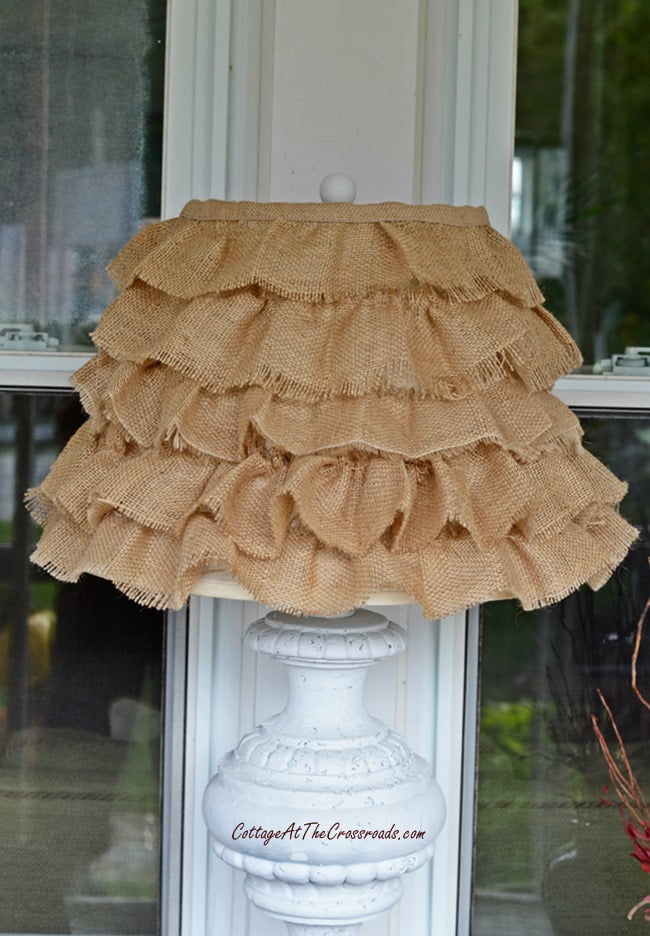
And here it is! It was easy as pie to make and the burlap goes great with the fall decorations on the porch. Seems like burlap is the quintessential fall fabric, isn’t it?
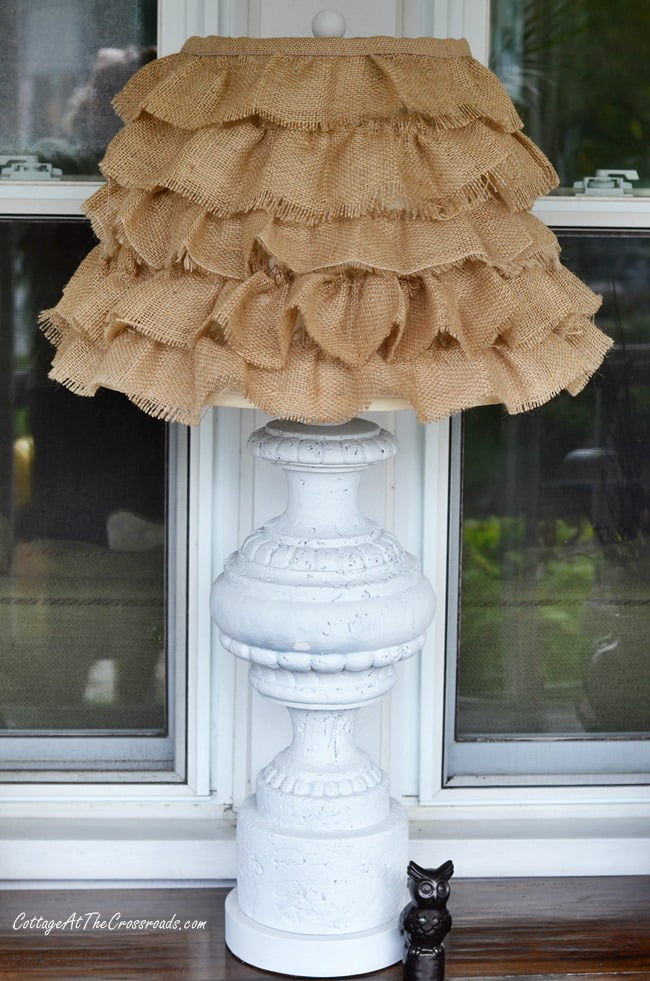
The lamp that the shade sits on is actually a concrete lamp that we’ve had now for several years. If you’ve been following our blog a long time, you may remember when we got it when we posted Going Once, Going Twice, Sold…to Me!
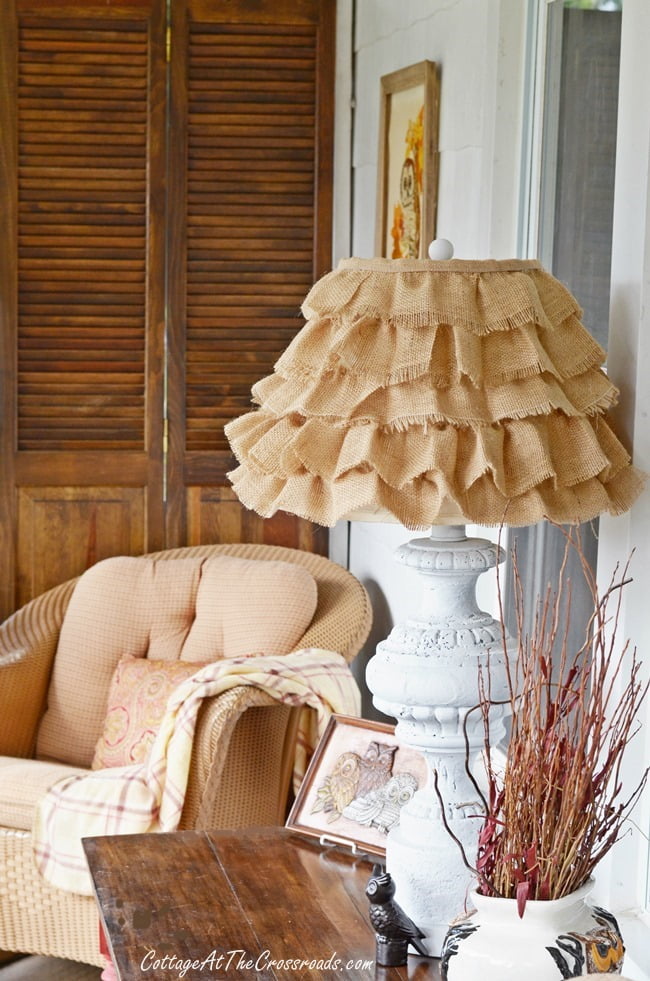
The weather has been gorgeous lately so we’ve been spending a lot of time on the porch. My spot is right beside my little ruffled burlap shade!
Sharing at:
Wow Us Wednesday@Savvy Southern Style
Metamorphosis Monday@Between Naps on the Porch

Original article and pictures take cottageatthecrossroads.com site
Комментариев нет:
Отправить комментарий