среда, 28 марта 2018 г.

DIY Pom Pom Earrings

DIY Pom Pom Earrings

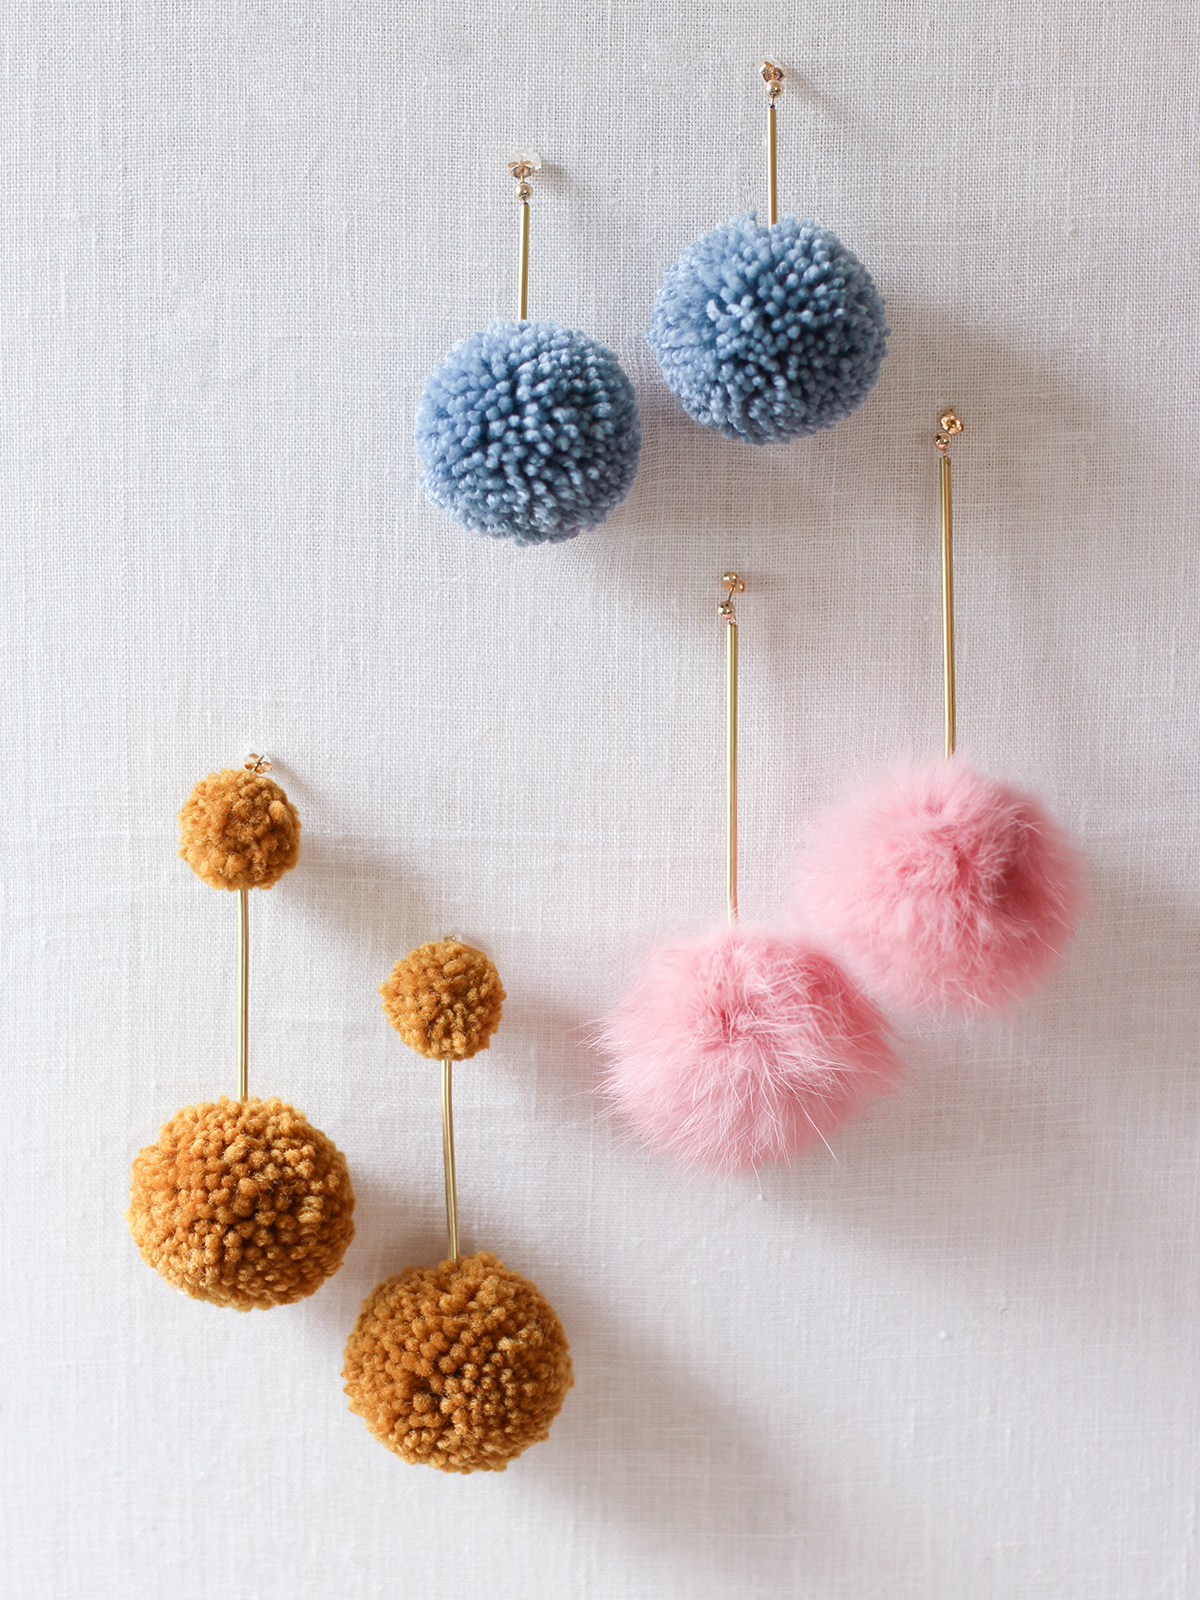
Happy first day of Spring! Or should I say, pom pom season? It’s usually this time of year when I start adding pom poms and tassels to everything. Not to say this kind of flair isn’t appropriate all year round. But there’s just something about warmer weather that makes whimsical accessories that much more fun to wear. Today, we’re making pom pom earrings! All you need is a few items from your local hardware store and a couple of pom poms. Easy.


You’ll need:


Start by making pom poms. As most of you might know, I love Clover’s pom pom makers – they make pom pom making a breeze! I used the 1″ and 1 5/8″ pom pom makers. Wrap yarn around one set of the arms, which swing out from the maker.


For dense pom poms, you’ll want to wrap yarn around the set of arms at least 3-4 times.

Repeat on the other side and cut down the center.

Take about 18″ of embroidery floss and wrap it around the center of pom pom and tie into a tight double knot. Remove the pom pom from the pom pom maker. Shake the pom pom out and trim any strays. Leave the embroidery floss.

Mark the brass rod into sections using a ruler and Sharpie. Use a hobby hack saw to cut the tubes.

Thread the end of the embroidery floss through an embroidery needle. Thread it through the brass tube

Thread it through the jump ring of the earring post. Thread the needle back through the tube to the top of pom pom.

Tie the floss into a double knot and trim any excess floss.

For double pom pom earrings, use a hot glue gun to attach the top pom pom to a flat pad earring post.

You can also try adding fur pom poms in place of yarn pom poms!


(images by HonestlyWTF)

Original article and pictures take honestlywtf.com site

Комментариев нет:

Отправить комментарий