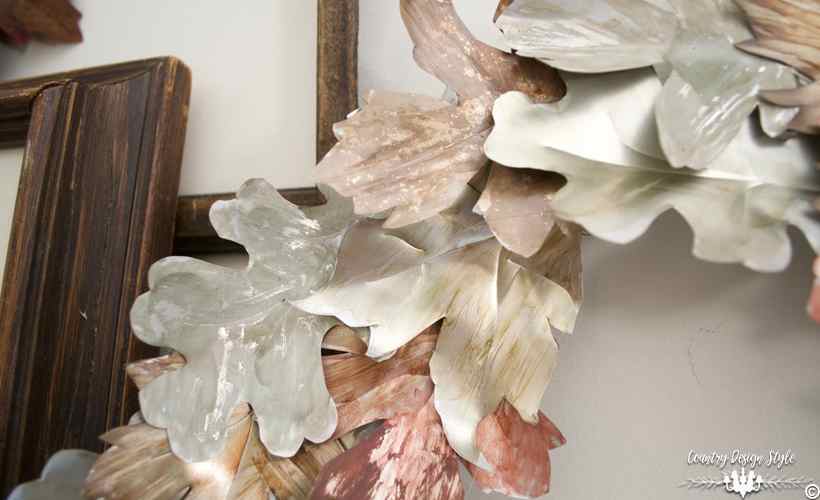
I started with 17 soda cans. Each can make 2 leaves. There should be 34 leaves in the finished project.
But when I finished painting {or inking} the leaves I had 33 leaves.
Someday I’ll be cleaning under the sofa, or behind the desk and find the lost leaf.
In the meantime….I hope you enjoy this idiosyncratic project!
DIY Metal Leaves
Create at your own risk disclaimer! The metal, if you can call it metal, of the soda cans, can be sharp. Use caution!!
Disclosure: This post contains affiliate links, which means that if you click on one of the product links, I’ll receive a small portion of any sales at no additional cost to you. I only share products I like, used and have ordered, OR products I want.
Here is a free download for my leaf shapes.
Cutting

The metal is so soft, I used my crafting scissors to cut the cans.
To get flat pieces, first, remove the top and bottom of the soda cans. Next cut down the cylinder. To uncurl the metal, rub along the edge of a countertop.
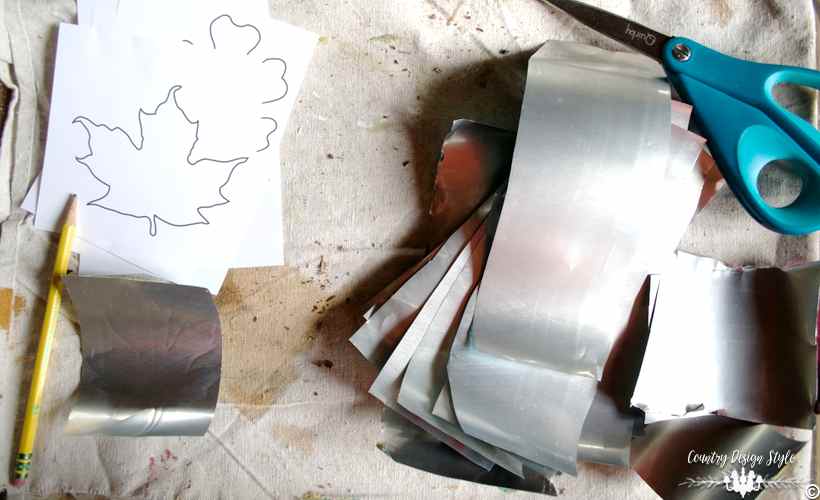
I got two leaves from each can. Working on layers of drop cloth, I outlined the leaf shape using a pencil.

The drop cloth allowed a depression in the metal.
Painting
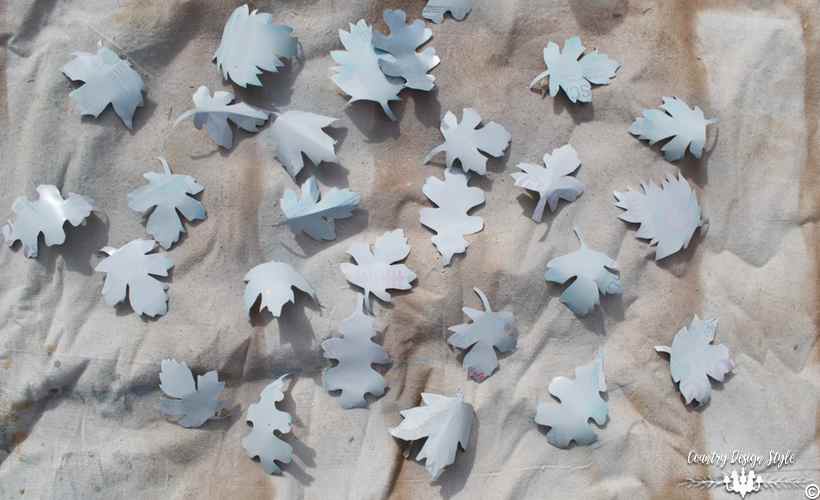
I cut 34 leaves. Then to hide the soda labels I spray painted the back sides.

After the paint dried, I flipped the metal leaves. Then the using an awl (or a nail would work) I pressed “veins” into the leaves.
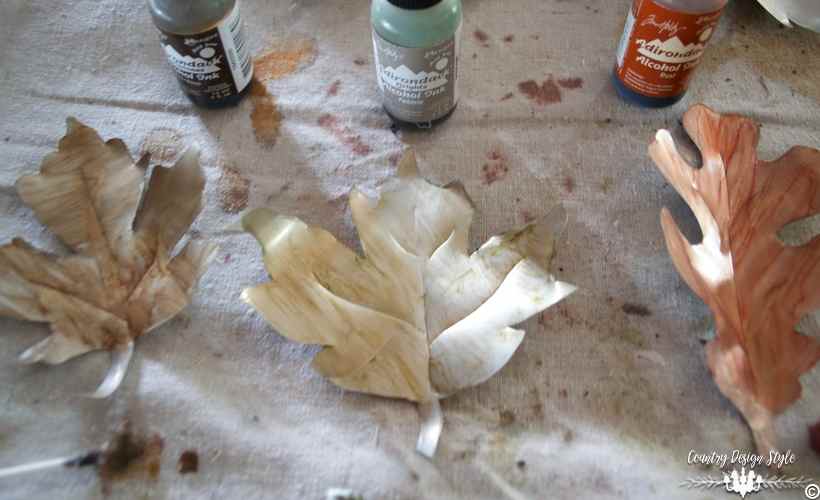
I could have left the metal as it was. Who knew the inside of a soda can looks so good!
Instead, I stained the metal. Below are the inks and stain.

The look of the inks was great…but I tried testing another idea. Using chalked based paint, I covered the leaf with a creamy white. Next, I added the alcohol inks. The paint definitely added a base for the inks. The leaves on top are ink only, bottoms are paint and ink. I used a cotton swab to apply the inks. The stain bottle has a sponge top. I rubbed the stain into a small piece of foil and applied like the inks.
Gluing

The inks dry fast. Firing up the hot glue gun, I layered the metal leaves to a wire wreath. If you wish to keep your wreath for years, you may want to use E6000 to permanently glue the metal to the wire. At least, more permanent than hot glue.
By the time I finished the wreath I had just enough leaves. And I only glue one leaf to my countertop!!! Thank goodness for marble…even if it’s orange!

A closeup of my favorite leaf. Painted, then inked with the pebble.
Finished DIY Metal Leaves Wreath
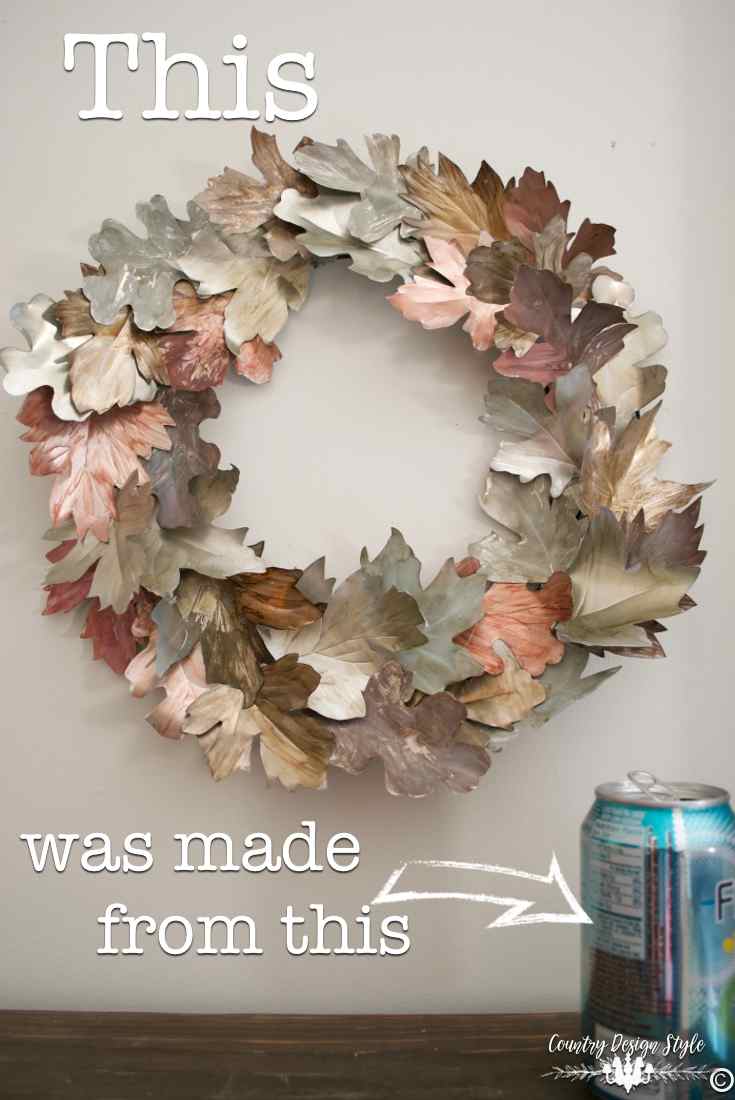
This is the final result. Beside the wreath, I placed a soda can. An image perfect for pinning!

On this side is a closeup of the DIY metal leaves wreath.

In fact, the DIY metal leaves would make a cool banner. Lettering added to each leaf is another idea.
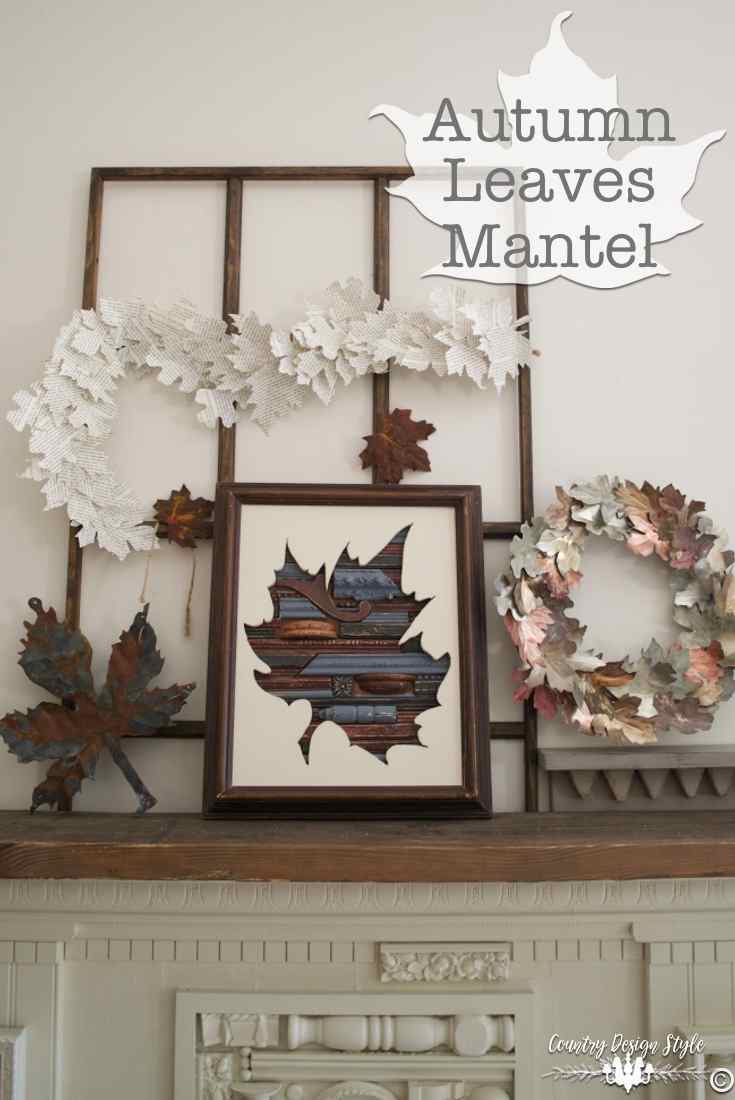
Above I added the DIY metal leaves wreath to our scrap wood mantel. Displayed with more leaf DIY projects. The fabulous metal leaf on the left was bought in Pismo Beach.
Autumn leaf from scraps {that’s the one in the frame}
Rusty leaves {there’s a video too}
Book Page Leaves {if you’re not into cutting metal :)}
Do you remember the necklaces made from soda can tabs?
Have you made anything from soda cans? Let me know in comments. Update: I recreated this idea for spring. You can read about the metal flower wreath here.
Linked up at Homework
Original article and pictures take countrydesignstyle.com site
Комментариев нет:
Отправить комментарий