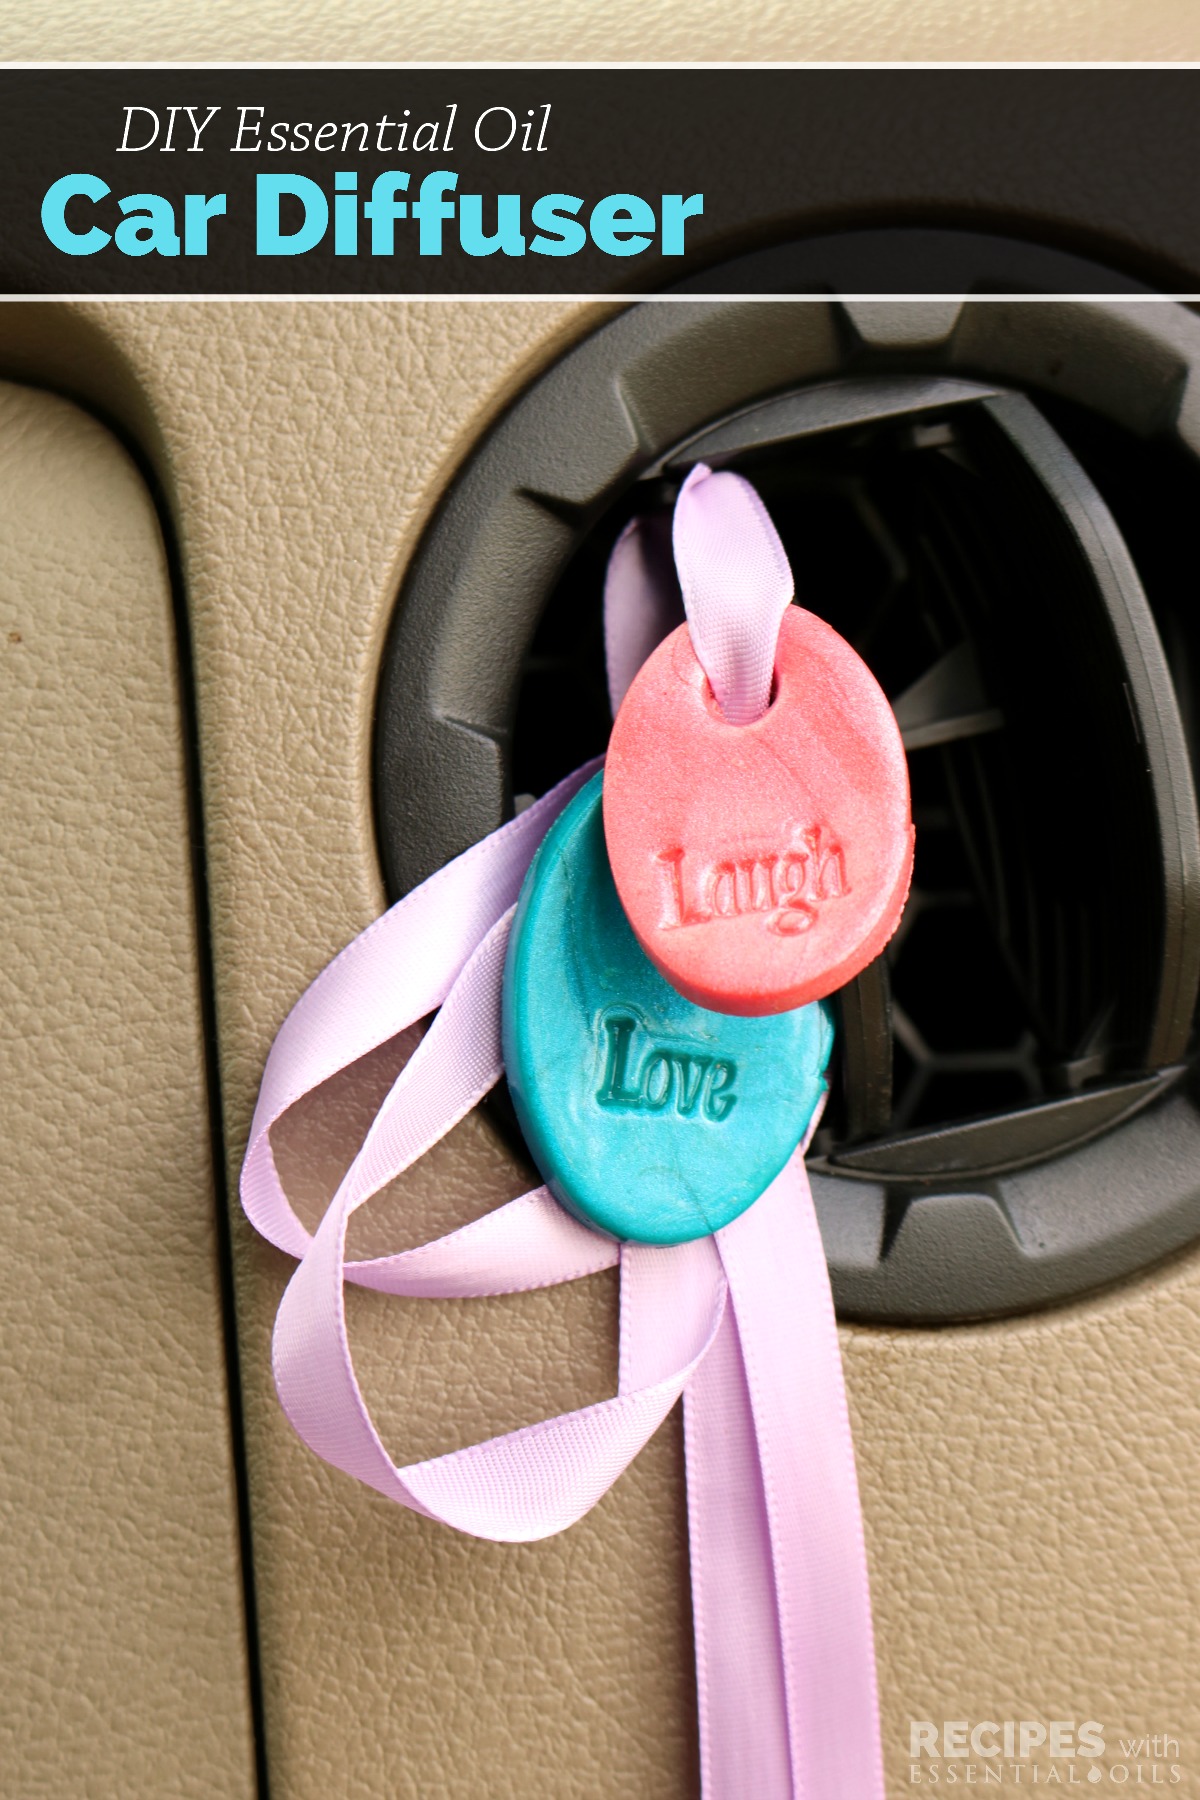
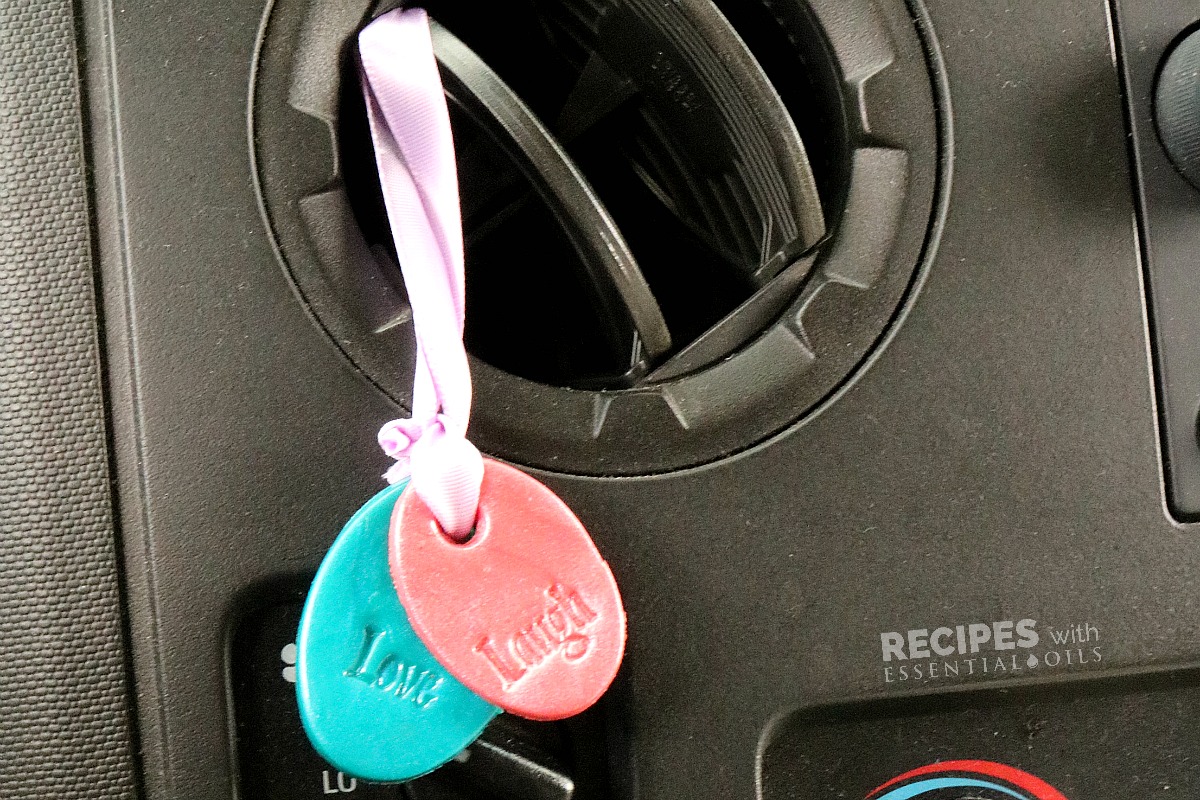
Aren’t these little DIY Essential Oil Car Diffusers the cutest things in the world?! I just love them. They’re bright, cheerful, easy to make, and they help freshen your car naturally. No more tired evergreen trees hanging from your rearview mirror!
This post has been updated to integrate some of the useful feedback and information we’ve gathered from our wonderful readers! Thank you!
We were inspired to try them after seeing this darling post for DIY necklaces here.
All I could think was how it could be used in so many ways to diffuse oils simply:
- These car diffusers are so cute you’ll want to hang them from your rearview mirror.
- Or you could place them on the vents throughout the car to keep the essential oils diffusing through the whole vehicle.
- The designs and color choices are almost limitless.
- One for mom, one for the teen, one for baby sister’s bicycle…cute idea, right?!
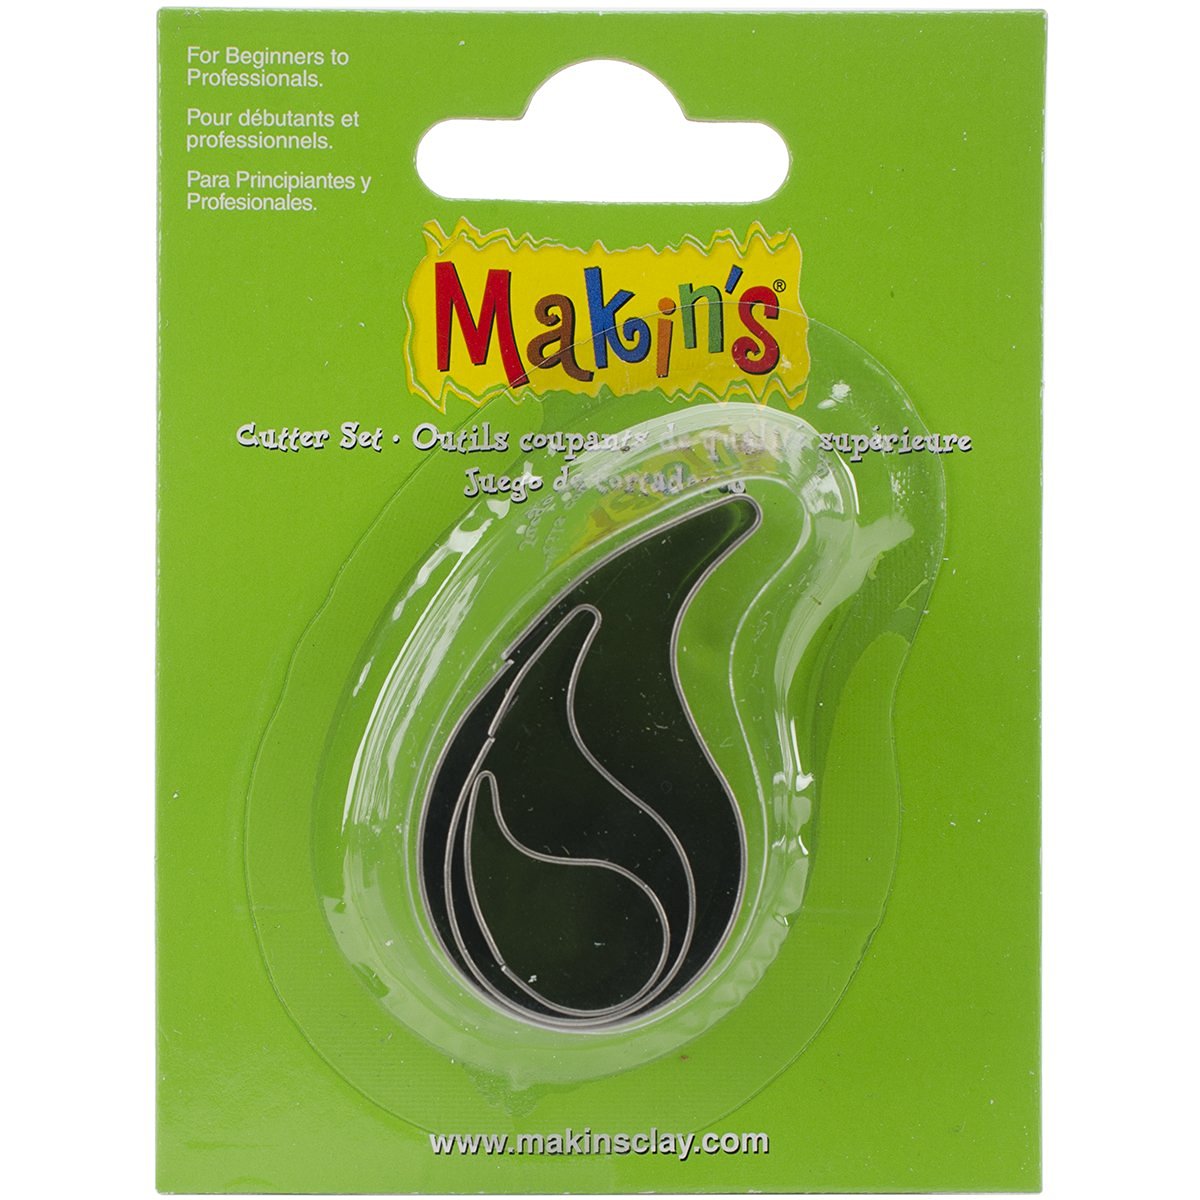
Speaking of choices, as we were finalizing this post, I just found these OIL DROP clay cutters!! How cute would this be?

And, I love these rubber stamps with pretty nature items! Or since it’s for the car, these would be fun…

Oh my goodness, get me into a craft store in an aisle with rubber stamps, and you’ve made my day.
Now, a quick word about the oven baked clay we used…

We HIGHLY recommend using natural clay for your car diffuser pendant. This clay is perfectly absorbent and completely natural and toxin free.
You’ll add the essential oils to the natural clay on the back of the pendant for it to absorb. Let them absorb into the clay before hanging, it just takes a few moments. Other helpful tips are in the recipe below.
Finally, the essential oils to use. Um…any of them! We went with a woodsy, spicy smell using Frankincense, Cypress, and Idaho Balsam Fir. But, again, the options are pretty limitless!
See all of our Diffuser combinations here to pick from a variety of options!
New to essential oils? Learn more about how we use them and why you should use them as well.
Yield – as many car diffuser pendants as you want
Preparation Time – 15 minutes
Cooking Time – 15 minutes
Ingredients
- Food coloring or non-toxic acrylic paint (optional)
- plastic wrap
- clay cutters (wouldn’t these tree shaped cutters be the best?! And these are the ones we used)
- parchment paper
- baking sheet
- ribbon
- scissors
- 1 drop Cypress essential oil
- 1 drop Frankincense essential oil
- 1 drop Idaho Balsam Fir
Directions
- Clear a flat surface. Roll out the clay in your hands to make it soften and more malleable.
- If you’re coloring your clay with food coloring or acrylic paint, then you can work that into your clay now before proceeding We suggest working the color in while you’re wearing gloves or working the color in with the clay inside a plastic bag. Basically protect your skin from absorbing the color that you’re applying to the clay!
- Wrap your rolling pin in plastic wrap (if you use your rolling pin for food like most of us then you’ll want to protect it from absorbing the clay). Or use a craft clay roller like we did.
- Roll out the natural clay onto the tabletop to about 1/8 inch thickness.
- Start by using the stamps on the raw clay BEFORE using the cutters. This step is best completed first because then you can see the already placed design clearly later when you cut out the shape. Also, stamping first keeps the dough in perfect shape whereas stamping after you cut out your shape will distort the edges and make it uneven. And, if you mis-align the stamp, no worries! Just smooth the clay back out and restamp.
- Use the clay cutters to cut out the shapes you’d like to make. Place a hole near the top of the cutout piece using the straw, but not too close to the edge. This will allow you to create the hole into the pendant for the ribbon later. Place the pieces on parchment paper on a baking sheet. (Don’t place directly on a baking sheet that you’ll use for food later!)
- Allow the pendants to dry completely before proceeding. It could take 24 hours for that process to be complete. Once they’ve dried out, you can cut a length of ribbon and arrange the pendants for the rearview mirror or to hang from a vent. You can always trim the ribbon later so it’s best to start with the ribbon a little long so you can find the length you like.
- Apply essential oils to the backs of the pendants and enjoy the fresh scent!
Make sure to send us pics of all the creative ways you make your own DIY Essential Oil Car Diffuser.
More essential oil recipes you might enjoy:
Please sign up for our weekly email newsletter where we share new recipes and ways to use essential oils in and around your home.
*Disclaimer: These statements have not been evaluated by the Food and Drug Administration. This information is not intended to diagnose, treat, cure or prevent any disease. The information on this site is not intended or implied to be a substitute for professional medical advice, diagnosis or treatment. Please confirm any information obtained from or through this web site with other sources, and review all information regarding any medical condition or treatment with your physician. Never disregard professional medical advice or delay seeking medical treatment because of something you have read on this website.
Original article and pictures take www.recipeswithessentialoils.com site
Комментариев нет:
Отправить комментарий