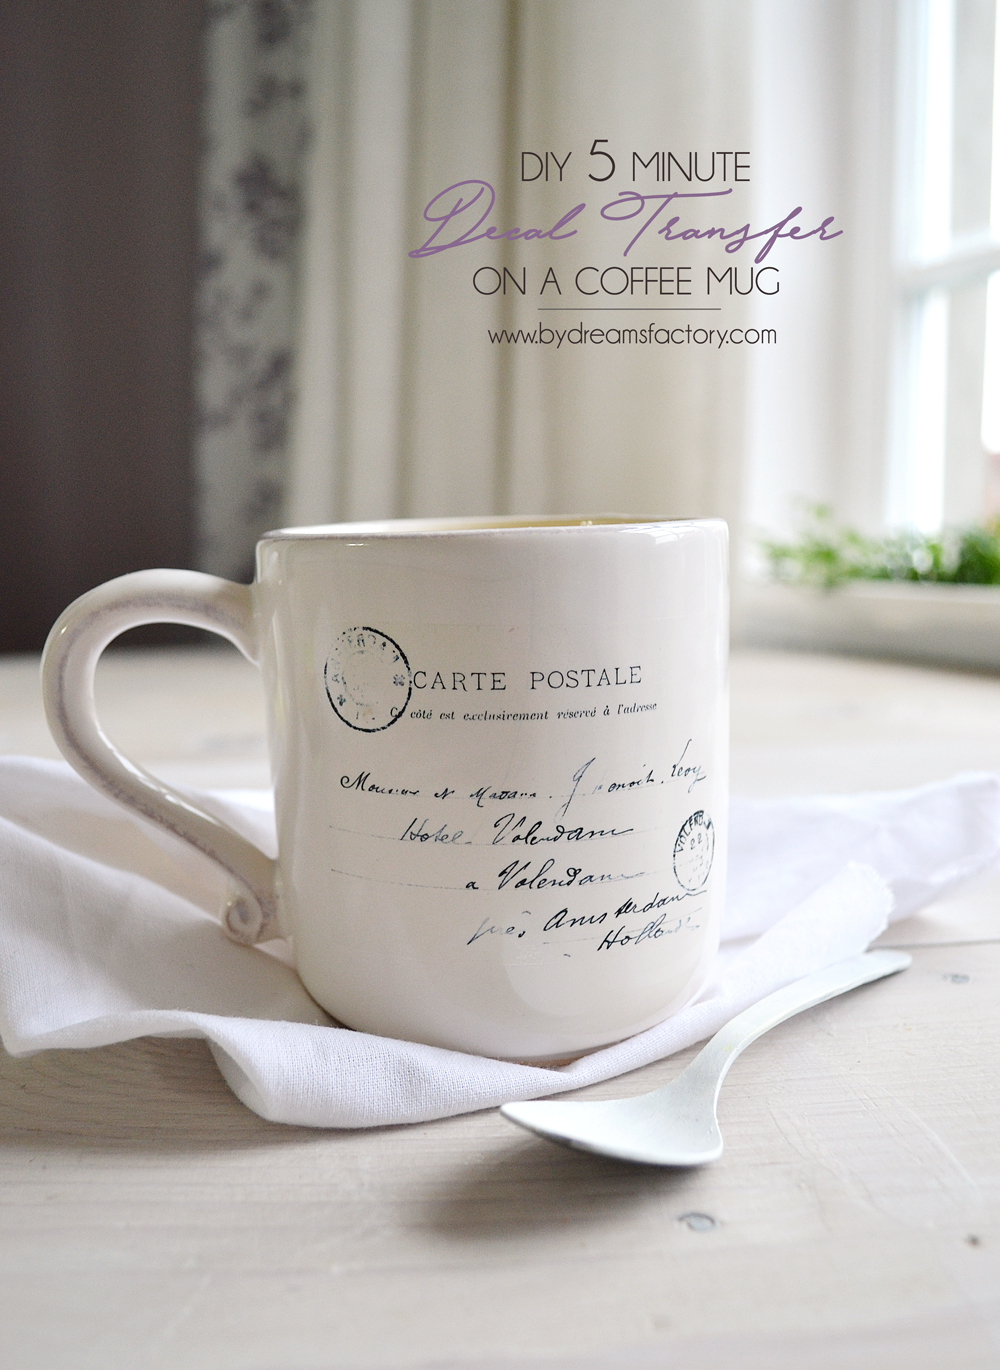
DIY 5 minute decal transfer on a coffee mug – learn how to quickly decorate your coffee mugs with your favorite images and make your mornings more chic and beautiful
I still can’t believe that half of November has already gone and we are rapidly approaching that time of the year! I’m still trying to get used to fall … and my Pinterest is already dressed up for the holidays!? When did that happen? :)

We had some pretty cold and rainy days around here and I didn’t feel like doing much. I needed a break from everything and I took a short (mostly social media) break to clear my head a little bit. Do you feel like taking a break from social media now and then? I needed one desperately.
I enjoyed my break whole-heartedly, resting, reading, watching movies, coloring and sipping hot drinks with Mr. Dreamy! :) One of the things I love about fall is the feeling of coziness it gradually provides when you only need those heart warming hot drinks and soups to cope with the ugly weather outside.
I love my coconut oil coffee but I’m obsessing over turmeric golden milk lately! And I accidentally discovered that you can make your own Earl Grey tea latte (London Fog) at home when I found a bag of Earl Grey tea that our friends from UK brought us. Have you tried any of them? They are too good not to share! :)
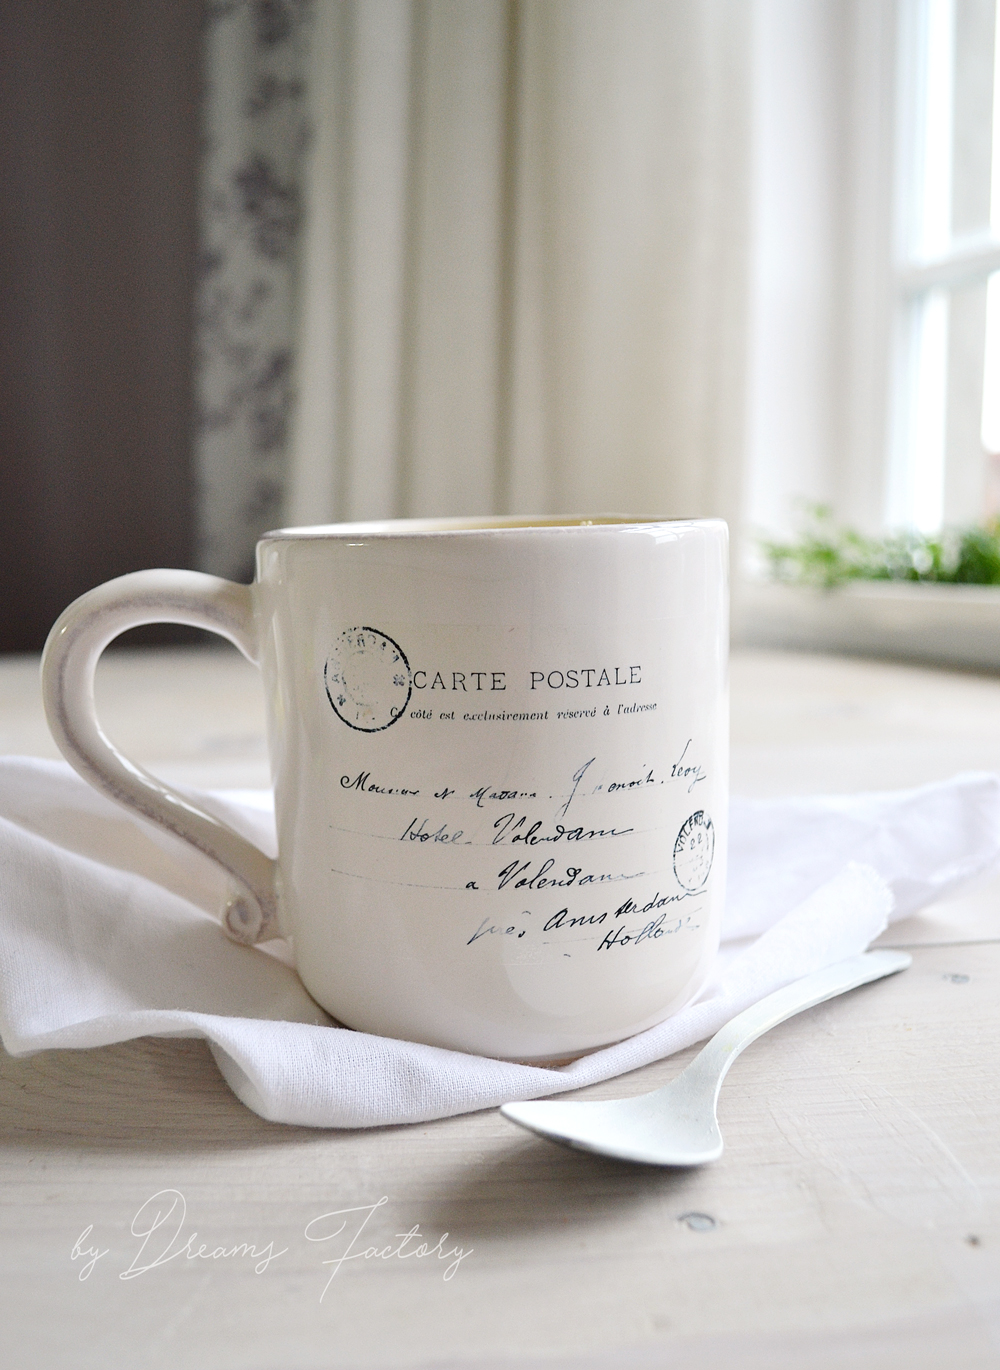
And speaking of new hot drinks, why not enjoy them in some pretty mugs, right? :) You already know how much I love using decals and how much I love the graphics from The Graphics Fairy! So this time I used an old French postcard, with stamps and everything and created a 5 minute decal transfer on a coffee mug. Quick, easy and beautiful, my favorite type of project! :)
DIY 5 minute decal transfer on a coffee mug
I already shared with you all about waterslide decal paper transfers with lots of step by step images, examples on how to use them and many tricks and tips, so I’m not going into much details again.
But you can pretty much see the whole process in the pictures below, it was that quick and easy! :)
You simply print the image on the decal paper (I usually print multiple images so I don’t waste an inch of this precious paper), cut it using your scissors, put it in water (yes, you only need water!) and apply it on the mug by simply sliding the white paper underneath. Then you remove the air bubbles using a paper towel … and you’re done! :)
I just love this type of small projects that help you add a little bit of chicness into your every day life!

Make one, two (or twenty) mugs for your home … and your new amazing mornings! :) Make some for your family and friends, with your favorite images (or theirs), the sky is the limit here, my friends!
They would make such an amazing gift for any special occasion, don’t you think?
And speaking of favorite images … to make things easier for you I created a printable with not only ONE, but TWO AH-MAZING postcard images so you can decorate some chic Frenchified mugs yourself!
I’m sharing the printable over at The Graphics Fairy (as part of our super exciting collaboration, yuhuuu!!!) so make sure you grab your digital copy too! I’m thrilled about having the chance to share on Karen’s blog these printables, because I’m in love with her graphics ever since the beginning … of all decorating times! :)

Don’t forget to pin for later and share! ↷
And if you have any questions, just leave them below:)

LATER EDIT 1
I’ve used the same transfer technique to decorate another chic French mug, that I usually use for large lattes in the morning! :) This Earl Grey Tea Latte (with a secret ingredient) is still my current obsession, you have to give it a try!
Because this mug has a curvy shape, I cut the decals into smaller pieces – diagonally, around the writing – and applied them gradually, one by one.


LATER EDIT 2
Where to buy the waterslide decal paper?
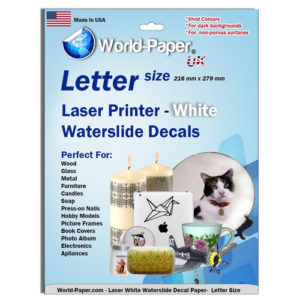
I usually use the waterslide decal paper from Forever (suitable for laser printers) if you find this type of paper, I really encourage you to use it, I had the most amazing results with it so far!
If you can’t find this exact type of paper, I’m listing below a few similar products (affiliate links), for your convenience.
Just remember to always check the manufacturer’s instructions before buying and applying the decal paper, different companies recommend different ways of applying this type of paper.
WATERSLIDE DECAL PAPER
LATER EDIT 3
Here are a few FAQ from my readers (and my answers) that you might find helpful:
Smile often,
Diana
If you make some projects inspired by any of my posts, please use them for personal use only. And don’t forget, on Instagram you can hashtag them using #bydreamsfactory or tag me using @bydreamsfactory. Have fun! :)
Disclosure: This post contains affiliate links so you can easily find the products I love. See more of my favorites {HERE}.
Sharing with lovely people at these awesome parties.
Original article and pictures take www.bydreamsfactory.com site


Комментариев нет:
Отправить комментарий