Most posts contain affiliate links, which I earn a small commission from. These are provided for your convenience, and the price isn't increased at all.
Now that I shared a few of the pros and cons of the Cricut Explore Air, I thought I might as well share some tips for getting started with Cricut!
I would imagine a lot of you got a machine for Christmas, so hopefully these Cricut Tips for Beginners will be helpful.
I really do love the machine, and it’s something that has so many uses – it’s more than just something to cut paper with. Cricut has really created an amazing system for designing and creating so many different projects. I love it!
Be sure to join our newly-created Cricut support group on Facebook for ideas and inspiration!
This post was originally written December 2016 and had been updated since the Cricut Maker has made it’s debut. All information regarding the Explore Air can be applied to the Maker!
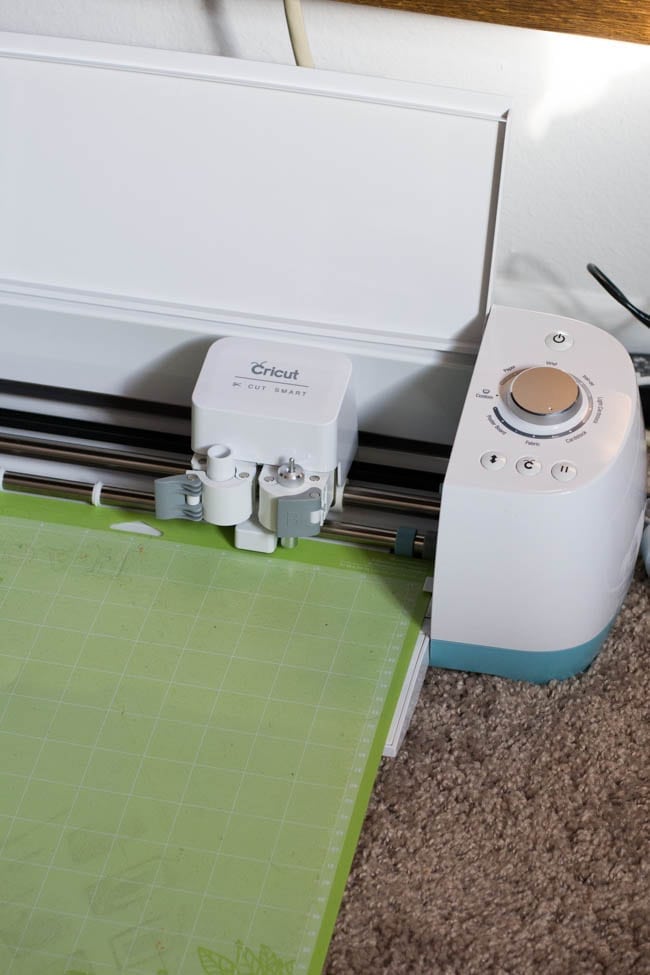
What’s in the Box?
So, what comes in the Cricut Explore Air box (if you are looking for details on the Cricut Maker, click here). Well, that depends. If you check out the Cricut website, they have different packages available, and the more money you pay, the more you get (obviously). However, if you were to buy the most basic option from the Cricut website right now, you will most likely find in your box:
- Cricut Machine
- Storage Bag
- Power and USB Cord
- Blade
- Standard Grip Cutting Mats
- Getting Started Guide
- Silver Pen
- Samples
So, you don’t get a ton of things, but it’s enough to get started. However, I do recommend buying one of the starter sets, as they do include more of accessories that I feel are necessary for success.
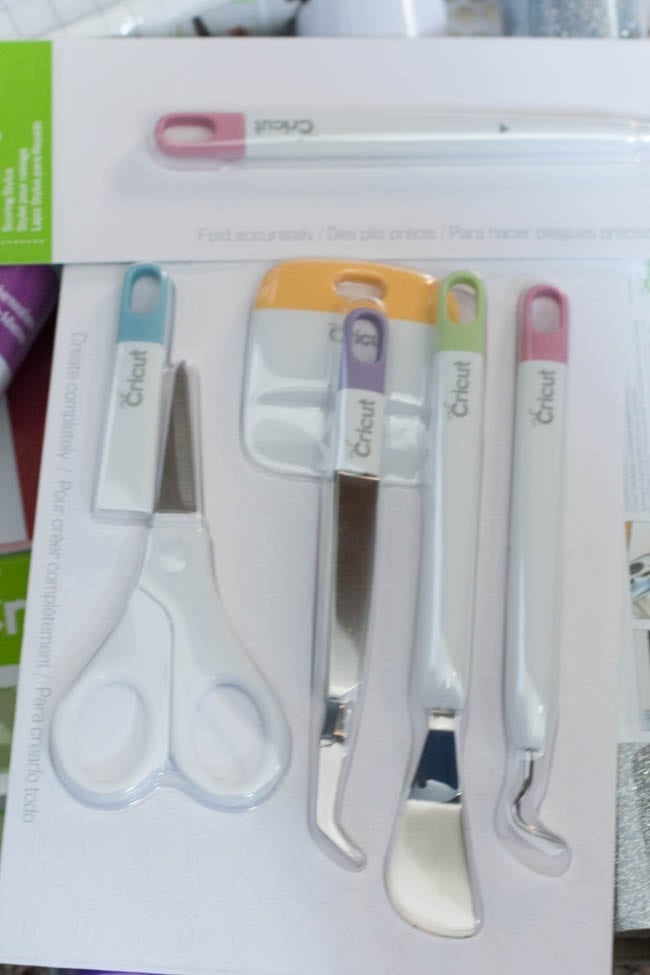
Here are a few items I think everyone should make sure they have when using a Cricut Machine:
- Extra Mats(in different sizes)
- Cricut Tools Craft Basic Set – this includes scissors, scraper, tweezers, and spatula…all of which are VERY helpful (this can be purchased on Cricut or Amazon).
- There are other great tools from Cricut that you can buy here.
- HP Instant Ink Subscription – if you have a qualifying HP printer, this is the BEST thing you can do – you’ll never run out of ink again for your projects, and you’ll save a bundle. You can get your first month free here.
- The Cricut Complete Starter Set is a great option – it has mats, tools, and more!
What Machine Should I get?
If you are reading this, you likely already have a machine – but you may also be trying to decide which one is best for you.
There are a ton of different Cricut machines out there, but the two lines that they still actively update and promote are the Explore Air line and the Cricut Maker.
I am fortunate to own both, and really, they are both amazing machines. There are things I like about the Air more than the Maker, but overall, I like the power and possibilities of the Maker.
I wrote this post – Cricut Maker vs Cricut Explore Air: Which Cricut Machine Should You Buy? which I think will be helpful in determining the best machine for your needs.
Read the instructions
Maybe you all are great at reading instructions, but I am not. I’m the type of person that just jumps into something without reading all the information first.
Sometimes it works, other times, not so much.
I did that with the Cricut Explore Air when I first got it, and let’s just say, I struggled.
So, save yourself some time and frustration and read EVERYTHING that comes with your machine.
I go over a lot of information in this post, but if you are still needing some help, Craftsy has some excellent Cricut-related courses – including Craft and Create with your Cricut Explore! They may be worth taking.
Cricut Mat Care
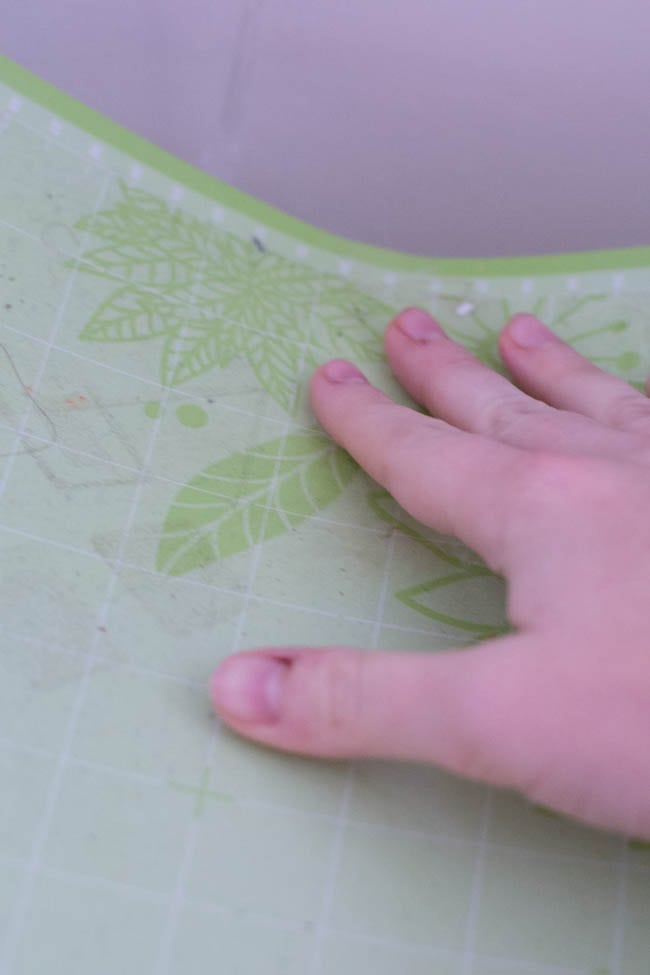
The cutting mat is essential to success with the Cricut machine. You really need it to make sure you get a cut on just about all the materials you will use.
Without proper care, they can get messed up pretty quickly. I’ll talk about this more later but you should ALWAYS make sure you do a test cut. I’ve ruined a mat because I had the cut setting too high.
Beyond that, one tip I learned is to wipe it down with non-alcoholic baby wipes (water wipes would be perfect) after each cut. This can help keep it cleaner, stay sticky for longer, and just increase the longevity of it.
You can use a paper clip to pick up tiny pieces of leftovers that are hard to get, as well as a lint roller.
If you are hoping to make your mat sticky again, here are two pieces of advice:
-
- Good ol’ soap and water: This really does seem to work! My mat was starting to feel a little less sticky, so I just gave it a good cleaning with soap and water, and it seemed to revive itself.
- Krylon Repositionable Adhesive: I have not actually used this, but I’ve heard that it can help make a mat sticky again.
If you are using the pink FabricGrip mats, here is a tutorial that I did on how to clean it
What Cricut Mat Should I Use?
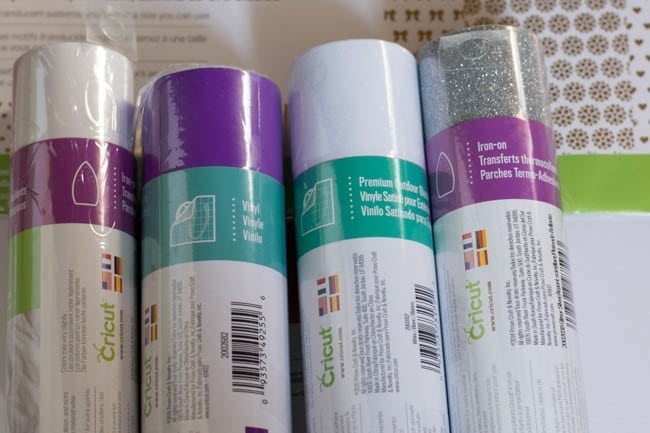
There are currently four different Cricut Mats:
The pink mat is specifically designed for the Cricut Maker and is to be used with fabric. The blue is for materials that stick rather easily and won’t slide around. The purple is for thicker materials that have a harder time staying put (such as balsa wood, chipboard, etc.) In general, my rule of them is this – the thicker the material, the stronger the grip.
What Materials Does The Cricut Explore Air Cut?
The Cricut cuts SO many things – the sky is really the limit. The first thing that probably comes to mind is vinyl – which is definitely a big one (and there are TONS of different kinds of vinyl as well). However, that’s just barely scraping the surface. There are over 100 different materials you can use, but here are some of the top materials listed on the Cricut website:
- Paper – Standard, Cardstock, Vellum, Poster Board
- Vinyl – Standard, Premium, Dry Erase, Chalkboard
- Iron-On – Heat-Transfer Vinyl (HTV)
- Craft Materials – Washi Tape, Craft Foam, Glitter Paper
- Upcycled Materials – Chipboard, Cereal Boxes, Aluminum Cans
- Fabric – Felt, Denim, Polyester, Burlap, Canvas
- Plastic – Stencil, Window Acetate, Silicone
- Thick Materials – Leather, Balsa Wood, Magnet Materials (check out this tutorial on how to cut wood with your Cricut machine)
You can purchase many Cricut-compatible cutting materials straight from their website. You can use things that aren’t Cricut branded, but I always know that if I use something from the site, it will definitely work.
Make sure that you read our post on 50+ Unique Cricut Projects to find out all the different ways you can use your machine!
Test cut
Always, always do a test cut. I’ll be the first to admit that sometimes I’m lazy in this, and I almost always regret it when I see my material isn’t being cut all the way through.
It takes just a few seconds for a test cut to be done, and it can help to ensure that you won’t have to do extra cuts or that the pressure of the cut is so much that it will cut into the mat.
Cutting with fabrics
I’ve found cutting with fabrics to be somewhat tricky – there’s some trial in error involved. For instance, for Oliver’s birthday, I made him a shirt with fabric that I cut from the machine. It worked pretty well.
However, I tried to cut some flannel the other day, and it was a disaster. It was pulling all over the place, and it cut fine in some areas but horribly in the others.
I’ve found that the secret is to use something like heat and bond to make the fabric a little thicker. If you aren’t going to be bonding it to something, you can at least attach it to some interfacing.
The flannel, I had chosen to use a spray adhesive, but I wish I had just used Heat’nBond I feel that it would have made it a stiffer surface, and it wouldn’t have gotten pulled around as much. Test cuts are super important when cutting with fabric!
UPDATE: The Cricut Maker cuts fabric BEAUTIFULLY – make sure you check out our post about the Cricut Maker and Fabric for more details
Drawing
One of the fun features of a Cricut machine is that you can draw with it – this can be fun for signs, cards, etc.
Cricut has their own markers that work well with the machine, so I do recommend picking up a set of those. However, don’t feel like you can’t use anything else. Anything else that will fit can work. Sharpies are a popular option.
Be sure to read this post on how to write with Cricut Explore Air to get you started!
How to clean your machine
As with any kind of machine, it’s crucial that you clean it to keep it working in tip top condition. This a great video that shows you how to clean your machine:
Non-alcoholic Baby wipes are a great option for cleaning both the machine and the wipes
Double check your settings
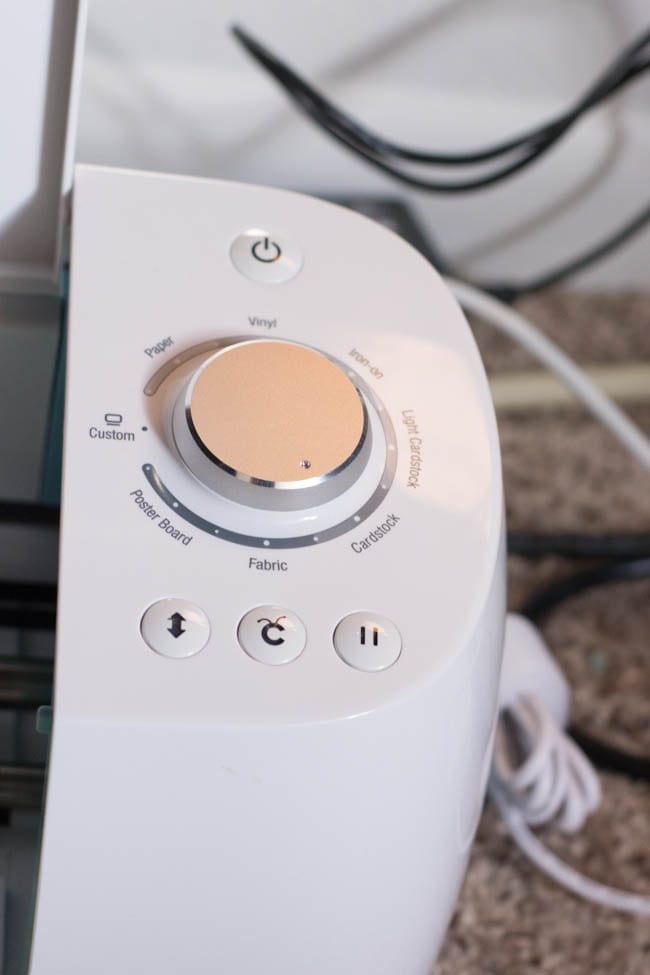
Always make sure you have your machine set to cut the right kind of material! You can do this by changing the knob on the machine, or you can do it manually within the Cricut software.
Within the Cricut Design Space software, it will give you settings for TONS of different cutting materials – far more than are on the knob on the machine. It gets pretty specific with the material. I also like that you can adjust the settings in there, just in case the machine isn’t cutting the material exactly the way you want it to. a
Keeping blades sharp
Blades will dull overtime – and it’s usually a slow transition. I remember when I finally replaced my blade on my old machine, and I didn’t realize how bad it had gotten.
I recommend having different blades for different kinds of materials that you cut frequently – so one that is only for fabric, one for vinyl, etc. Then you could have another blade for materials that you don’t use as frequently. Here are the different blades that are available:
You should also clean out the housing for the blade after each use. This can get gunky very easily. I’ve found that using compressed air is pretty easy to use.
Transfer paper
Transfer Paper is essential for many projects – specifically for use with vinyl. However, you can use transfer paper more than once – so make sure you don’t throw it out!
Make sure you cut the transfer paper down to the size you need to eliminate excess waste. If you don’t want to pay for the Cricut Transfer Paper, you can actually just use regular ol’ contact paper. It might save you a few bucks!
Vinyl Tips and Where to Find Vinyl
I think when people think of cutting machines like Cricut, they think of vinyl. I know that’s the first thing that comes to mind for me! So, I figure it’s worth mentioning a few tips for cutting with vinyl.
First off, it’s important to understand that there are MANY different kinds of vinyl – interior, exterior, heat transfer, matte, gloss, glittered…SO many. It’s important to look at what kind you are using in order to cut it correctly. For instance, when I first started using heat transfer vinyl, it took me FOREVER to figure out what side was supposed to be cut (haha, pathetic, I know!).
When you are getting ready to cut the vinyl, make sure you line it up with the edge of the mat and fills the entire mat. I always have issues when I try to cut out the exact size and place it in the exact right spot on the mat. Just fill up the whole space!
Once the vinyl is cut, I recommend cutting away excess vinyl before you remove it from the mat. If you don’t do this, you risk pulling up vinyl that hasn’t been cut.
When you do the transfer to the transfer paper, it’s easiest to do this while it’s still on the mat.
Start simple – vinyl does have a learning curve, and it can be easy to become frustrated with.
You can find vinyl a lot of different places. I bought a huge pack of vinyl from Amazon for cheap, and while it did the job, I didn’t feel like it was the highest quality. I really love using the Vinyl straight from the Cricut website or from Expressions Vinyl.
Be careful with the fonts you use. I feel like using thicker fonts makes for an easier time transferring and you don’t risk breaking the design as much. Pretty much any font you buy directly from Cricut is a great option.
Here is a tutorial I’ve done on using Iron on Vinyl (read more details here):
Cricut Design Space
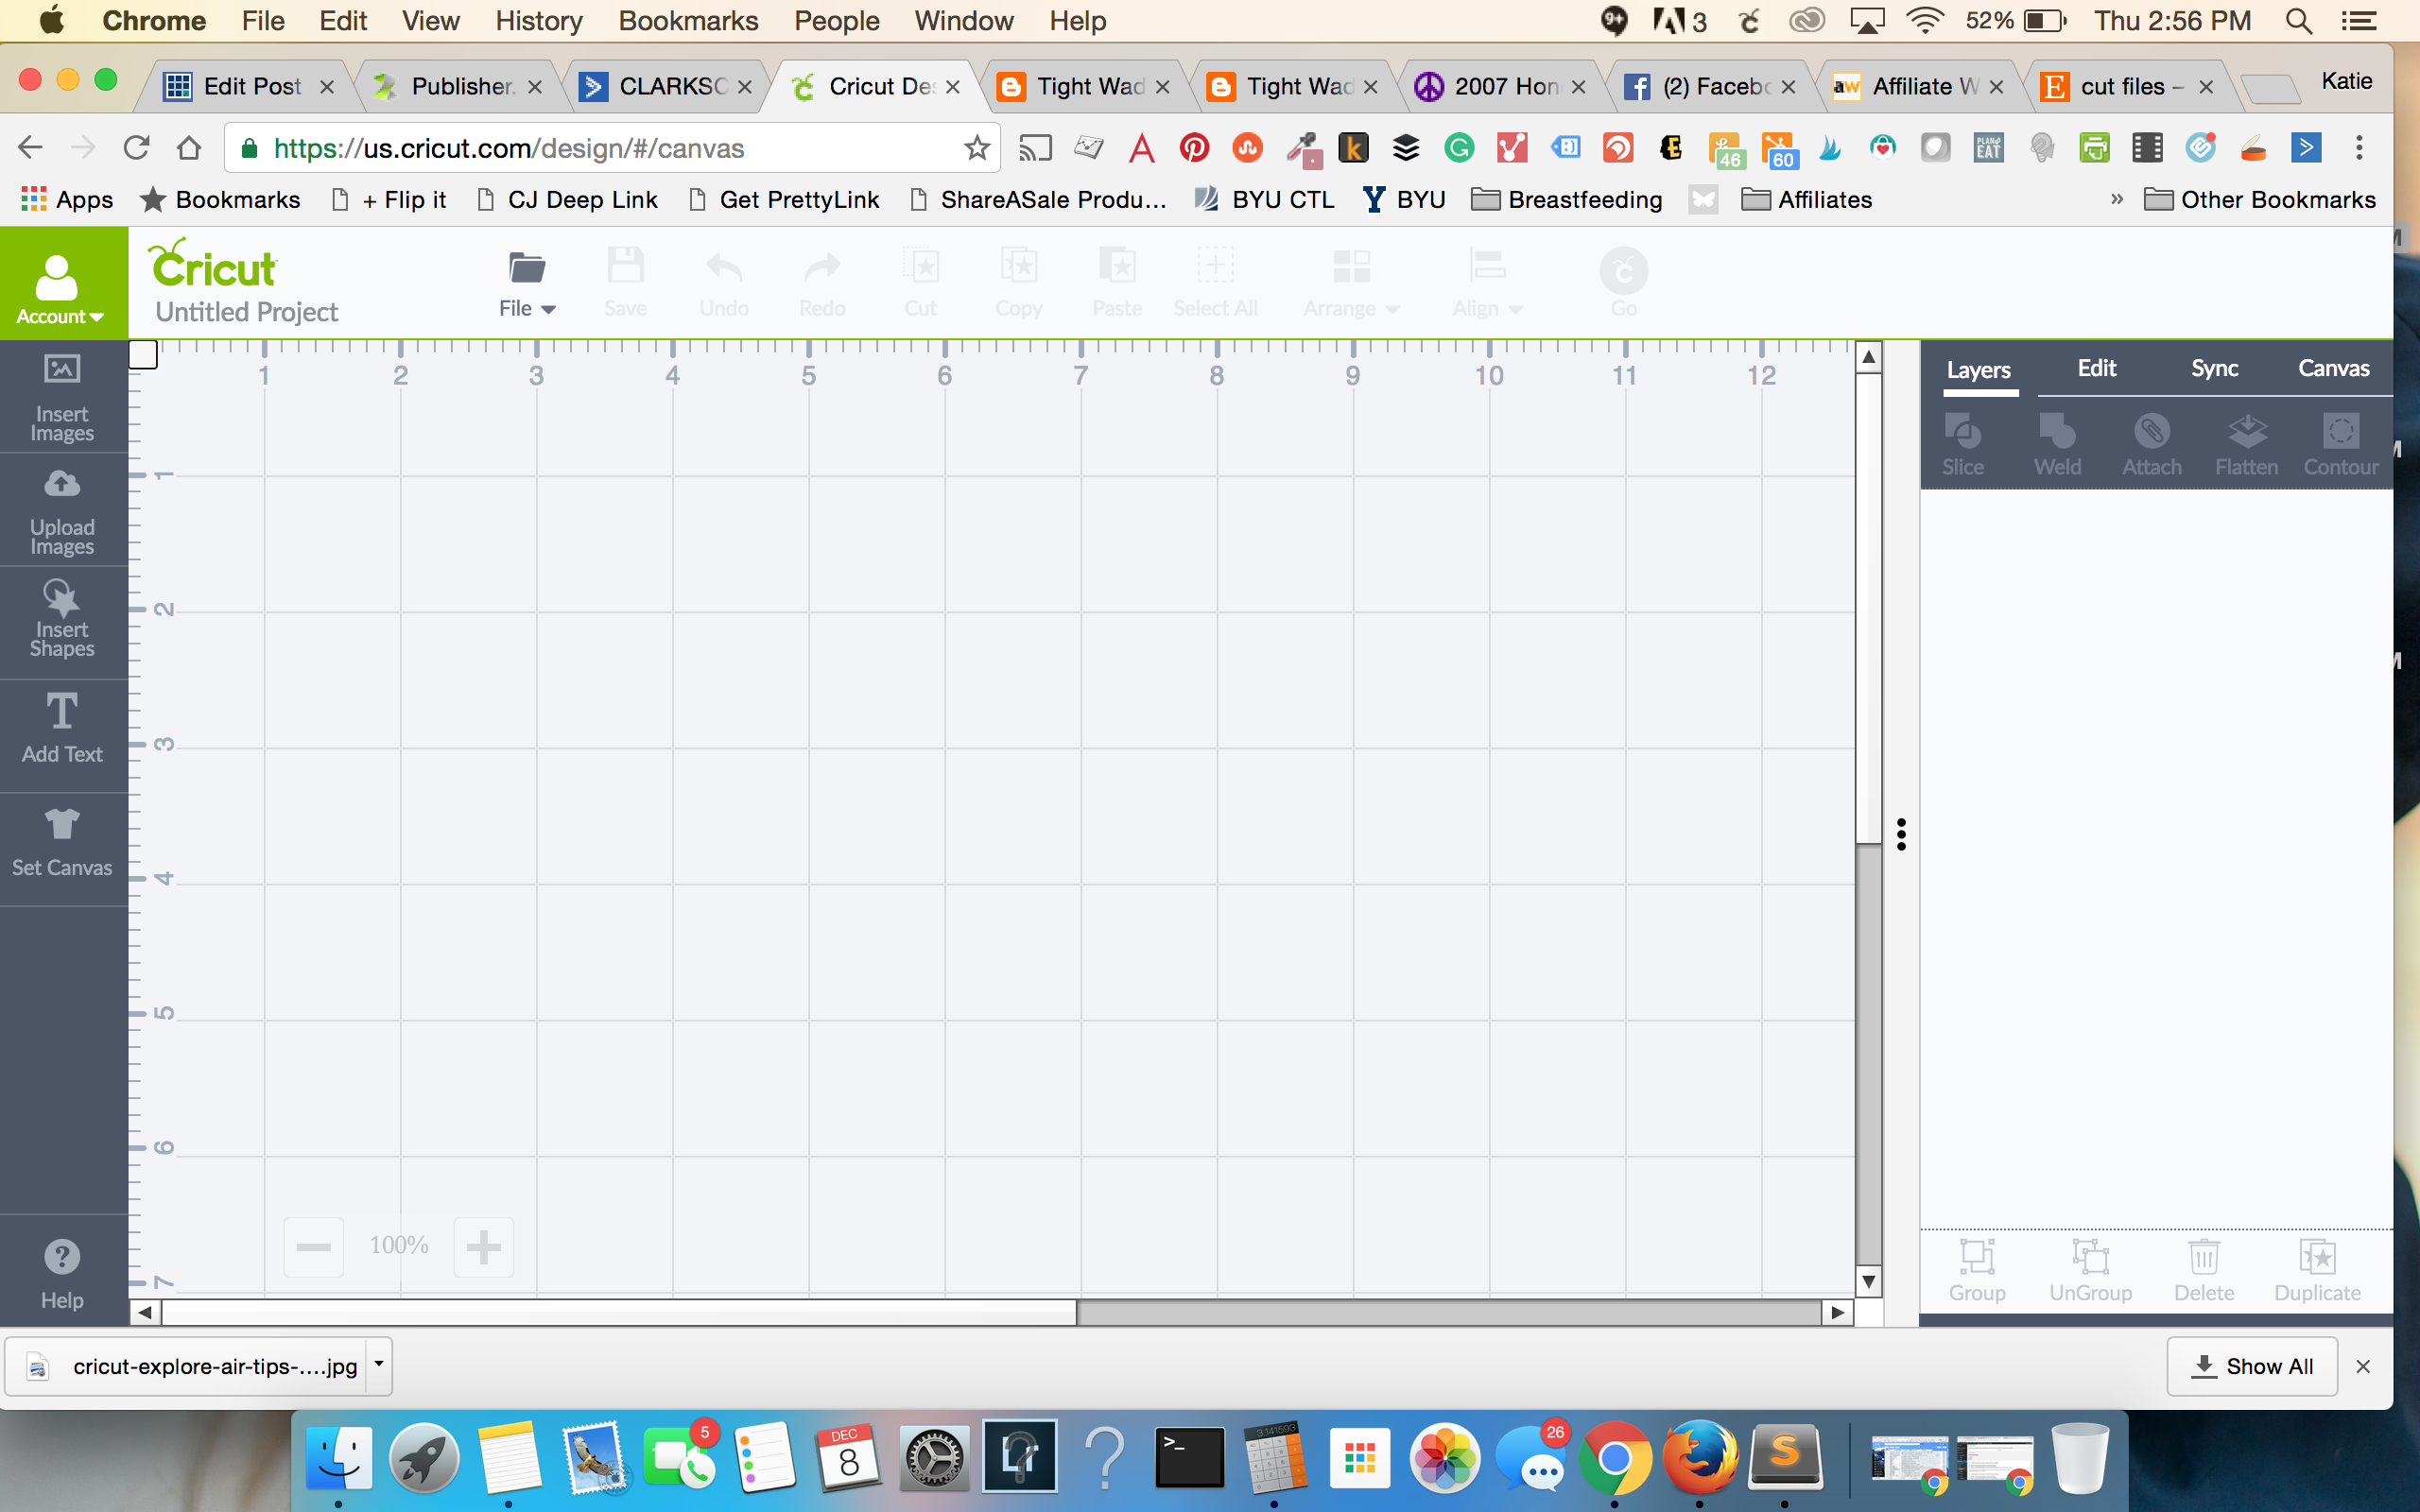
This is where all the magic happens. Cricut Design Space is available to use through their web-based program or through a mobile app. You do need Internet access to use it, but it’s where you’ll create all your designs.
You can come up with your own designs, or you can use pre-designed templates. I love that you can use the mobile app anywhere – it’s so convenient when you are laying in bed or sitting in the car.
I recommend signing in and getting to know the system first before you get started. There is a learning curve, but I don’t feel like it’s too difficult to pick up fairly quickly. Here is a screen shot of the screen on the web platform:
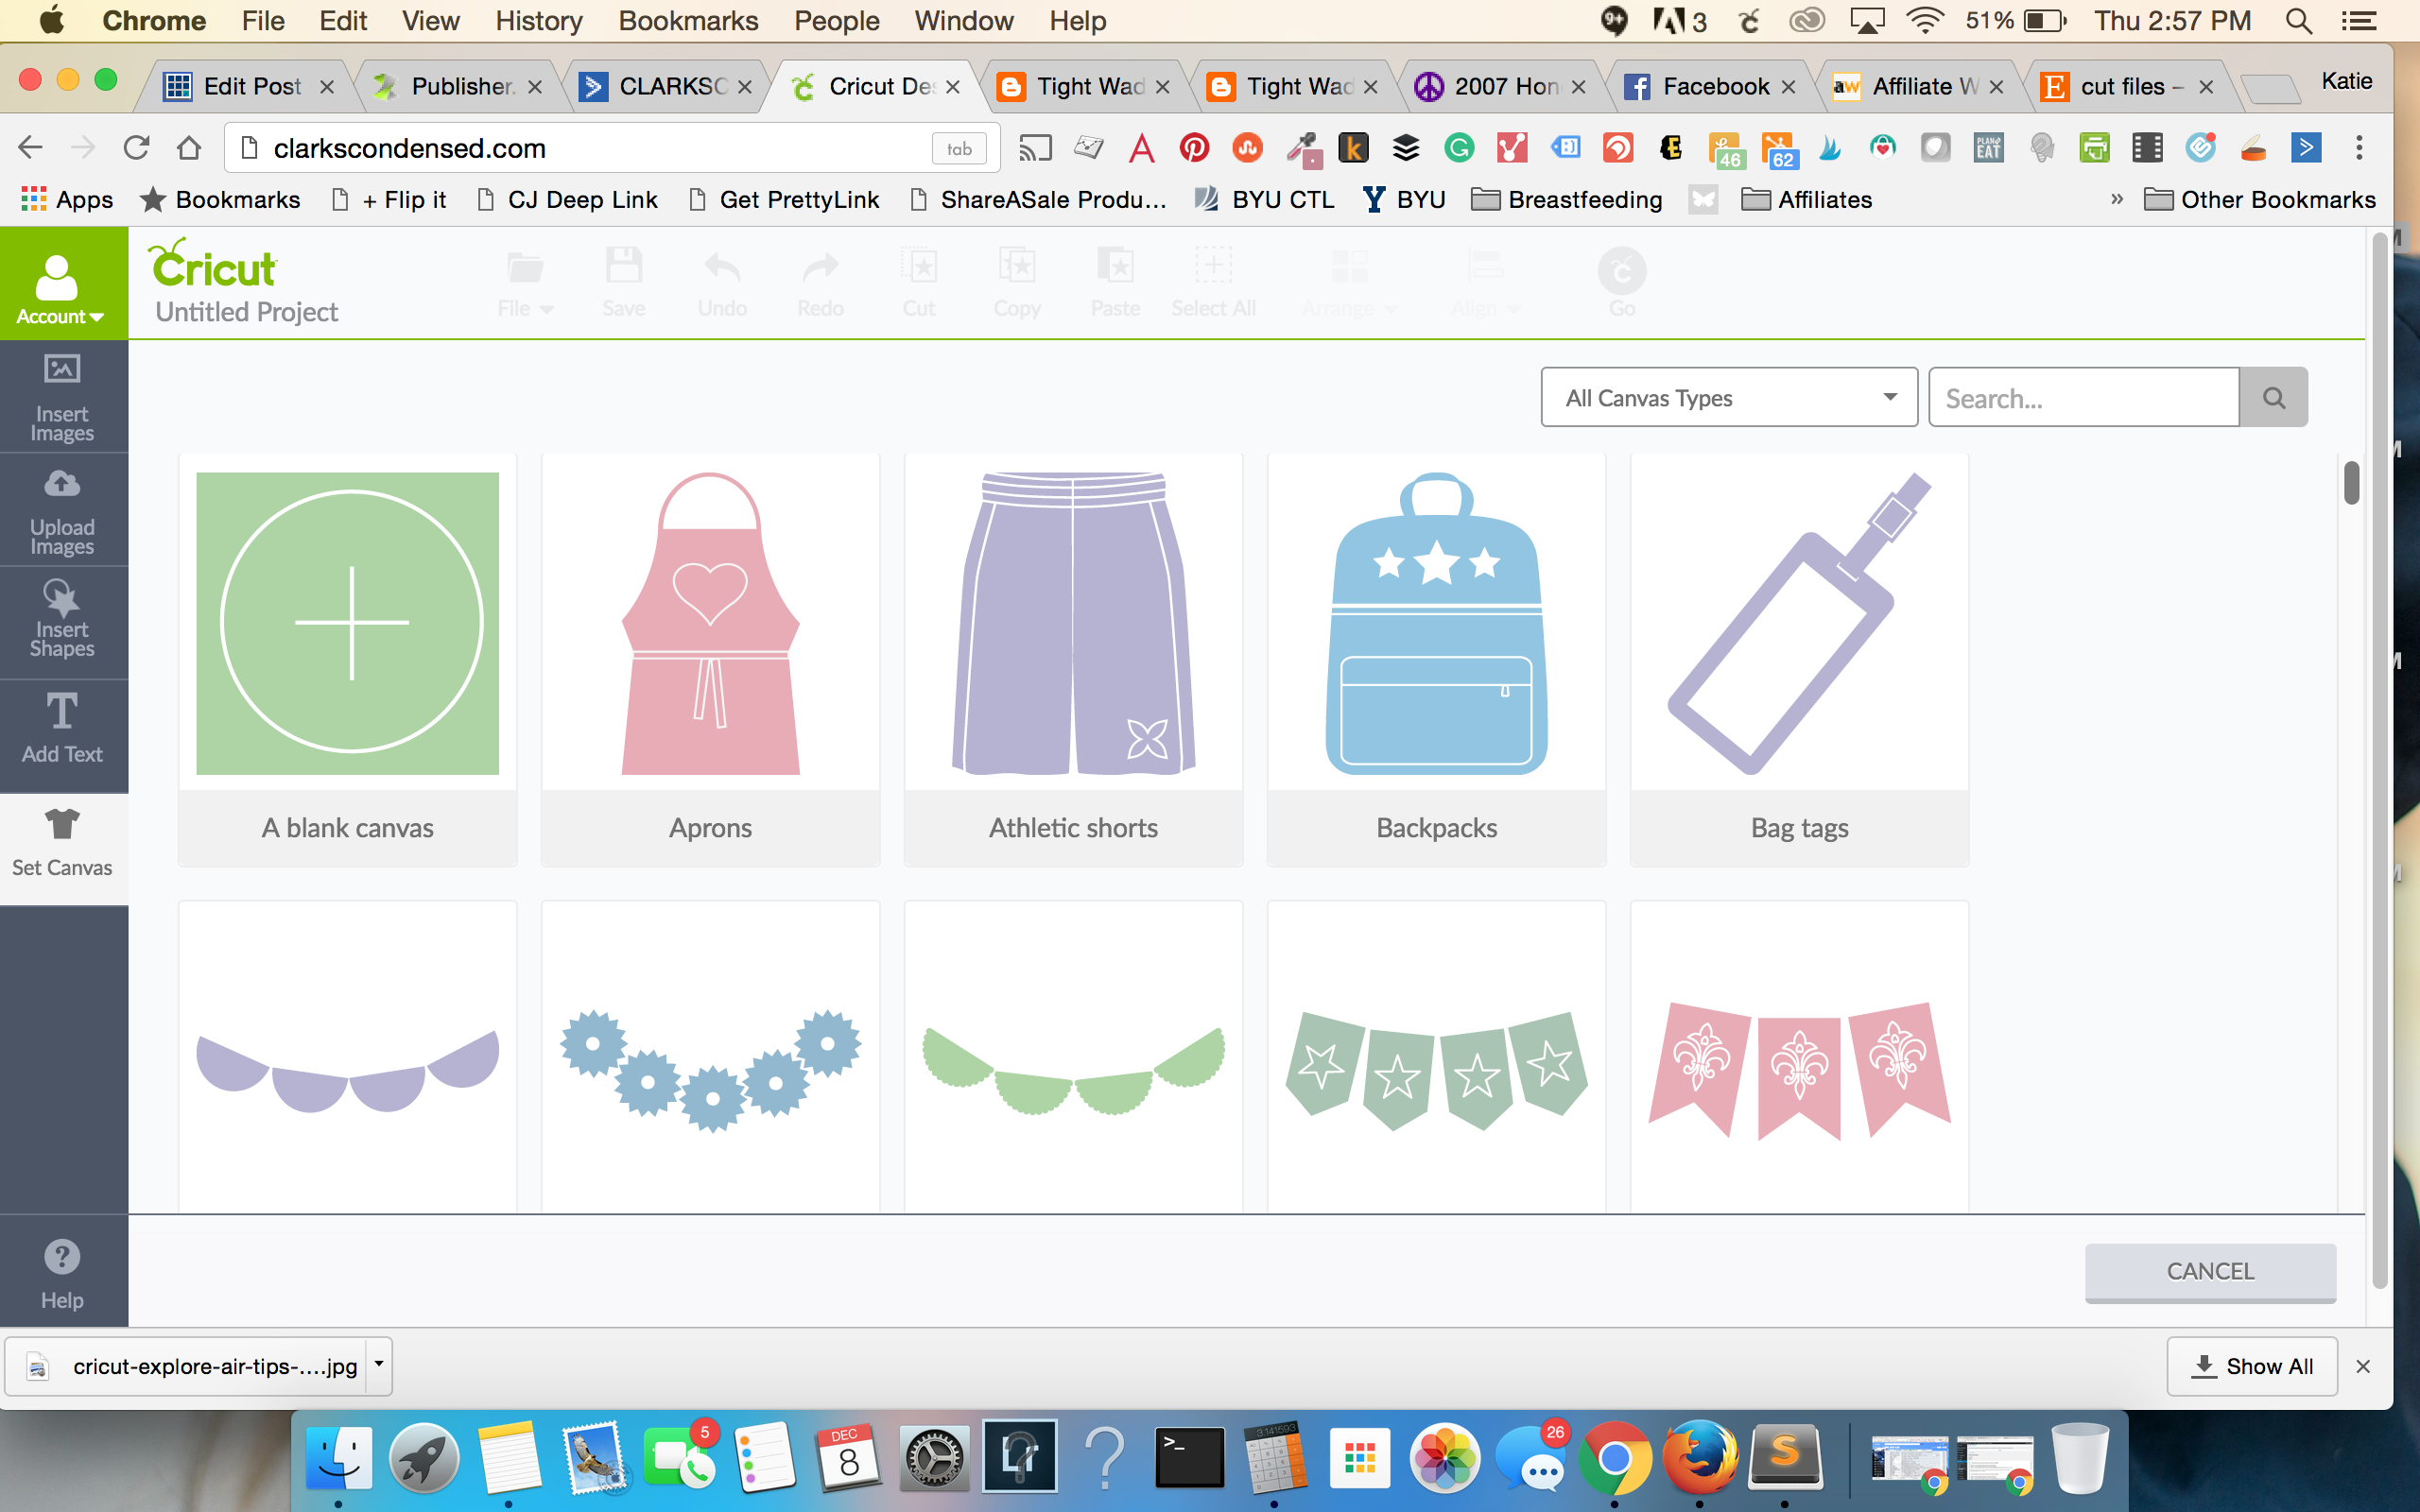
Set Canvas in Cricut Design Space
This is one of my favorite features of Design Space – it has tons of templates for SO many different projects. You just select the project, and then it overlays it in your design screen so you can make sure you get the sizing correctly. For instance, when I made Oliver’s birthday onesie, I went under pajamas, and it pulled up a onesie so I could design right over the top of it. It’s very helpful for visual learners.
If you are a serious Cricut user and you want to have access to their entire library or images and fonts, I think that this is well-worth the investment. They have several different plans ranging from $4.99-$9.99. You can find out which Cricut Access Plan is right for you in this post!
You get access to over 30,000 images, 370 fonts, thousands of project ideas, and you get 10% off all purchases from Cricut.com.
Your Own Images and Fonts
You can use your own images and fonts in Cricut Design Space. To use your own font, just install a font that you’ve purchased or downloaded online to your computer. Restart Design Space, and it should show up in your fonts.
With images, on the left side of the Design Space platform, there is an option that says “Upload Images.” You use this to upload the image that you want to cut – super easy. You can upload most .jpg, .bmp, .png, .gif, .svg, and .dxf files and convert them into cuttable files. Etsy has lots of really great cut files that are inexpensive and great for any occasions!
I recommend Fotor as a great place to create your own designs. They have a free and paid account, and they are both great resources!
You can check out this post on how to uploade images to Cricut Design Space for more help!
This is one of my favorite things that Cricut does! Each month, they create a “mystery box” of products – it’s usually $29.99 to 39.99, and it’s filled with supplies and cartridges that are valued well beyond that. If you are someone who just loves to create and you aren’t looking for specific materials, this is a great value. It makes for a great gift, too!.
This is a sponsored conversation written by me on behalf of Cricut. The opinions and text are all mine.
Original article and pictures take www.clarkscondensed.com site
Комментариев нет:
Отправить комментарий