steps
-
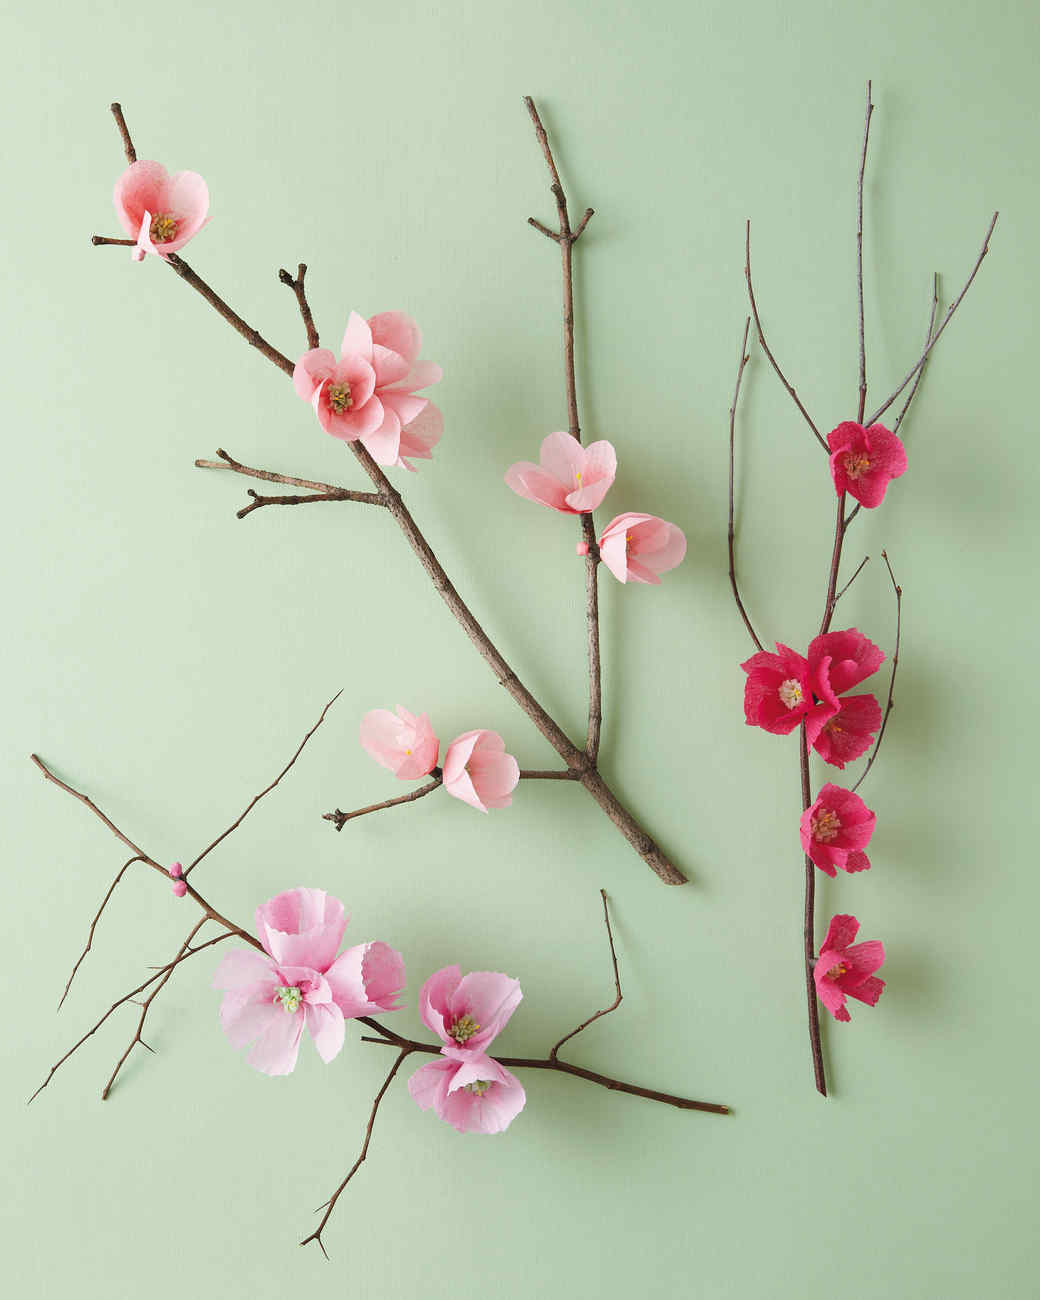
For the bud balls, cut two 1-by-1-inch and two 2-by-2-inch squares from the raspberry, salmon, or fuchsia tissue paper. Crumple one of the smaller pieces of tissue into a ball and wrap it with a larger piece of tissue. Hold the ball in one hand while wrapping the floral tape around the base with the other. Repeat to make the second bud ball.
-
For the centers, fold the green strip of tissue paper in half lengthwise and cut a ½-inch fringe along the folded edge. Cut the fringed strip into five 2-inch pieces. Fold a double-headed yellow stamen filament in half. Tack it together with a ½-inch piece of floral tape. Wrap the green fringe around the stamen, positioning the fringe so that the stamen extends ½ inch above it. Secure with floral tape. Repeat to make 5 centers.
-
Shape petals: Add a dart to each petal. The 3-point fold for the dart should extend from the bottom of the petal to ½ inch from the top. The base of the dart should measure about ¼ inch across and taper to a point. Repeat with the remaining petals. Gently pinch the base of each petal to give it a cupped appearance.
-
Assemble blooms: Each cherry bloom is composed of 5 petals. Attach the bottom end of a petal to a center with floral tape, wrapping and winding the tape down and around the center, about 1 inch beyond the base. Place the next petal alongside the first, overlapping their edges by ¼ inch, and wrap the base with tape. Repeat with the last 3 petals. Fluff and open the bloom, adjusting the petals as needed. Repeat to make 5 blooms.
Original article and pictures take www.marthastewart.com site
Комментариев нет:
Отправить комментарий