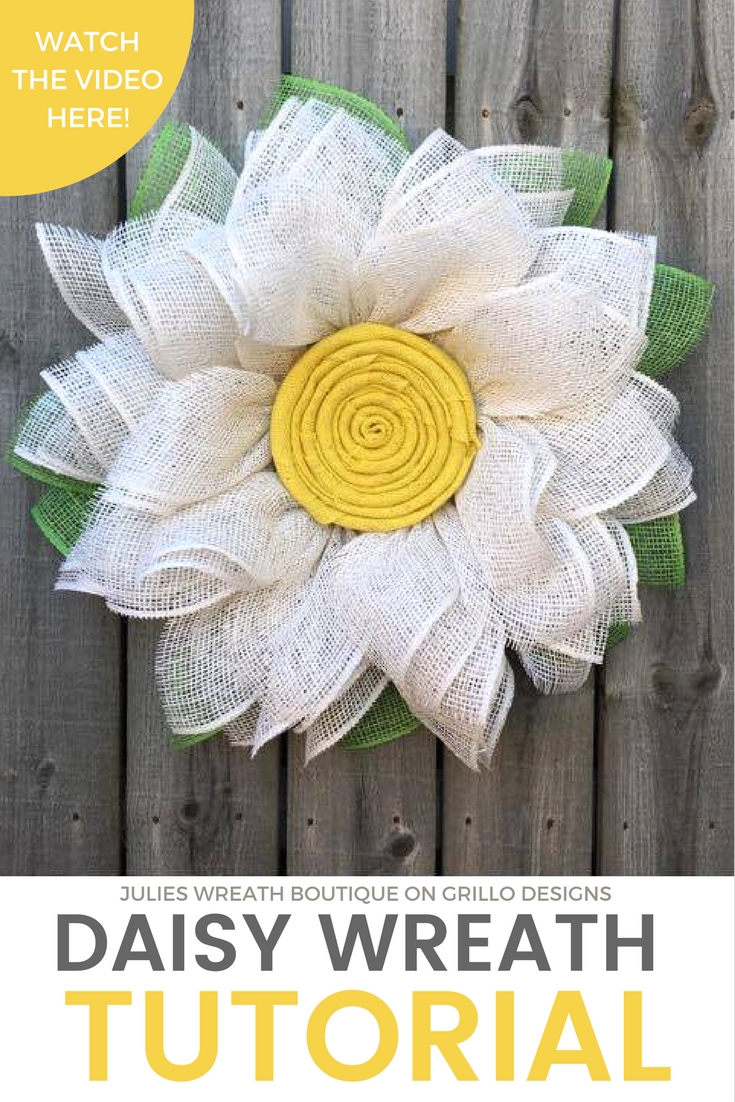
A Burlap Daisy Wreath Tutorial – Perfect For Spring!
A Burlap Daisy Wreath Tutorial – Perfect For Spring!
Learn how to make this one of a kind burlap daisy wreath for your front door this spring (or summer)! Get all the DIY details, including a video tutorial below.
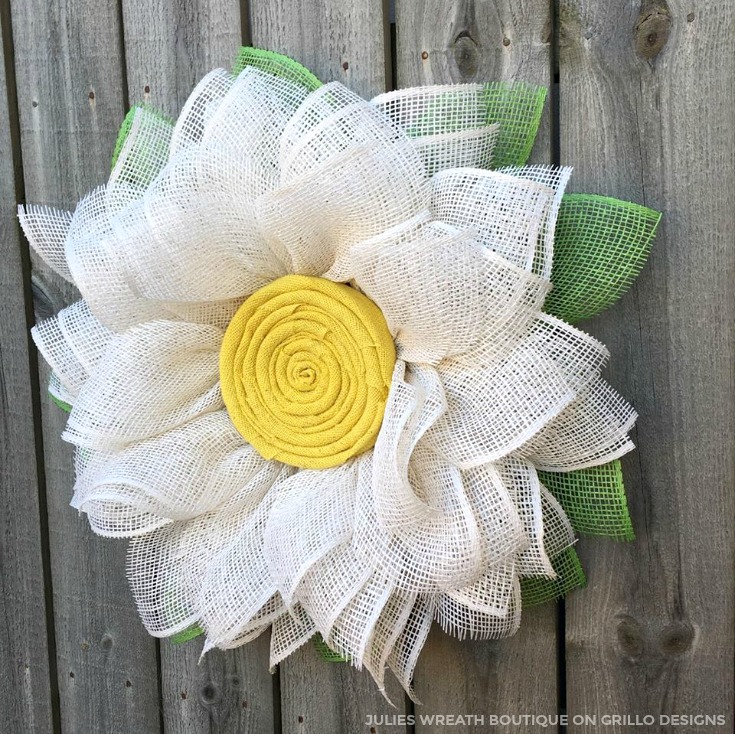
Handmade spring burlap daisy wreath. Full step by step tutorial by Julies Wreath Boutique
Hi Everyone! It’s Julie from Julies Wreath Boutique. I’m back again with another fun wreath tutorial! This time I’m going to be showing you how to make a daisy flower wreath from poly burlap for your front door.
Side view of poly burlap wreath. Learn how to make this handmade flower wreath here
If you missed my previous wreath tutorials – CLICK HERE TO SEE THEM ALL. Right, lets get started! If anything doesn’t make sense, please leave me your questions in the comment section below.
MATERIAL NEEDED TO MAKE A DAISY WREATH
Materials needed to make a daisy wreath include poly burlap, wreath frame, chenille stems, rotary mat and cutter
This post contains affiliates for your crafting convenience, see full disclosure here
1 – roll of 10 inch white poly burlap (or whatever color you want for the base of the flower)
1 round 10 inch felt circle to cover the back of your wreath
NOW HERE’S HOW YOU MAKE A BURLAP DAISY WREATH…. DON’T FORGET TO CLICK OVER TO PAGE 2 FOR THE VIDEO TUTORIAL
STEP ONE: First you will cut 5 pieces of green poly burlap at 11.5 inches long
Daisy wreath tutorial step one: Cut poly burlap with your rotary cutter
It’s important when cuting your poly burlap that you take your time and cut between the squares of the burlap weave to reduce the amount of fraying you may occur while assembling your wreath STEP TWO: Lay your cut burlap with the curled edges facing up take two opposite corners, fold them inward, and then gather in the middle until you form a bow tie looking leaf
Daisy wreath tutorial step two: Fold the corner of your poly burlap Make a bowtie with the poly burlap fabric to make the leaves for you daisy wreath
STEP THREE: Flip the ‘bow tie’ over and attach to the outside layer of the frame of your wreath frame, they should all attach where the crossbar meet.
daisy wreath tutorial step two: attach the chenille stems to the wreath frame
Once all your green leaves are attached it should look like this
These will be the leaves of your daisy wreath
STEP FOUR: Now cut 30 pieces of the white burlap into 10 inch pieces. Use the flatter pieces on the outside of the wreath and the curlier pieces towards the inside to give more definition to your petals.
Daisy wreath tutorial step three: Attach the while poly burlap to make daisy petalsAttach all your green leaves to make the daisy wreath
CLICK ON THE ARROW TO SEE PART 2 AND WATCH THE VIDEO TUTORIAL!
STEP FIVE: You will do the same method as the leaves but now you will put two petals on top of the green leaves and then twist your chenille stem tightly. Fold it underneath the wreath frame and twist to secure your petals.
daisy wreath tutorial step give : use chenille stem to attach daisy leaves and petals
STEP SIX: Stagger your petals in between the outer rim petals stacking two petals on top of each other.
Daisy wreath tutorial step six : Stagger your petals
The last set of petals will be attached to the inside of the wreath form where the brackets meet on the wire wreath frame. Make sure to attach 2 petals for each space.
Almost completed poly burlap daisy wreath
STEP SEVEN: To prepare for the middle of the daisy wreath you will need to cut your jute burlap into 16 inch by 11 inch rectangles. I’ve made a video to show you how I put the Daisy swirl together below:
STEP EIGHT: After you have attached your center onto the daisy wreath you can attach your felt circle with 3 inch zip ties all around the back of your wreath. This will protect your door or wall when you hang your wreath.
Cover the back of the daisy wreath with felt to protect
Beautiful jute burlap fabric center of the daisy wreath
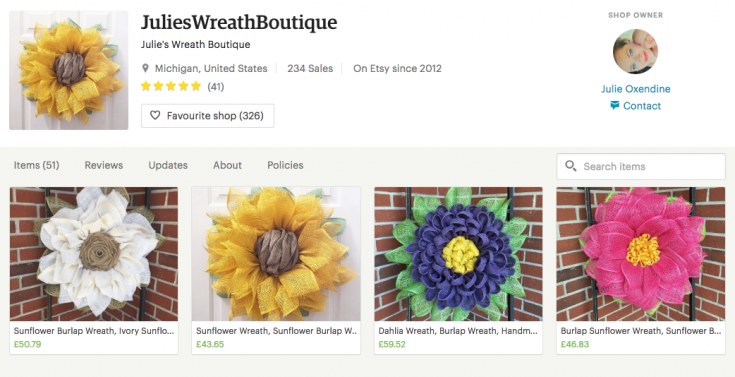
CAN I PURCHASE THIS DAISY WREATH?
YES! You can visit my Etsy store to PURCHASE this wreath! You can also find me on my Facebook page HERE . I hope you enjoy your wreath!
Buy a handmade daisy wreath from Julies Wreath Boutique
Leave me a comment below if you have any questions!
-Julie Oxendine
THIS BLOG HAS RECENTLY BEEN VOTED FOR BEST HOME AND DIY BLOG – I would love if you could spare a moment to vote for me here! Thank you – Medina Grillo
Burlap Daisy Wreath Tutorial - Learn how to make this one of a kind daisy wreath for your front door this spring! Click here for the full video tutorial
Browse some of the other awesome wreath tutorials on this blog!
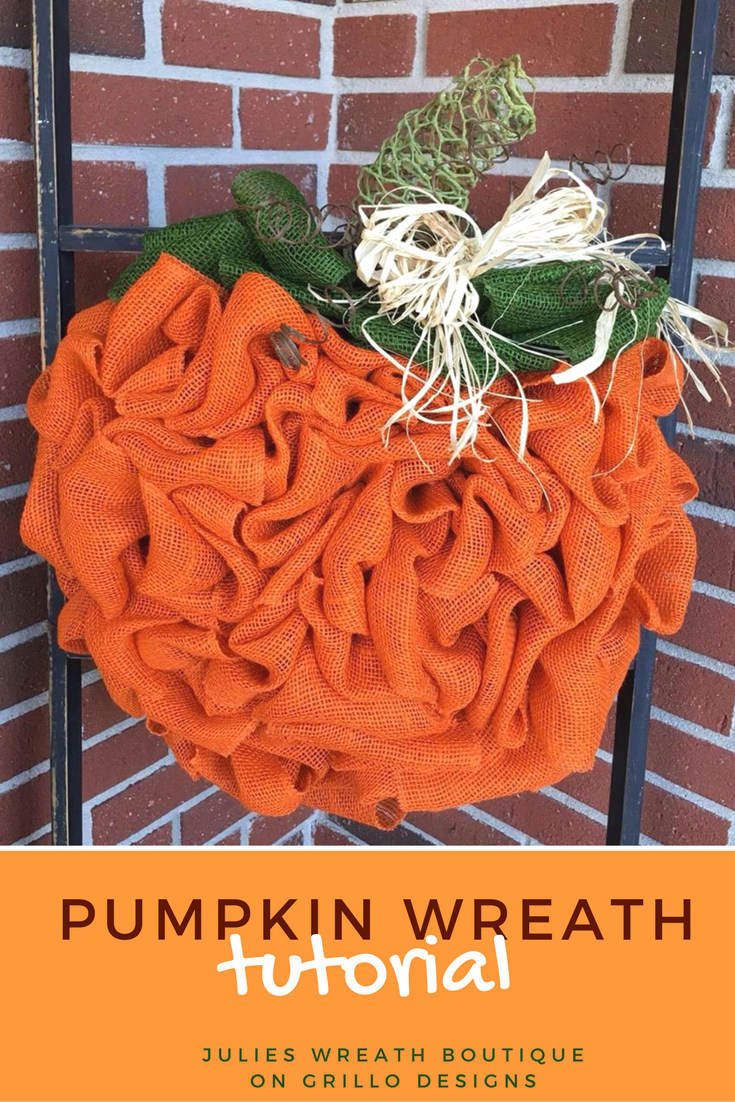
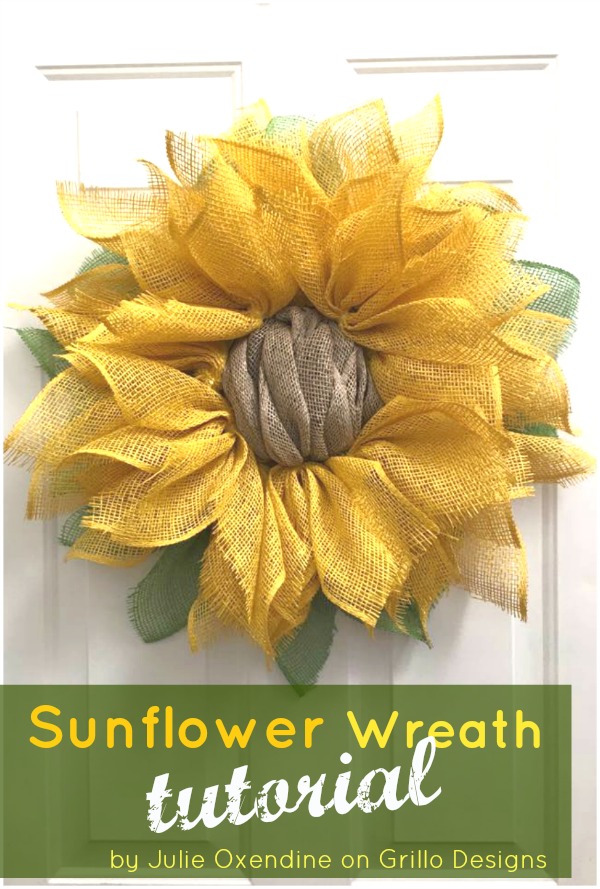
how to make a deco mesh flower wreath how to make a burlap horse head wreath DIY PETAL PUMPKIN WREATH Ever wondered how to make a DIY pumpkin wreath? This tutorial by Julie Oxendine will show you step by step how to make the perfect pumpkin wreath for Fall How to make a burlap sunflower wreath Original article and pictures take grillo-designs.com site


Комментариев нет:
Отправить комментарий