
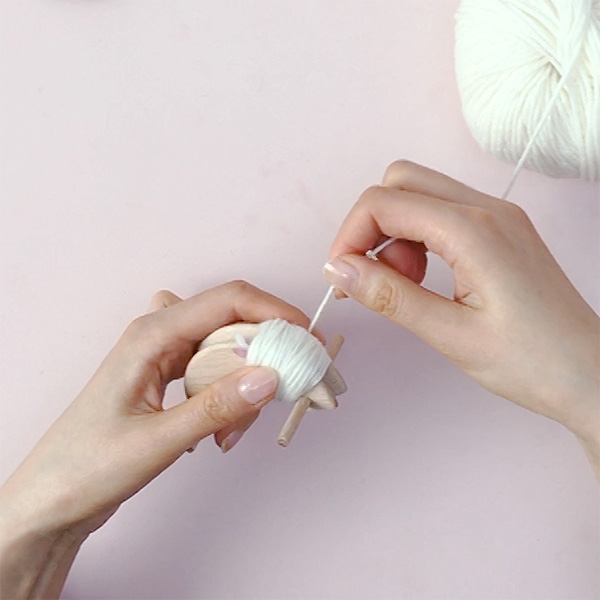
Pom Maker
Scissors – ideally one large and strong pair of fabric scissors for cutting the pompom and one small and sharp pair for some precise trimming (optional)
felting needle to make the ears
waxed linen thread (optional)
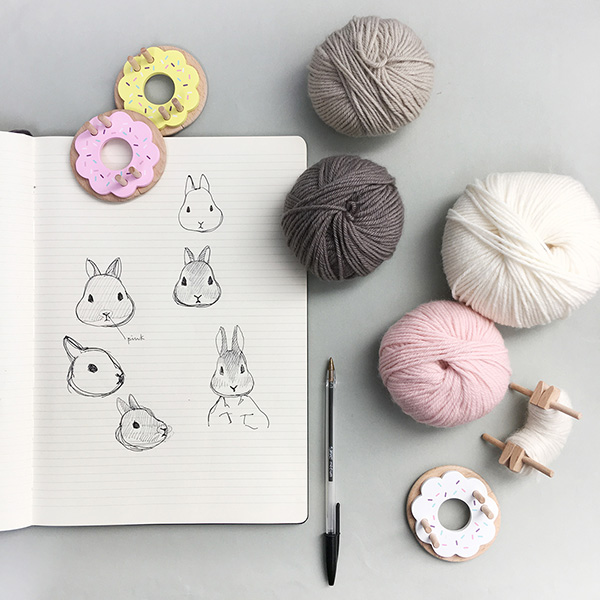
Yarn Colors
Some white and a very small amount of pink for the nose
A little bit of black for the eyes
Sufficient amount of your favorite bunny color – light grey, light brown, camel colors all work well. (Tip – If you want to use a dark color, you may want to wrap some additional lighter color to create a patch around the eyes to make the eyes visible.)
A little bit of light pink for the insides of the ears
Choose nice and soft yarn, such as wool and alpaca or merino blends for the softest cuddly bunnies. DK or Aran weights work well. If you use DK, simply wrap a tiny bit more in each step to match the volume of Aran.

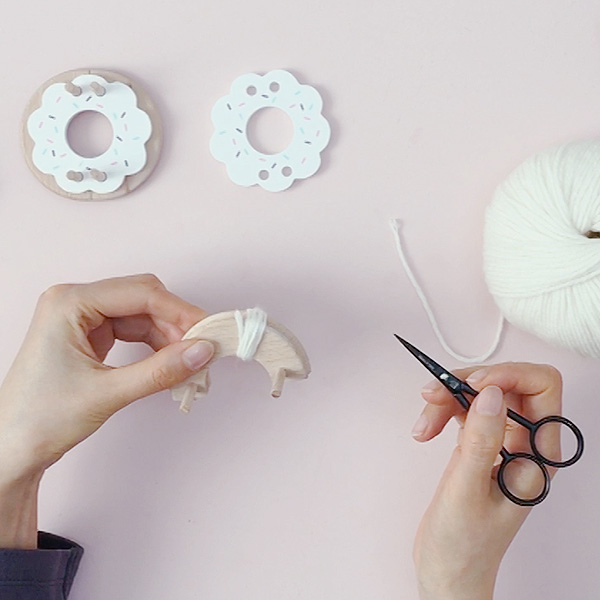
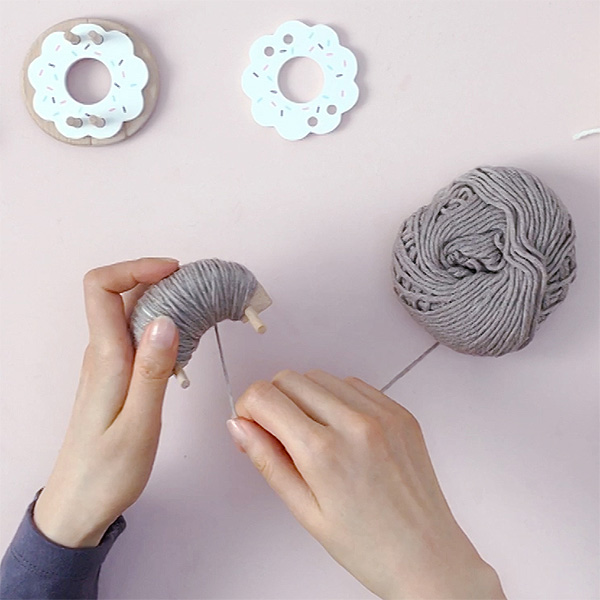


Add more yarn all over to cover the eyes and until your Pom Maker is full…
Except – you need to leave just a little room at the top of the head to add more yarn for the ears in the next step.
Pom Maker can take a lot of yarn. The fuller you make your wraps, the plumper and denser your pompoms are going to be.
Experiment with your Pom Maker to see how much yarn you can wrap!
With a single color yarn, it’s easy to count and we have tried wrapping over 400 counts on each half with Aran yarn! Needless to say the pompom was very very plump!
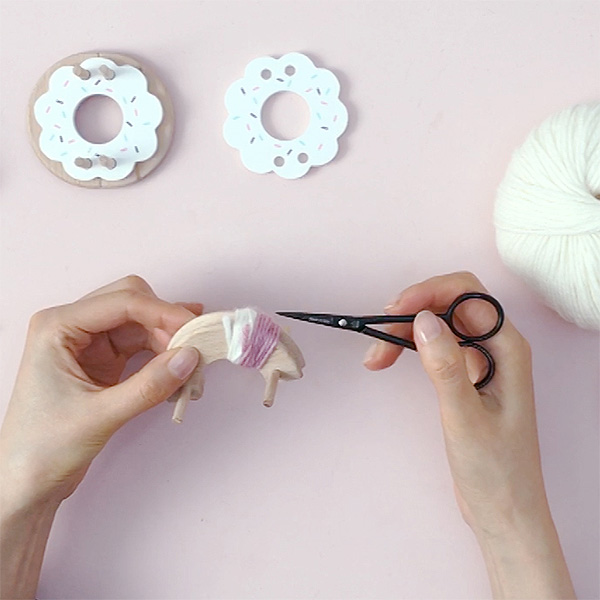
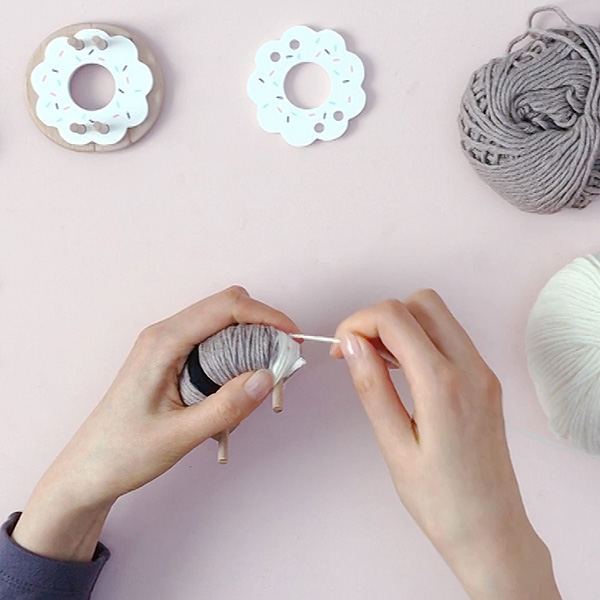
Place your index finger over the head end.
Wrap about 10-12 counts of longer loops in the same color as your bunny. The longer the loop is, the longer the ears will be.
The video shows quite short ears. Try longer ears or even droopy ears if you like.
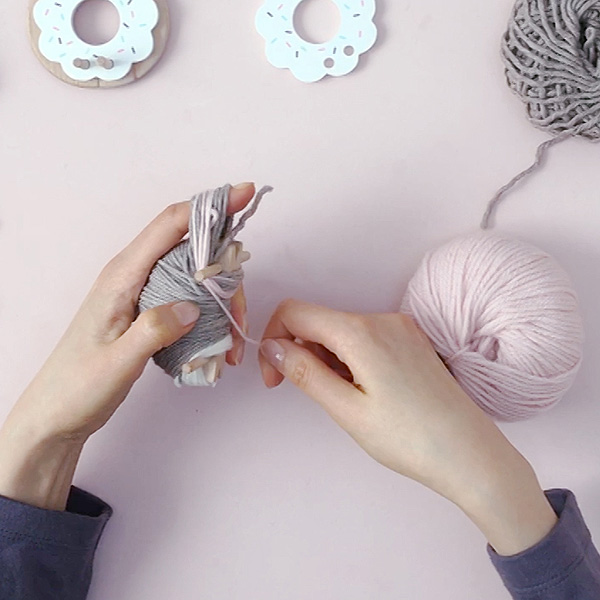
Add some light pink on top of this in the same way. This will add nice pinky insides of the ears.
Great the first half is done!
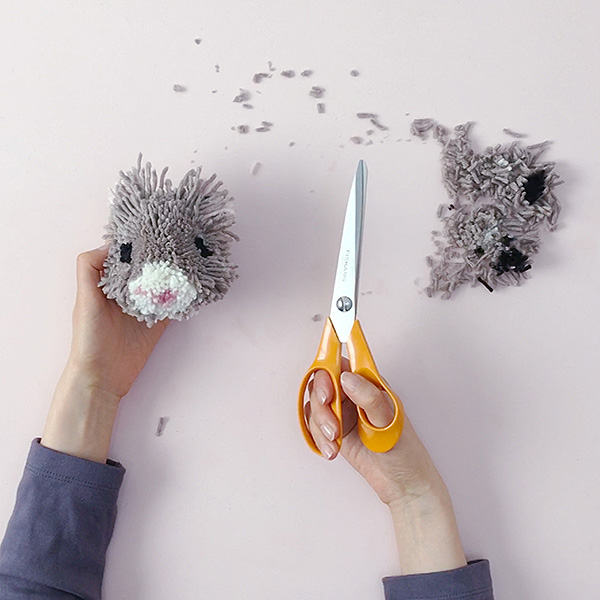

- Separate the pink yarn in the middle of the nose from the white and cut them very short.
- Divide the white yarn into 3 parts, above, left and right of the pink and trim this white yarn shorter towards the pink center to create a ‘dip’ in the middle.
- Gently squeeze the 3 parts together and poke with a felting needle a few times from all sides to fix it.

Separate the ear yarns equally into two bunches, then separate each half into the bunny color yarn and the light pink.
Begin with the yarn bunch in the bunny color. Hold the yarn together in a flat, ear shape. Poke the yarn with your felting needle from the sides, going through each yarn from one to the next to bond the fibres together.
Take care of the sharp needle – Do it very slowly and carefully.
Once that’s done, start adding light pink yarn to one side of this.
Keep ‘felting’ until the ear has taken shape. You don’t need to ‘felt’ the yarn excessively. Pushing your needle through the yarn until they bond together will be enough.
Trim well for a neat shape.


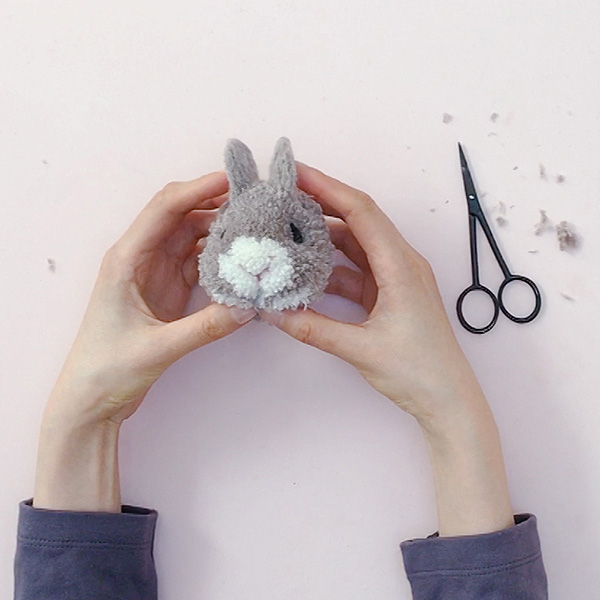
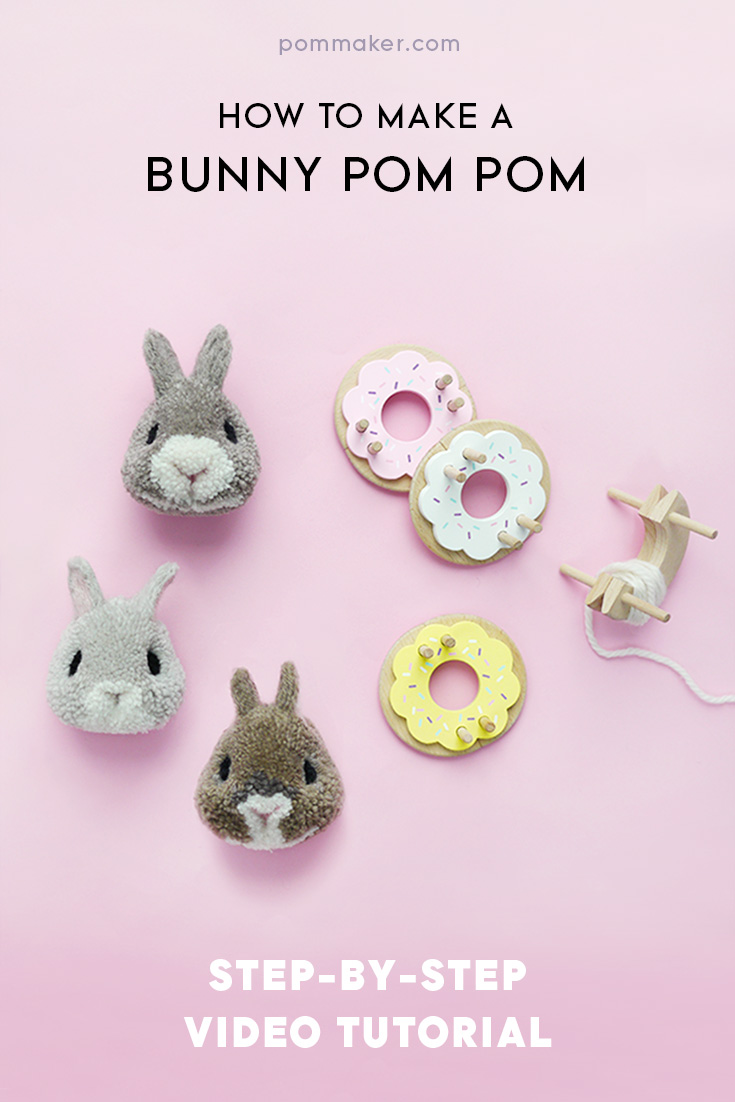
No bunny is exactly alike, so experiment with different colors, facial marks and features. Bunnies with big white chins, spotty blotchy bunnies, bunnies with cute little noses or big friendly curious noses… You can create many variations by trying different wraps.
Original article and pictures take blog.pommaker.com site
Комментариев нет:
Отправить комментарий