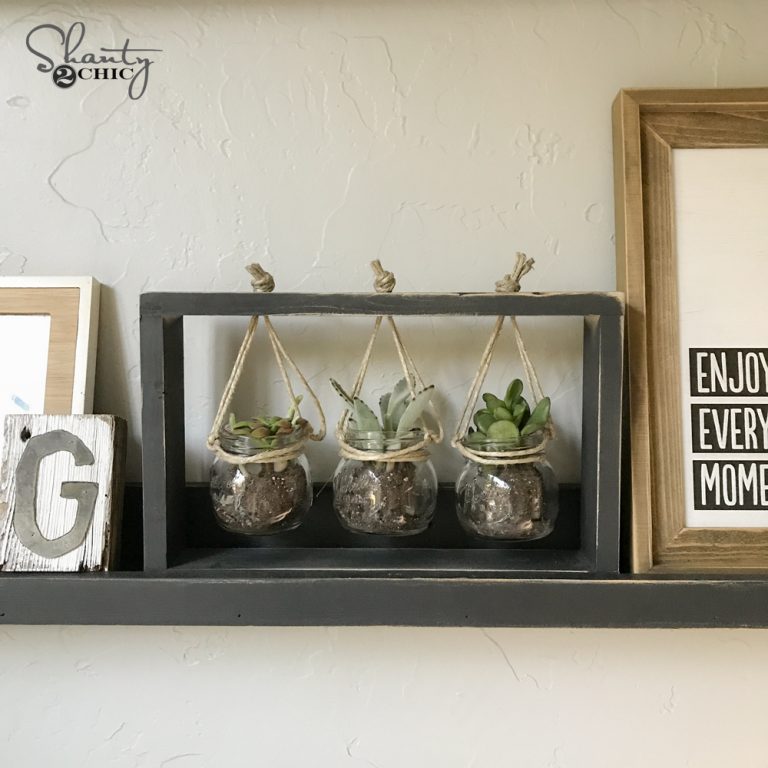
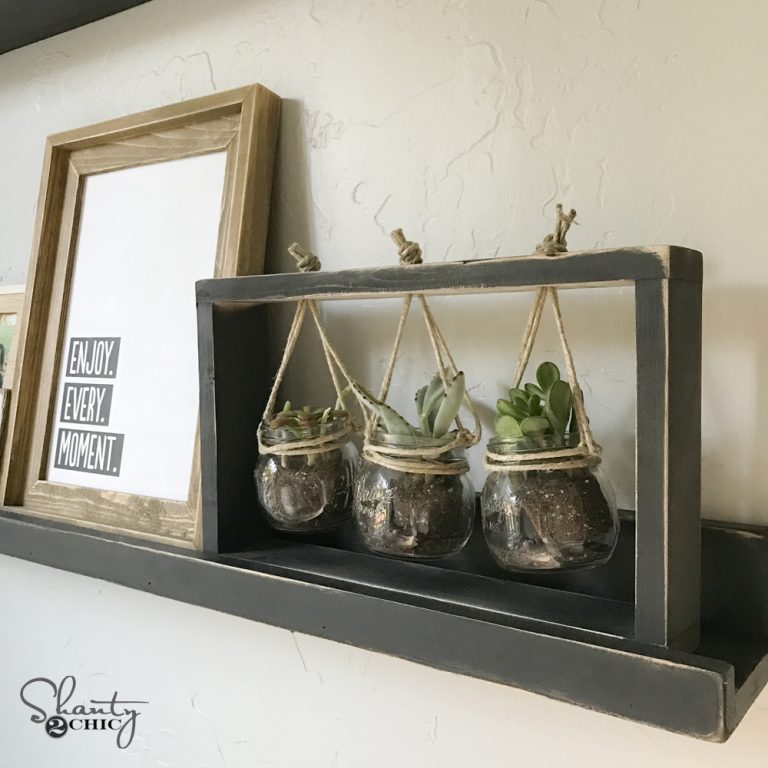
Happy Wednesday! Ash and I are back with another fun and simple project! We love succulents and mason jars, so we joined the two to make this super cute $10 DIY Succulent Frame!
How fun is that?! Before we get started, be sure to check out the how-to video HERE or by clicking the box below!
You only need one 1x3x6 board to make the frame for this project. Here are the cuts you need to make. We used a miter saw for this, but you can easily use an inexpensive hand saw like THIS ONE on Amazon.
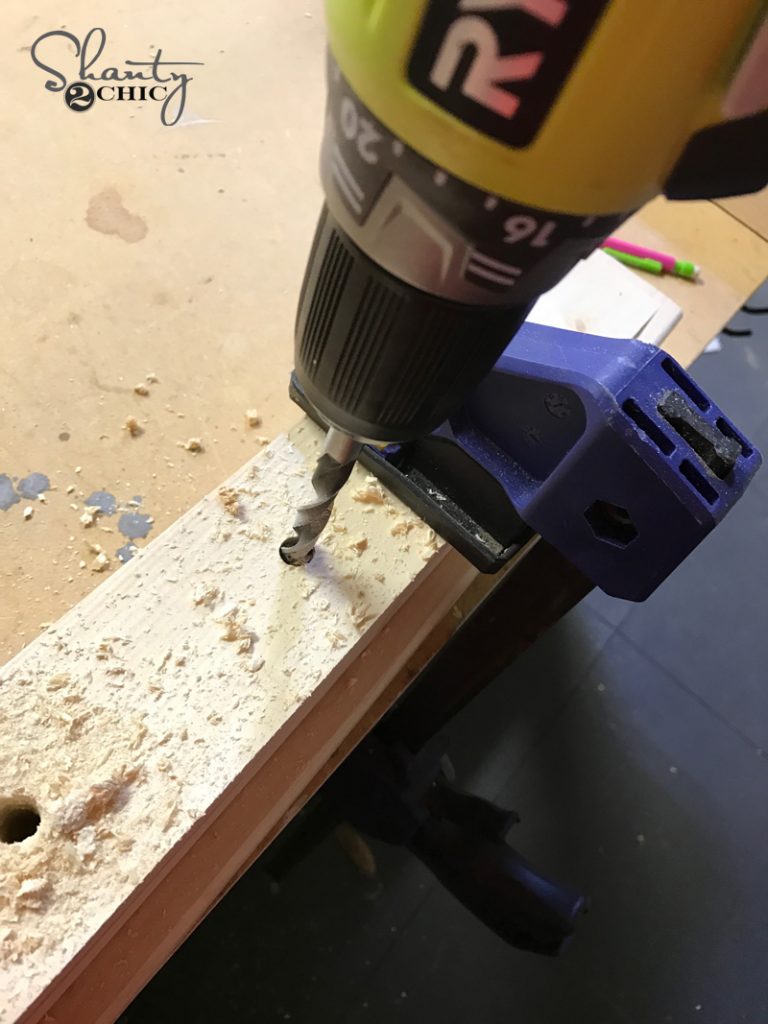
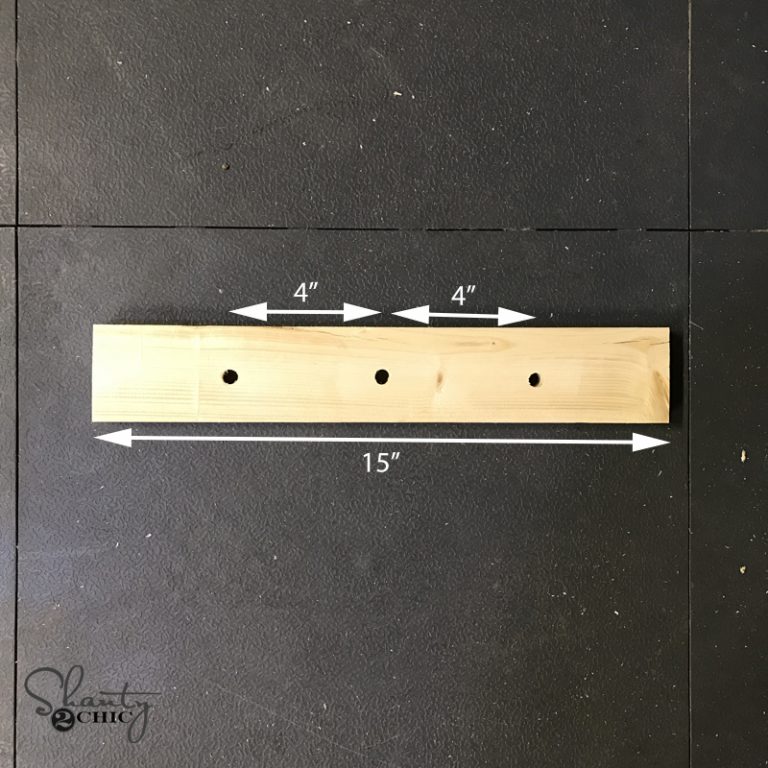
The first step is to drill holes in one of your 15″ pieces. This will be your top piece of the frame. We used a 3/8″ drill bit for ours. The middle hole should be placed in the center of the board and the two on each side should be 4″ from that one. MY LATEST VIDEOS
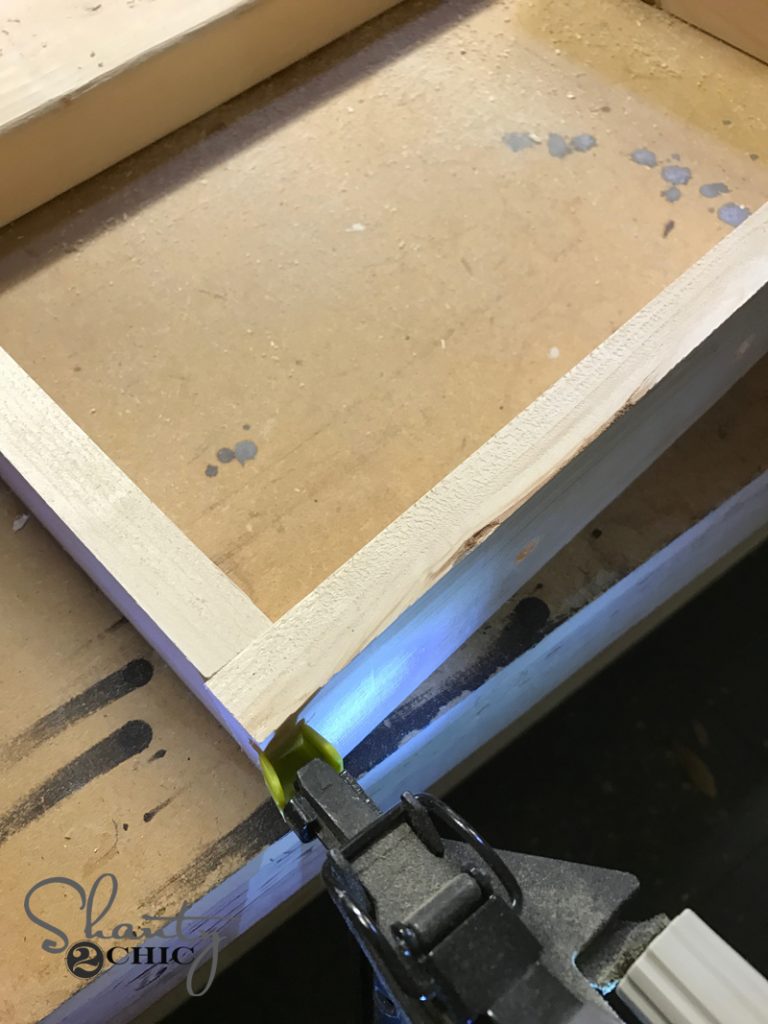
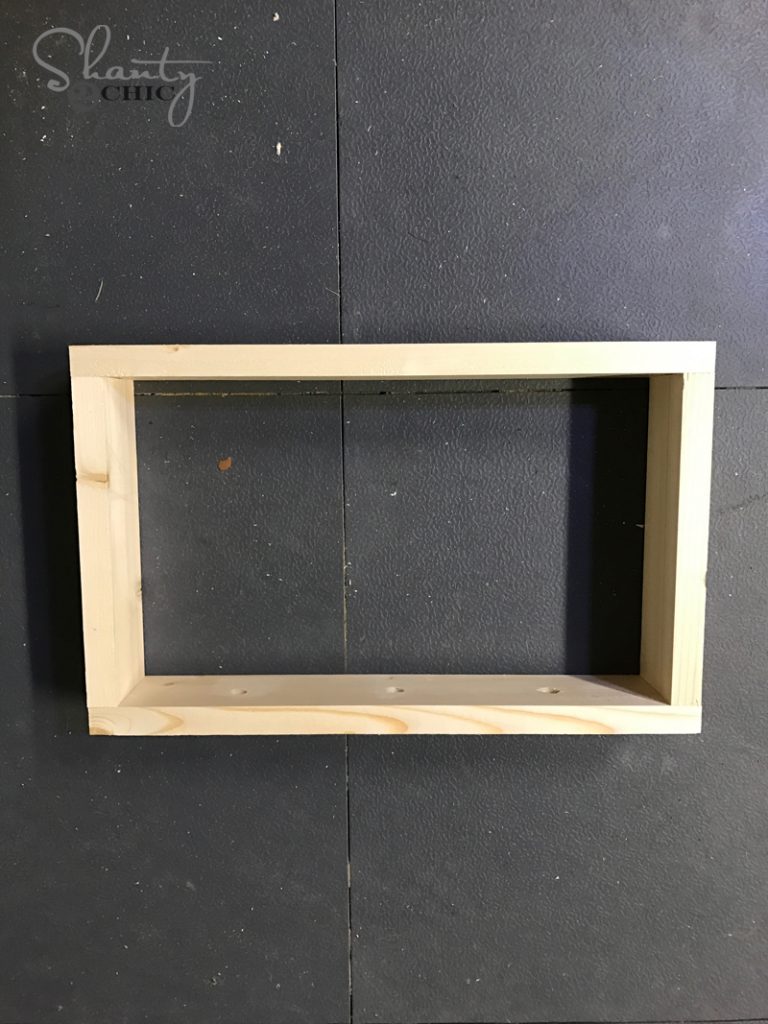
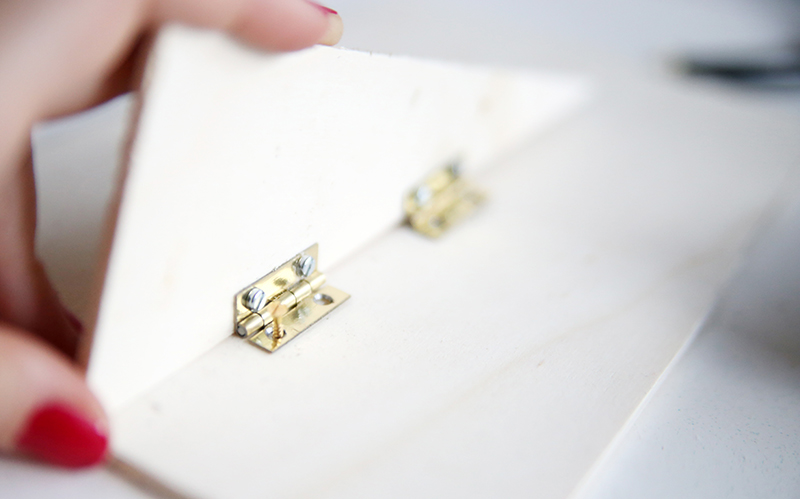
Now to build the frame! Start by attaching the bottom board to the side boards. Make sure to add wood glue between each joint and attach using 1.25″ brad nails.
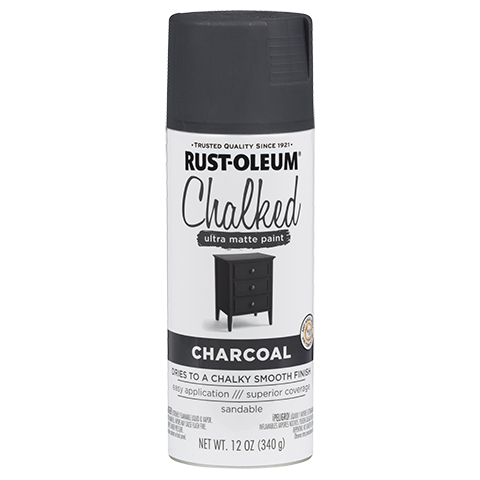
Now attach the top piece the same way. Again, add a line of wood glue between each piece. And there is your frame! We painted ours with Rust-Oleum Chalked paint in Charcoal… Actually Ash did since I’m still pregnant!
Once that was dry, we sanded the edges a bit to give it a distressed finish and added the succulents and mason jars. Want to see how we made them hang?? Check out the video HERE! We walk you through the entire thing!
And here she is all finished up!
Thanks so much for stopping by guys! Let us know if you have any questions at all! Original article and pictures take www.shanty-2-chic.com site
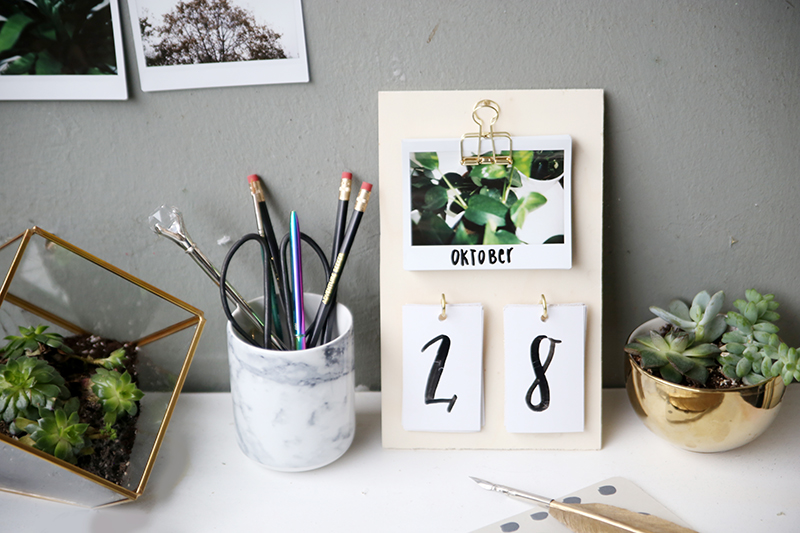
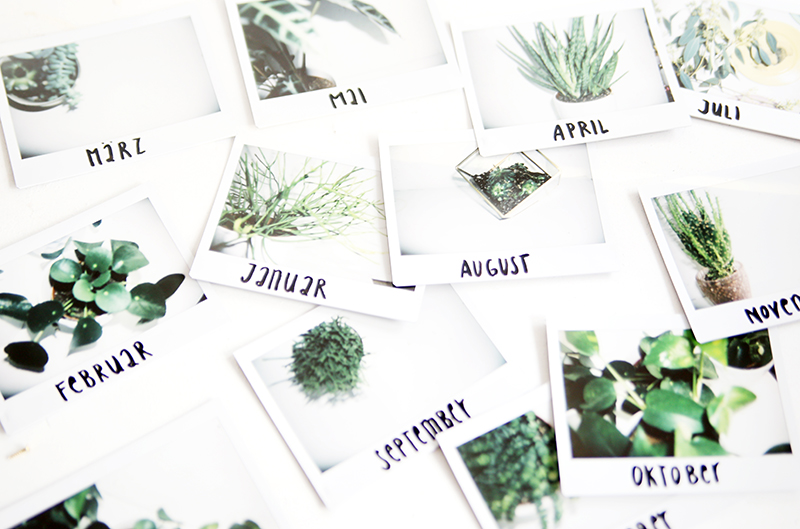
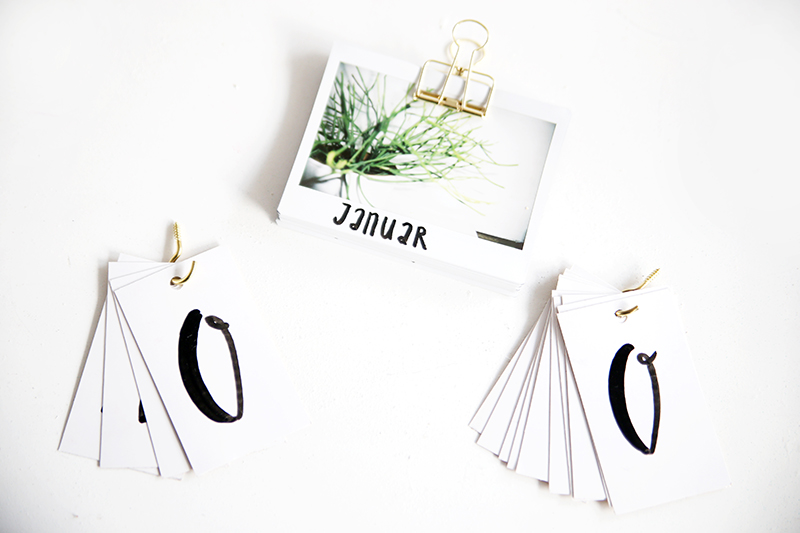
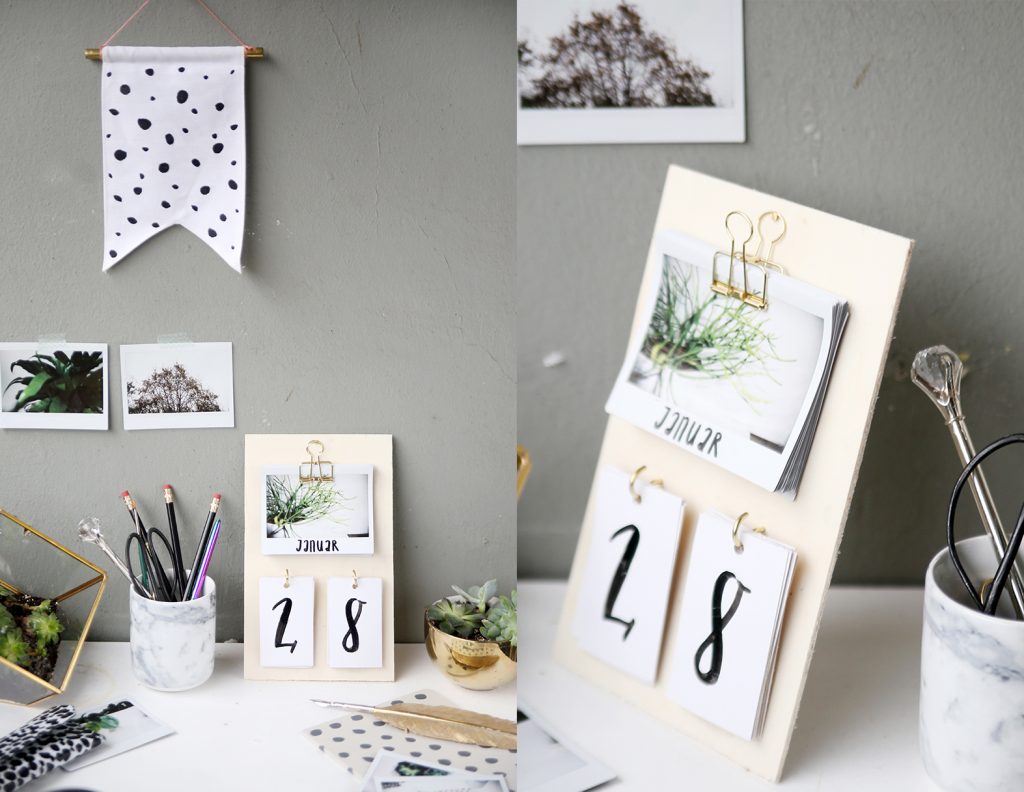
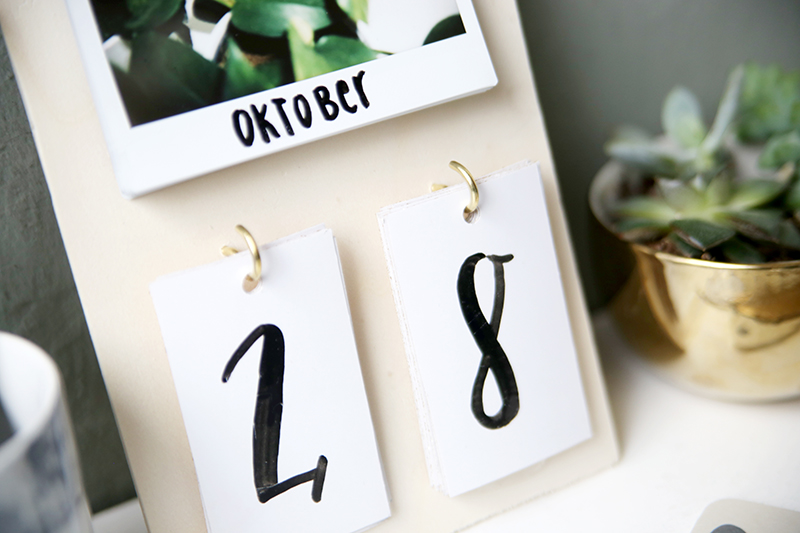
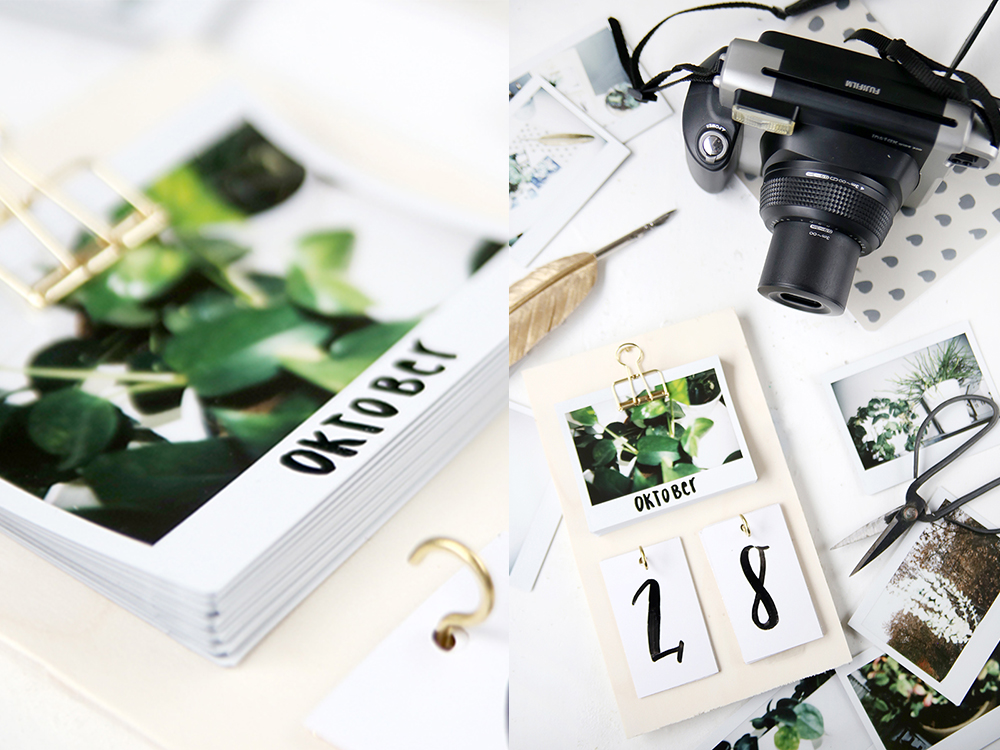
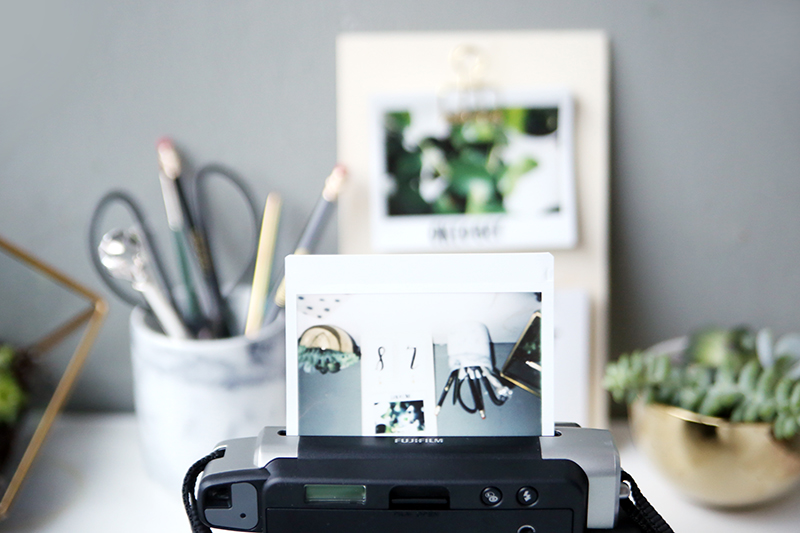
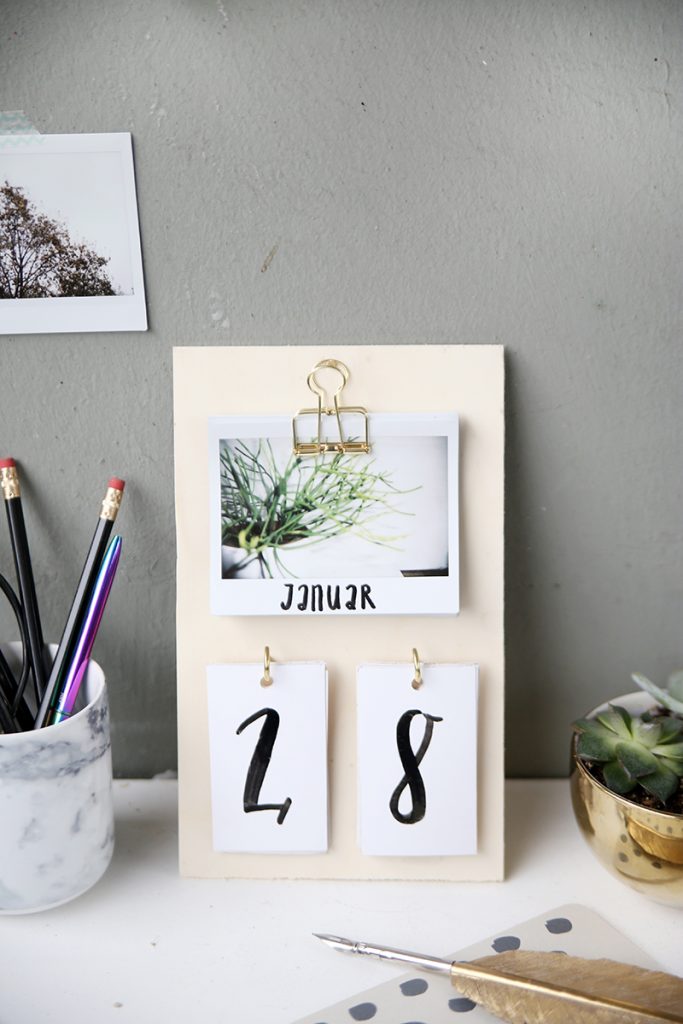
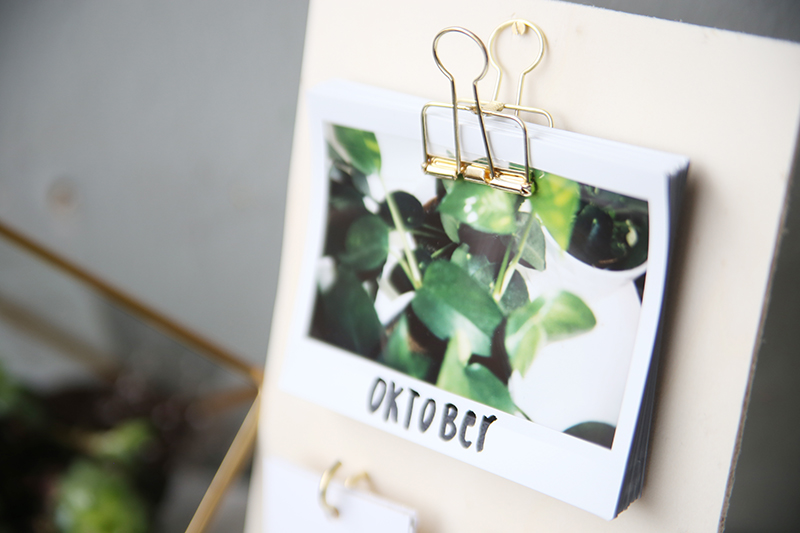
{DIY} Schreibtisch-Kalender mit Instax-Fotos selbstgemacht
Ich hoffe, ihr hattet wunderschöne Feiertage! Viele reden ja immer davon, die Vorweihnachtszeit wäre so schön zum Basteln. N..jeinnn. Weil die Tage so kurz sind und es gefühlt für immer dunkel ist, ist es zumindest mal schön, um drinnen zu bleiben. Und dann auch zum Basteln, ja. (Ich bastle je eh quasi immer, ganz unsaisonal.)
Aber alles andere ist in der Vorweihnachtszeit doch basteltechnisch eher voll stressig, oder? Man möchte sooo viel vorbereiten und übernimmt sich dann meist doch ein wenig. Ich finde es da zwischen Weihnachten und Neujahr viel gemütlicher. Da fragt niemand so recht nach einem, die Welt wird kurz ein bisschen ruhiger und man kann es sich richtig schön gemütlich machen – das alte Jahr Revue passieren lassen und Pläne für das neue Jahr schmieden.
{Dossier DIY} 15 idées à faire avec des galets! - 15 DIY for kids with painted rocks - Moma le blog {Dossier DIY} 15 idées à faire avec des galets! - 15 DIY for kids with painted rocks - Moma le blog {Dossier DIY} 15 idées à faire avec des galets! - 15 DIY for kids with painted rocks - Moma le blog {Dossier DIY} 15 idées à faire avec des galets! - 15 DIY for kids with painted rocks - Moma le blog {Dossier DIY} 15 idées à faire avec des galets! - 15 DIY for kids with painted rocks - Moma le blog {Dossier DIY} 15 idées à faire avec des galets! - 15 DIY for kids with painted rocks - Moma le blog {Dossier DIY} 15 idées à faire avec des galets! - 15 DIY for kids with painted rocks - Moma le blog
Pour la déco, on peut tout simplement les peindre!
{Dossier DIY} 15 idées à faire avec des galets! - 15 DIY for kids with painted rocks - Moma le blog {Dossier DIY} 15 idées à faire avec des galets! - 15 DIY for kids with painted rocks - Moma le blog
“We Believe” Santa Clothesline DIY Christmas Decoration
Just because we don’t have “littles” in our home anymore (until grandkids come!) doesn’t mean that we no longer “believe” in the magic of Santa and the spirit of giving. I made this fun and easy Santa clothesline DIY Christmas decoration and I love how it turned out!
When I spotted these wonderfully detailed Santa stickers, I knew I wanted to hang them on a clothesline canvas in my home.
This DIY Christmas decoration project took me about ten minutes to throw together, since the elements are already pretty much finished and just require some assembly.
Supplies needed to make your own Santa clothesline DIY Christmas decoration:
Small Silver Nails or Standard Sized Silver Brads.
Hammer.
The first thing you will want to do is create your “We Believe” tag. You can use an electronic cutting machine to cut our downloadable cut file. Or you can create your own tag using stickers or your own hand writing.
The cut file will have a tag shape, and word art to fit the tag. I cut both images from white cardstock, and then silver Glittersilk cardstock. I chose to use the white tag, with silver Glittersilk word art. You can switch out your colors as desired.
Set tag aside.
Prepare your burlap canvas. This canvas has a wooden frame. Using a small nail, measure 1 inch from the top of the canvas and insert a small nail.
This was the smallest nail I could find in our garage and it was too long. If you have smaller nails, you can just use the nail itself. I had to “make do” with what I had. If you need to do it my way as well, remove the nail, and use the hole left behind to insert a brad.
I wrapped a glue dot around the base of the brad to ensure that it would stay in place.
Arrange your stickers how you would like them on your canvas. Then measure a length of red baker’s twine to fit the length of the canvas, with some overhang.
String your stickers and your tag onto the baker’s twine. Some of the sticker elements had their own tiny hangers! The detail is amazing on these little things!
The other items on the clothesline I “hung” using mini wooden clothes pins.
When all of the elements are attached, pull your clothesline slightly, and wrap the ends around the brads. Tie knots in the ends of the clothesline so it will not fray.
That’s it! This canvas DIY Christmas decoration can be hung on a wall, laid out on a mantle, or displayed using a photo easel.
This DIY Christmas decoration is something I “believe” you and all of your holiday guests will enjoy!